


CRU Replacement and Server Upgrades 4-29
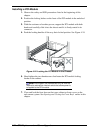
Installing a Hard Disk Drive
1. Observe the safety and ESD precautions listed at the beginning of this
chapter.
2. Unlock and open the front bezel on the tower cabinet or front bezel on the
rack-mount system. See Opening and Closing the Front Bezel found earlier
in this chapter.
3. Determine which hard disk drive bay slot will house the new hard drive.
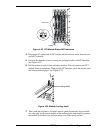
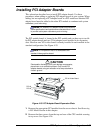
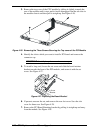
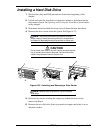
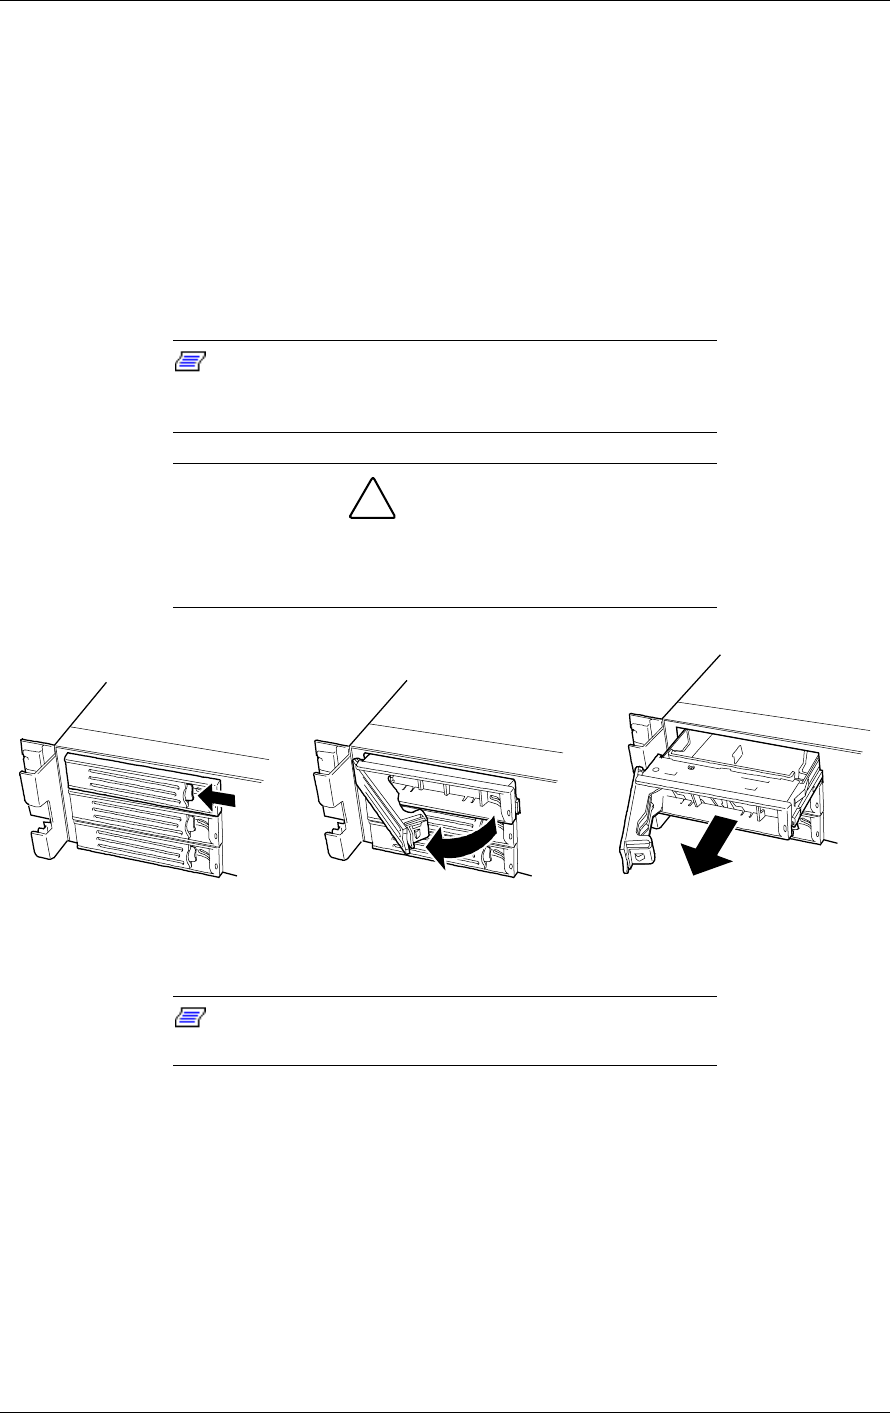
4. Remove the drive carrier from the system. See Figure 4-32.
Note: The dummy carriers are provided to maintain
proper cooling. Leave the dummy carriers in unused slots,
and keep all removed dummy drive carriers for future use.
!
CAUTION
Do not insert your hand or any tool into the slot with the disk
tray or dummy drive carrier removed. Failure to follow this
caution may cause an electric shock or fire.
A
BC
Figure 4-32. Unlocking and Removing a Drive Carrier
Note: Observe static precautions. Use an antistatic
wrist strap.
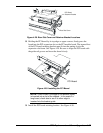
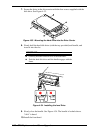
5. Remove four screws securing the empty tray within the drive carrier
removed in Step 4.
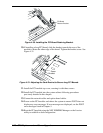
6. Remove the new disk drive from its protective wrapper and place it on an
antistatic surface.