57
5. Using the Viewer
ᕢ Operating the Viewer Function from the Projector (playback)
This section describes the operation for showing slides created using the Viewer function with the projector. It is also
possible to make slides directly from the images projected with the projector.
Projecting slides (Viewer)
Preparation: Store JPEG or BMP files (JPEG, BMP, non-interlaced GIF or non-interlaced PNG files) in a PC card or
USB memory inserted into your PC.
1. Insert a PC card into the PC card slot or USB memory into the USB port of the projector.
2. Press the VIEWER button on the remote control or select the [Viewer] from the source list.
An image stored in the PC card or USB memory will be displayed.
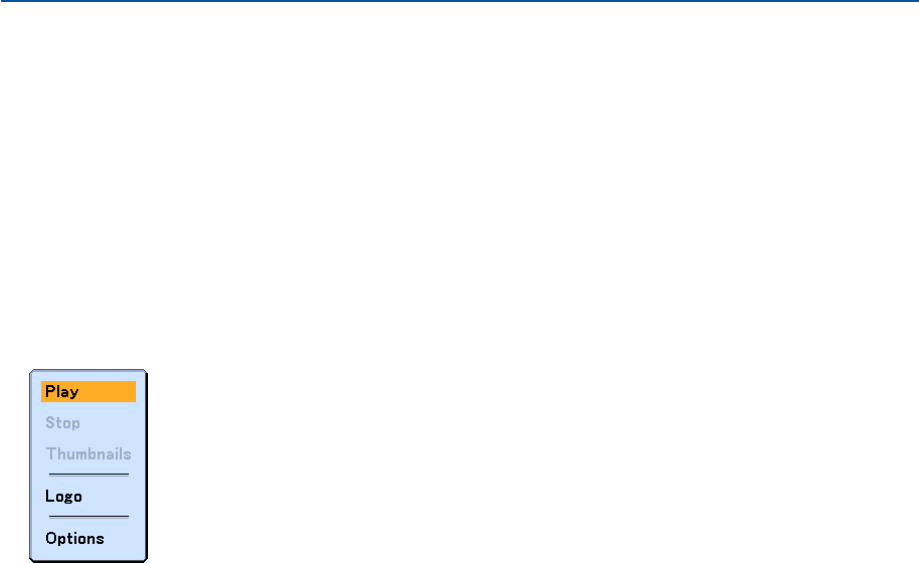
3. Press the MENU button to display the Viewer menu.
The Viewer menu will appear when you press the MENU button on the remote control or the projector cabinet.
The Viewer menu includes the following commands:
Play ................... Plays back automatically or manually depending on the setting in Options. This allows you to move on to the
next slide when [Manual] is selected in the [Play Mode].
Stop................... This allows you to stop Auto Play while you are playing back and to resume playing from the selected slide
or folder when [Auto] is selected in the [Play Mode].
Thumbnails........ Displays a list of thumbnails of Graphic files stored in the PC card or USB memory inserted into the projec-
tor.
Logo .................. Replace the default background logo with another logo in JPEG, BMP, non-interlaced GIF or non-interlaced
PNG format.
Options .............. Displays the Viewer setting options.
4. Select [Play] and then press the ENTER button to display the first slide or to start playing slides automati-
cally.


