


4-26 Upgrading Your System
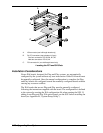
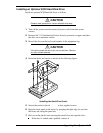
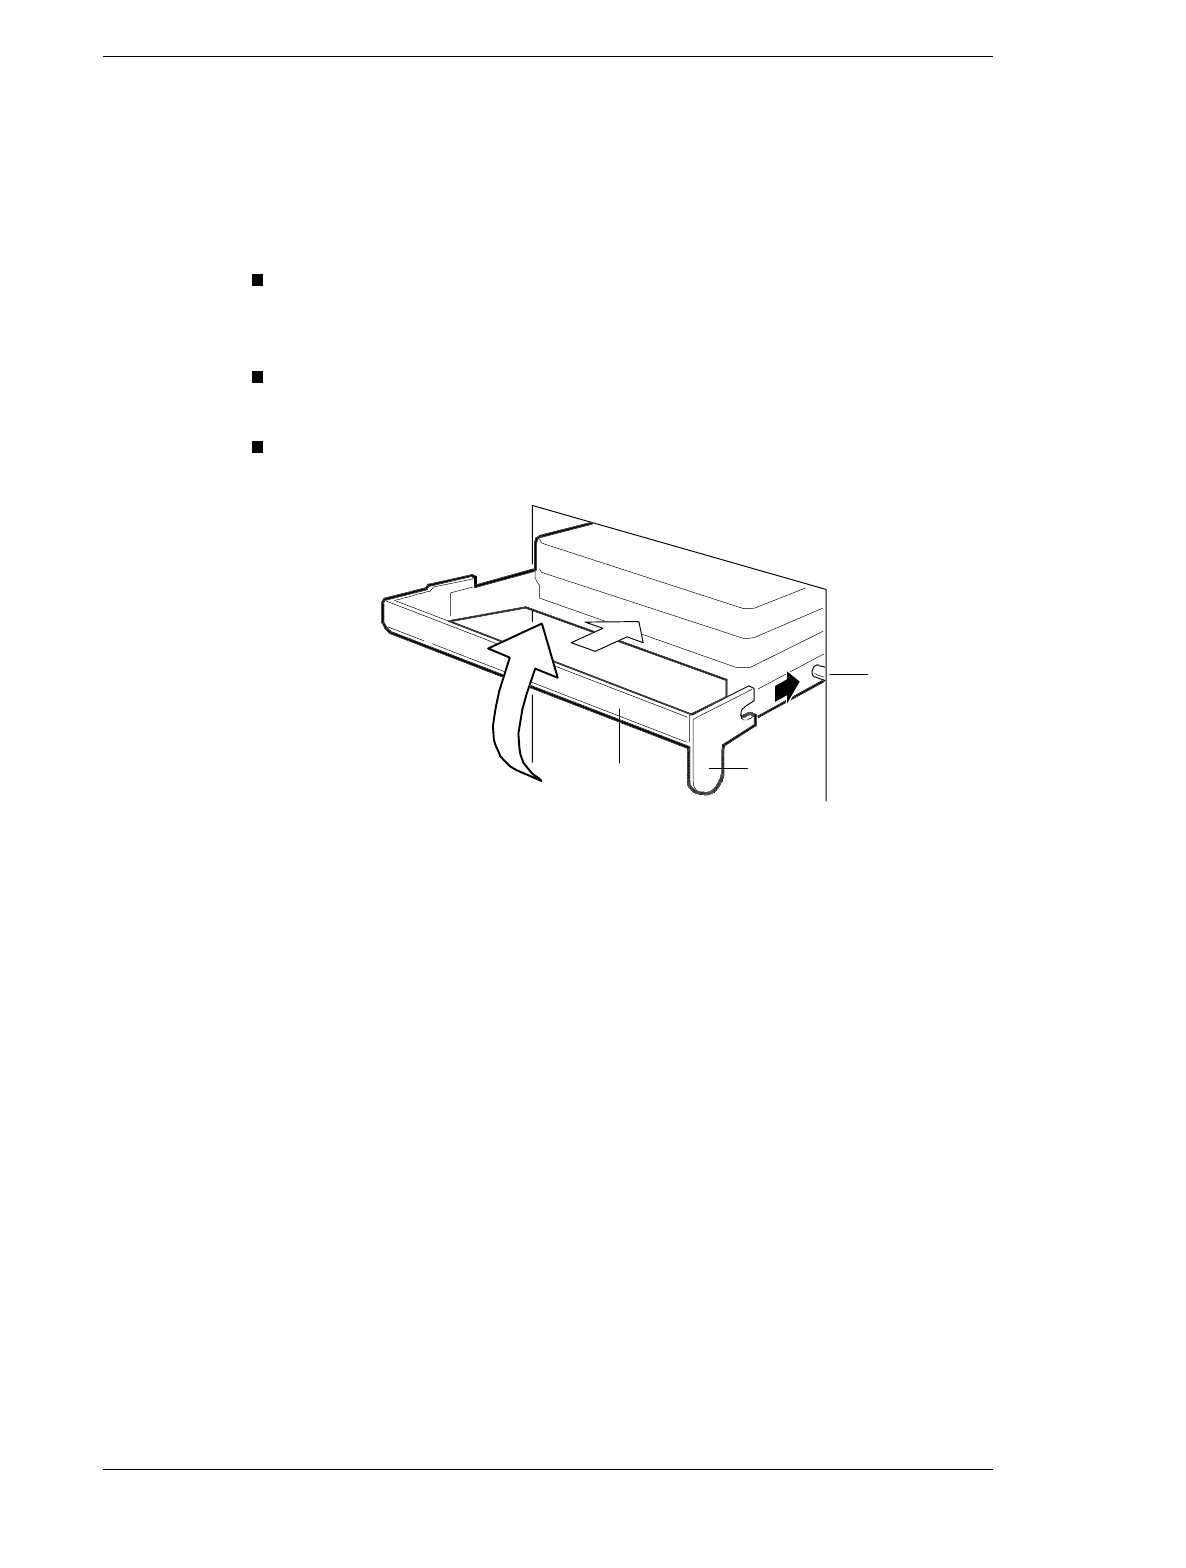
8. Hold the carrier by its handle, position it in front of an open slot, and start it
into the guide rails.
9. Carefully push the carrier and drive part way into the bay.
10. Pull down on the carrier handle and continue pushing the carrier into the
bay.
As you push in, the two rounded notches in the handle (B in the
following figure) slide onto the two round pegs inside the drive bay
(A in the figure).
When the pegs are fully seated in the notches, push the handle straight
up (C in the figure) to lock.
Press the rounded tab on the right of the carrier to the left until it clears
the edge of the bay and snaps into place.
A
C
B
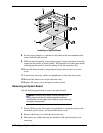
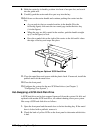
Installing an Optional SCSI Hard Drive
11. Close the metal door and secure with the plastic latch. If removed, install the
padlock and lock the metal door.
12. Close the front panel.
13. Configure the system for the new SCSI hard drives (see Chapter 3,
“Configuring Your System”).
Hot-Swapping a SCSI Hard Disk Drive
A SCSI hard drive can be hot-swapped (removed) from the system if it fails and
replaced with another SCSI hard drive, all without shutting down your system.
Hot-swap a SCSI hard disk drive as follows.
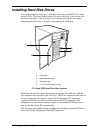
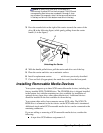
1. Open the front panel and the metal door to the hot-docking bay. If the metal
door is locked with a padlock, remove it.
2. Check the bank of yellow LEDs on the front panel to determine which drive
is bad.