Microline 8480FB User’s Guide
Control Panel • 11
Combined Switches
With the Printer Powered Up and Off Line
Switches Task Performed
+
MODE.jpg
SHIFT.jpg
Memory Auto ALign Cross Ref
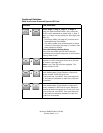
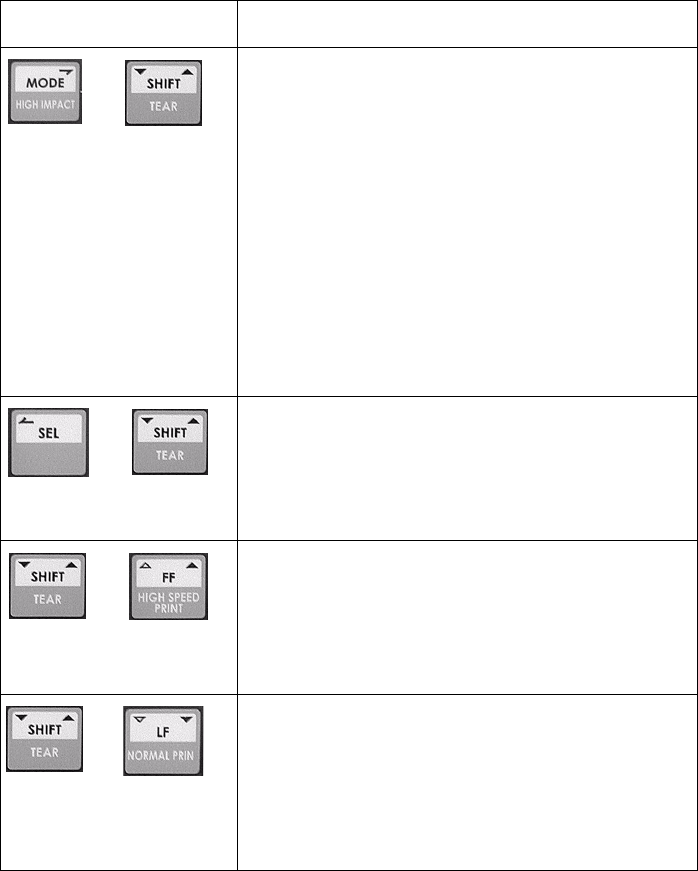
Select Align 1, Align 2, Align 3, or Align 4:
Press and hold the MODE switch,
then press the
SHIFT switch
repeatedly to select Align 1, Align 2,
Align 3, or Align 4 as the setting for Auto Align (see
page 41).
• Auto Align (POW) [see page 42] must be set to
SelectAutoALign (the default).
• The setting made using these switches is stored
in Memory Auto Align (see page 47) unless it has
been changed to Invalid.
Enter the Function Setting Menu:
Press
both
the MODE and the SHIFT switches
simultaneously
to place the printer in the Function
Settings Menu mode.
+
SEL.jpg
SHIFT.jpg
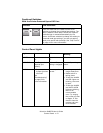
Simultaneously press and hold the SHIFT and SEL
switches to move continuous forms up to the tear
off position (see page 61).
Note: Form Tear Off must be engaged. The
factory default is Off.
+
SHIFT.jpg
FF.jpg
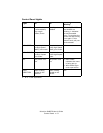
Press and hold SHIFT, then press FF repeatedly to
move loaded paper (single sheets or continuous
forms) forward 1/180-inch at a time.
If you press and hold SHIFT, then press and hold
LF, the paper will advance in rapid-fire 1/180-inch
increments.
+
SHIFT.jpg
LF.jpg
Press and hold SHIFT, then press LF repeatedly to
move loaded paper (single sheets or continuous
forms) backward 1/180-inch at a time. Maximum
allowed backward movement is 1/3-inch (8.5 mm).
If you press and hold SHIFT, then press and hold
LF, the paper will advance backward in rapid-fire
1/180-inch increments.


