[PICTURE] menu
42 -
ENGLISH
Settings
Press the <ENTER> button.7)
SPLIT ADJUST
SAVE CHANGES?
YES : SAVE AND QUIT
NO : QUIT WITHOUT SAVING
CANCEL : ADJUST AGAIN
CANCELYES NO
RETURN
SELECT
ENTER
The conrmation message is displayed.
z
Select [YES] with the ◄► buttons and press the
<ENTER> button to apply the changes and return
to the frozen screen.
Select [NO] with the ◄► buttons and press the
<ENTER> button to return to the frozen screen
without applying changes.
Note
Select [CANCEL] on the conrmation message and press
z
the <ENTER> button to return to the adjustment screen.
Press the <RETURN> button.8)
You can now view the projected video with the
z
adjustments applied.
Note
You cannot adjust menu items that are displayed in grey
z
during split adjustment.
The [KEYSTONE] of [POSITION] becomes inactive
z
during split adjustment.
[ADVANCED MENU]
You can perform more detailed image adjustment
manually.
Press the <ENTER> button.
The [ADVANCED MENU] menu is displayed.
z
■
[GAMMA ADJUSTMENT]
You can make detailed adjustments to the light intensity of
each input signal level by using the [ADVANCED] mode,
or adjust at 3 levels (high, mid, low) by using the [SIMPLE]
mode.
Note
You can only carry out the [GAMMA ADJUSTMENT]
z
through either the [ADVANCED] or [SIMPLE] mode. Both
settings cannot be used at the same time.
Adjusting the gamma (when [ADVANCED]
●
is selected for [ADJUSTMENT MODE])
Press the ◄► buttons to select 1)
[ADVANCED].
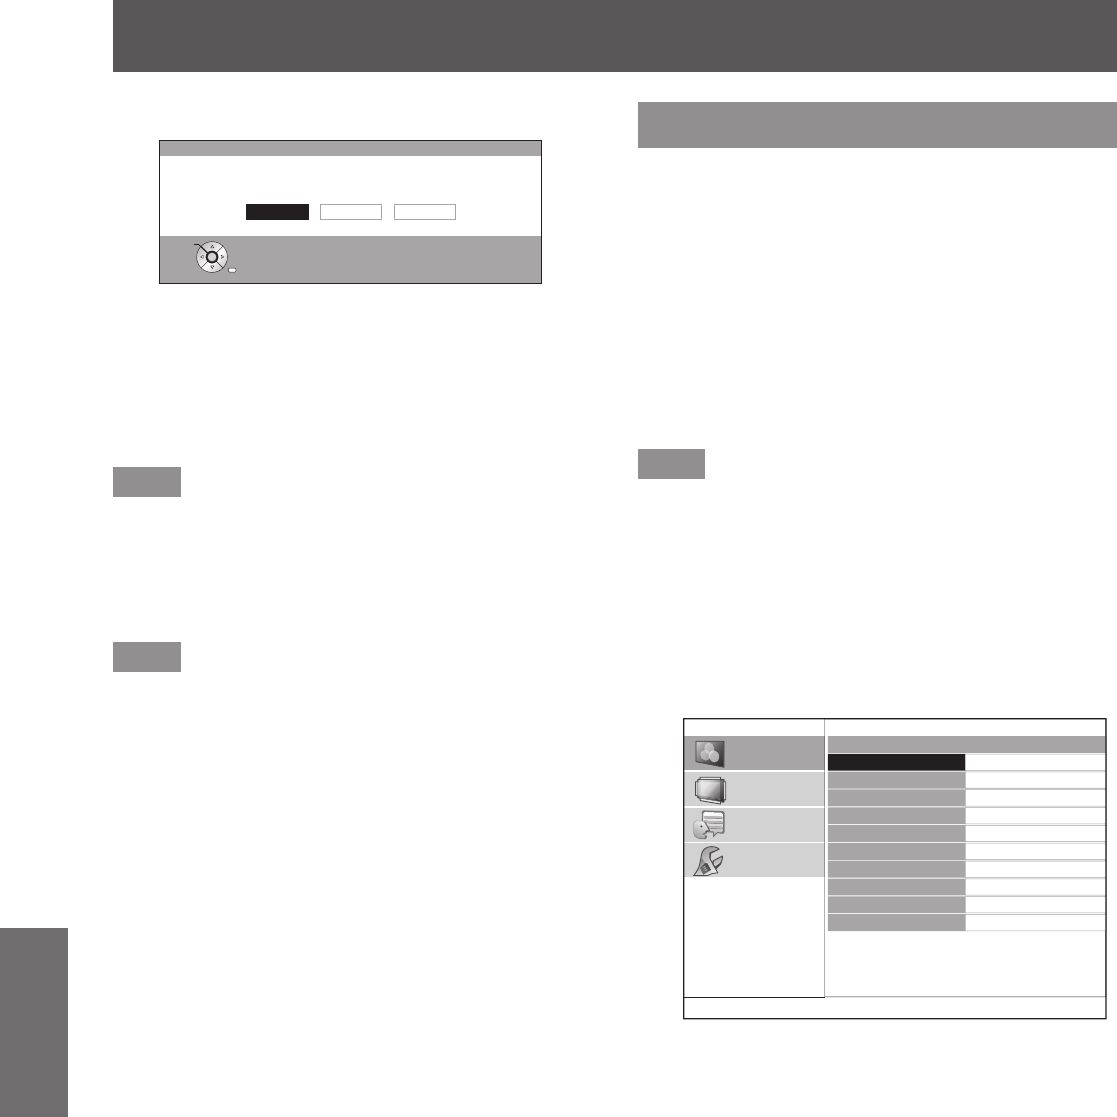
GAMMA ADJUSTMENT
ADJUSTMENT MODE
GAMMA HIGH
GAMMA MID
GAMMA LOW
POINT
Y ADJUST
R ADJUST
G ADJUST
B ADJUST
INITIALIZE
ADVANCED
5
PICTURE
POSITION
LANGUAGE
OPTION
