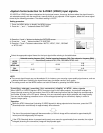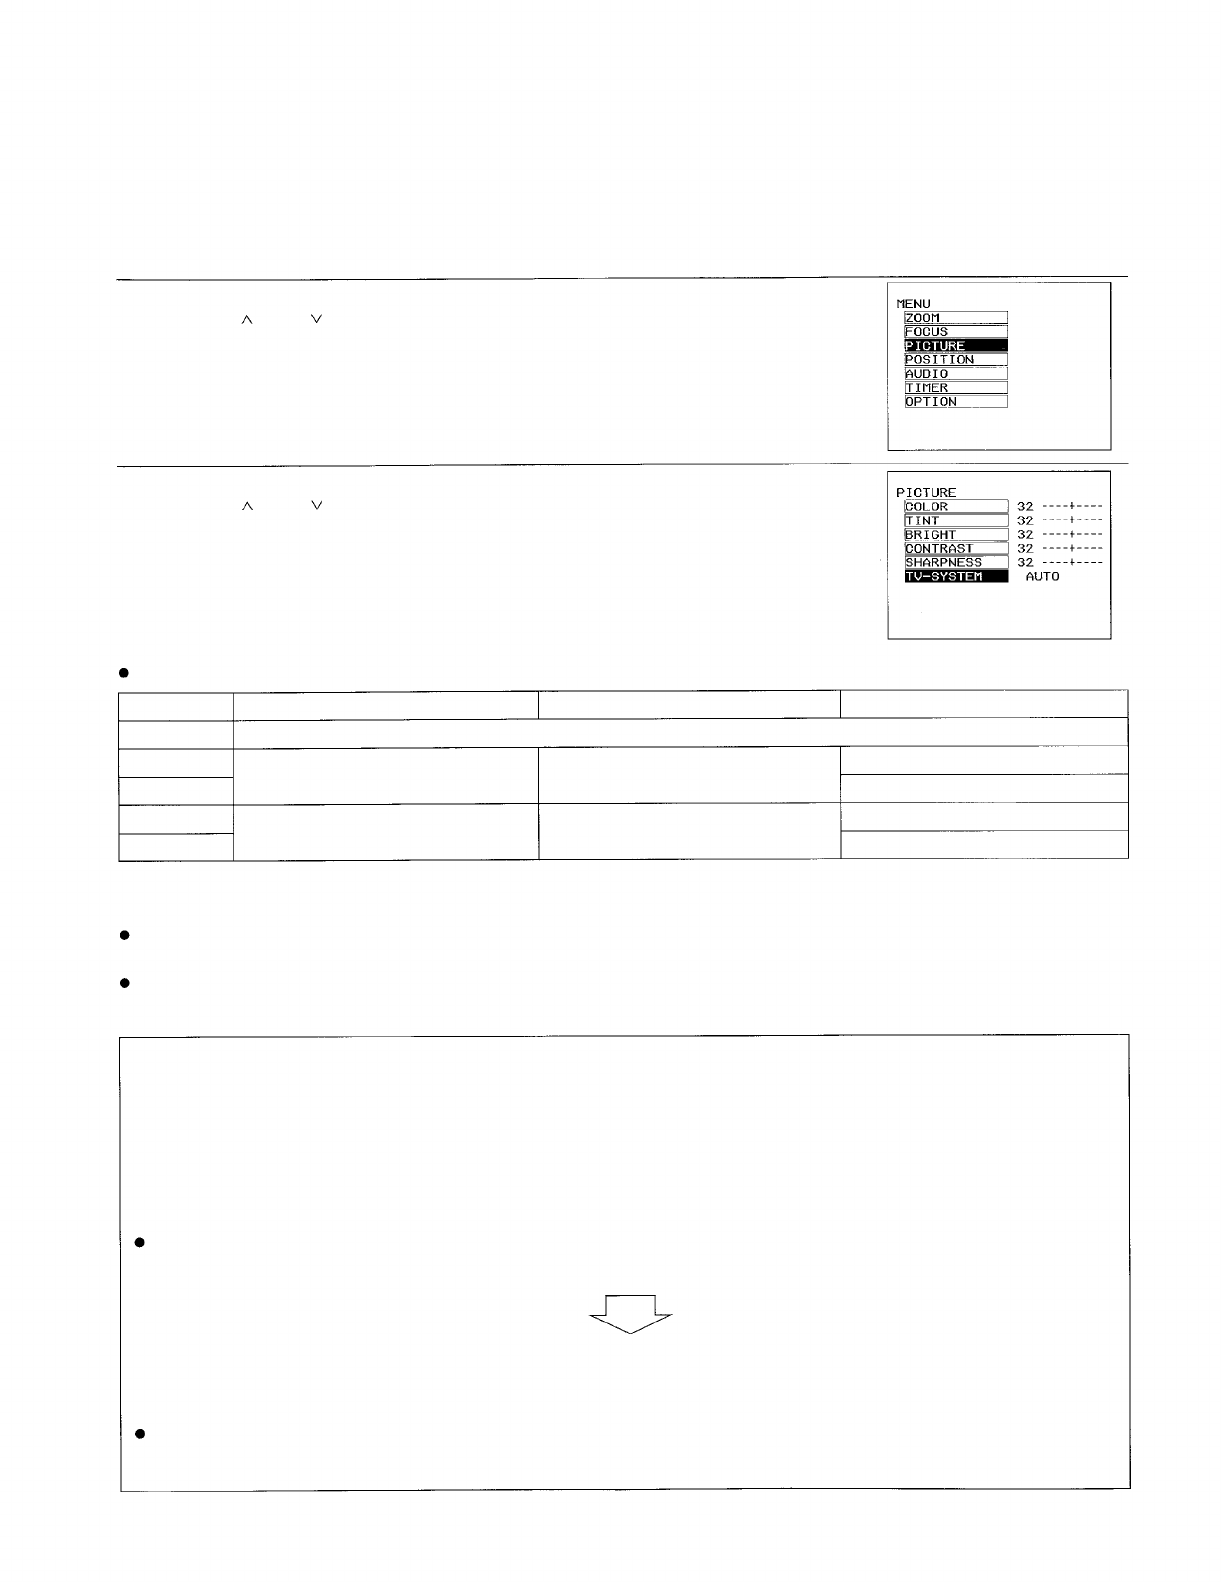
<System format selection for S-VIDEO (VIDEO) input signals>
If S-VIDEO or VIDEO has been selected as the input signal source, there may be times where the signal format is
not selected correctly, with the result that a normal picture is not projected. If this happens, select the correct signal
format by the following procedure. The default setting is “AUTO”.
Setting procedure
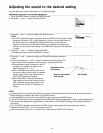
1. Press the MENU button to display the MENU screen.
2. Press the “ ” and
“ ” buttons to select “PICTURE”.
3. Press the “<” and “>” buttons to display the PICTURE screen.
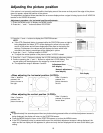
4. Press the “ ” and
“ ” buttons to select “TV-SYSTEM”.
5. Press the “<” and “>” buttons to select either “AUTO”, “NTSC”, “PAL”, “SECAM”
or “NTSC 4.43”.
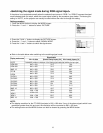
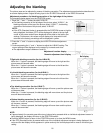
Select the appropriate signal format for the input signal while referring to the table below.
Horizontal scanning frequency [kHz]
Vertical scanning frequency [Hz]
Color subcarrier frequency [MHz]
AUTO
Automatically selects NTSC, PAL, SECAM or NTSC 4.43.
NTSC
NTSC 4.43
PAL
SECAM
15.7
15.63
60.00
50.00
3.58
4.43
4.43
4.25 or 4.41
NOTE:
The correct signal format may not be selected if, for instance, you are using a poor-quality signal source, such as
a dubbed video tape. Switching the signal format may give better results in such cases.
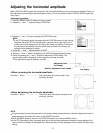
The setting screen and the MENU screen can both be cleared by pressing the MENU button.
Cancelling enlarged (scanning line conversion) display of NTSC video signals
When VIDEO or S-VIDEO signals in NTSC format are input to this video projector, the projector enlarges the
image (through scanning line conversion) from 525 to 600 scanning lines so that the image size corresponds to
the number of pixels in the LCD panel. However, this can sometimes cause slight problems with image quality.
You can use the following procedure to turn off the enlarged (scanning line conversion) display in order to
improve image quality.
Operation
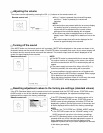
While the NTSC video signal (including S-VIDEO signals) is being projected onto the screen, press the STD
(Standard) button continuously for approximately three seconds.
The size of the projected image will become smaller (a 100-inch image will be reduced to approximately 80
inches) and the image quality will improve.
If the STD (Standard) button is pressed continuously once more for approximately three seconds, the original
enlarged (scanning line conversion) image will be projected again.
20


