7.
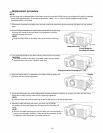
Insert the power cord plug into the wall outlet and then press the MAIN POWER switch on the front of the
projector to turn on the power.
NOTE:
If the power does not turn on when the MAIN POWER switch is pressed, turn the MAIN POWER switch off
again and check that the lamp unit and the lamp unit cover are securely installed. Then turn the MAIN
POWER switch back on.
8.
Press the POWER button on the projector or remote control unit so that a picture is projected onto the screen.
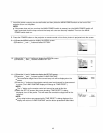
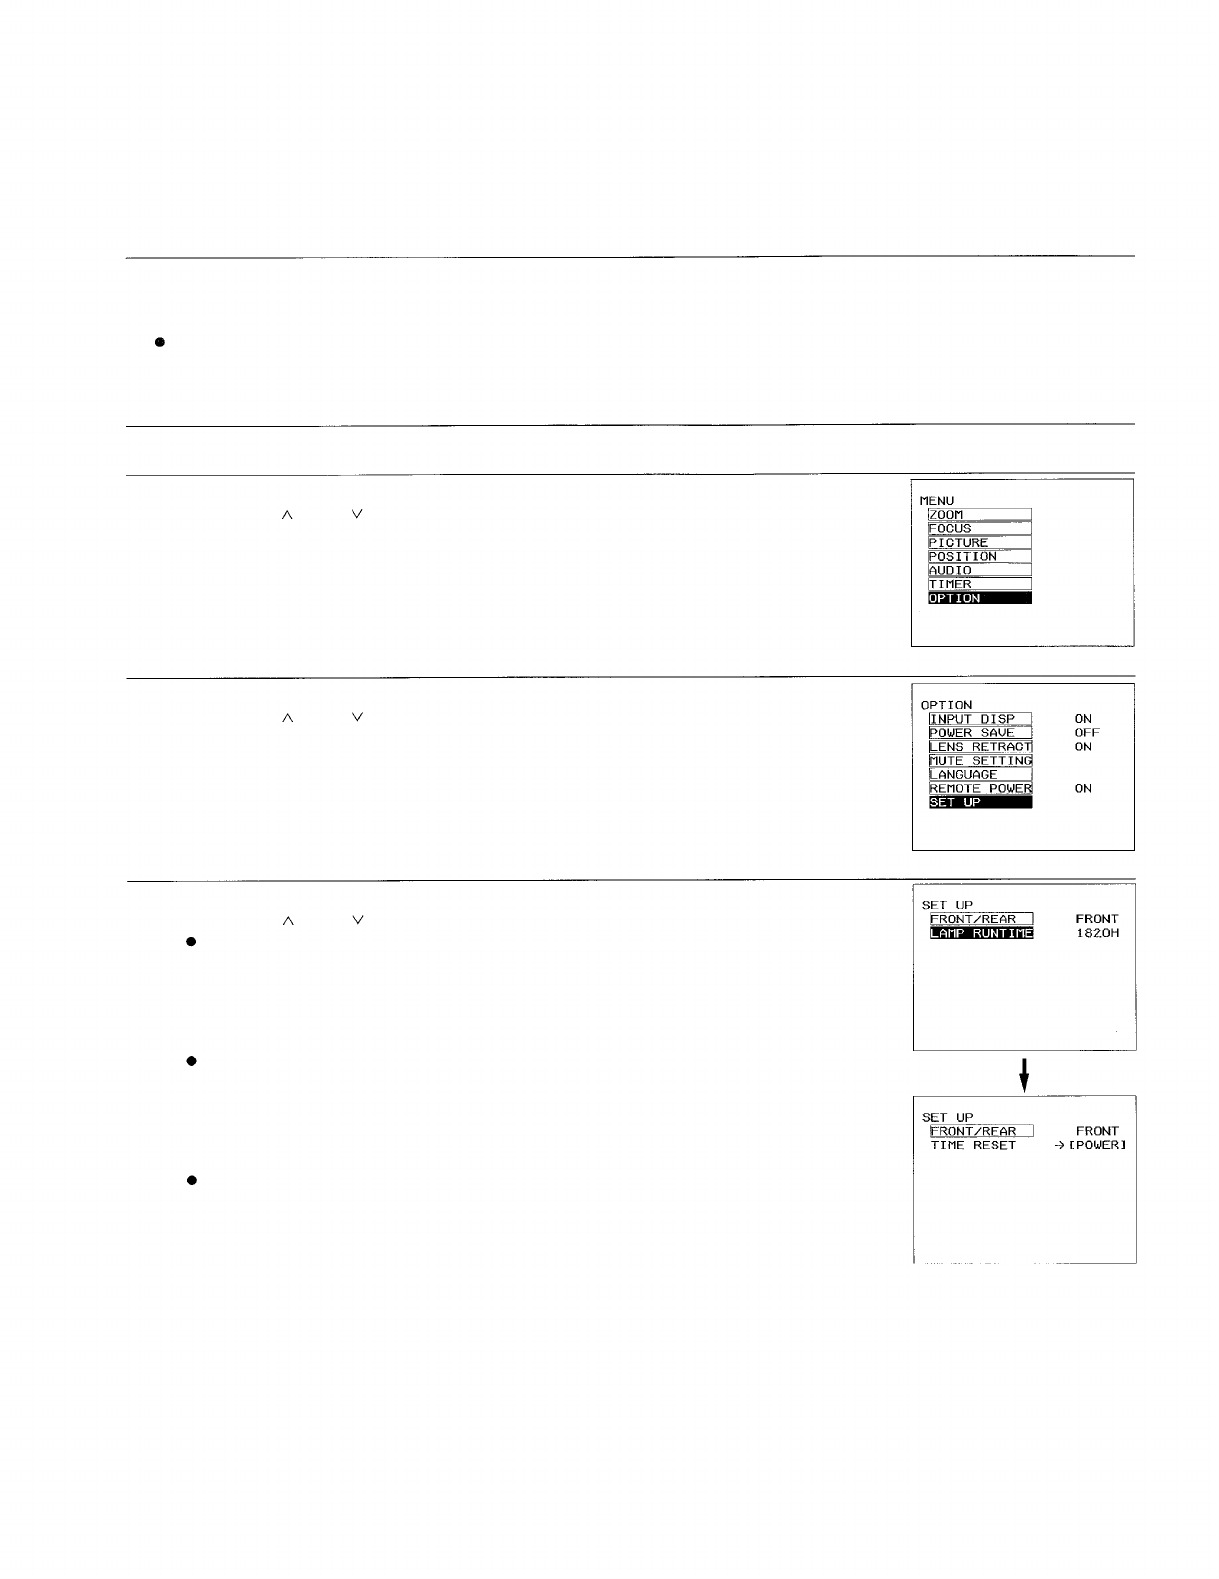
9. -(1)Press the MENU button to display the MENU screen.
(2)Press the “ ” and
“ ” buttons to select “OPTION”.
10. -(1)Press the “<” and “>” buttons to display the OPTION screen.
(2)Press the “ ” and “ ” buttons to select “SET UP”.
11. -(1)Press the “<” and “>” buttons to display the SET UP screen.
(2)Press the “ ” and “ ” buttons to select “LAMP RUNTIME”.
The cumulative usage time of the current lamp unit will be displayed on the
screen.
(3)Press the “>” button on the projector control panel continuously for three second:
or more. (The “LAMP RUNTIME” display will change to “TIME RESET”.)
NOTE:
The “>” button on the remote control unit cannot be used at this time.
(4)While the SET UP screen (the screen showing “TIME RESET”) is being
displayed, turn off the power. This will reset the cumulative usage time for the
lamp unit.
NOTE:
If any other buttons are pressed while “TIME RESET” is being displayed, the
display will return to “LAMP RUNTIME” and the button pressed will take effect.
43


