Part X Sound Edit
169
QQTG0692
Sound Edit
Controller Edit
Specify how operation of the controllers, such as the wheels, etc., affects the sound.
CONTROLLER
1.
On the SOUND EDIT menu display, select
CONTROLLER.
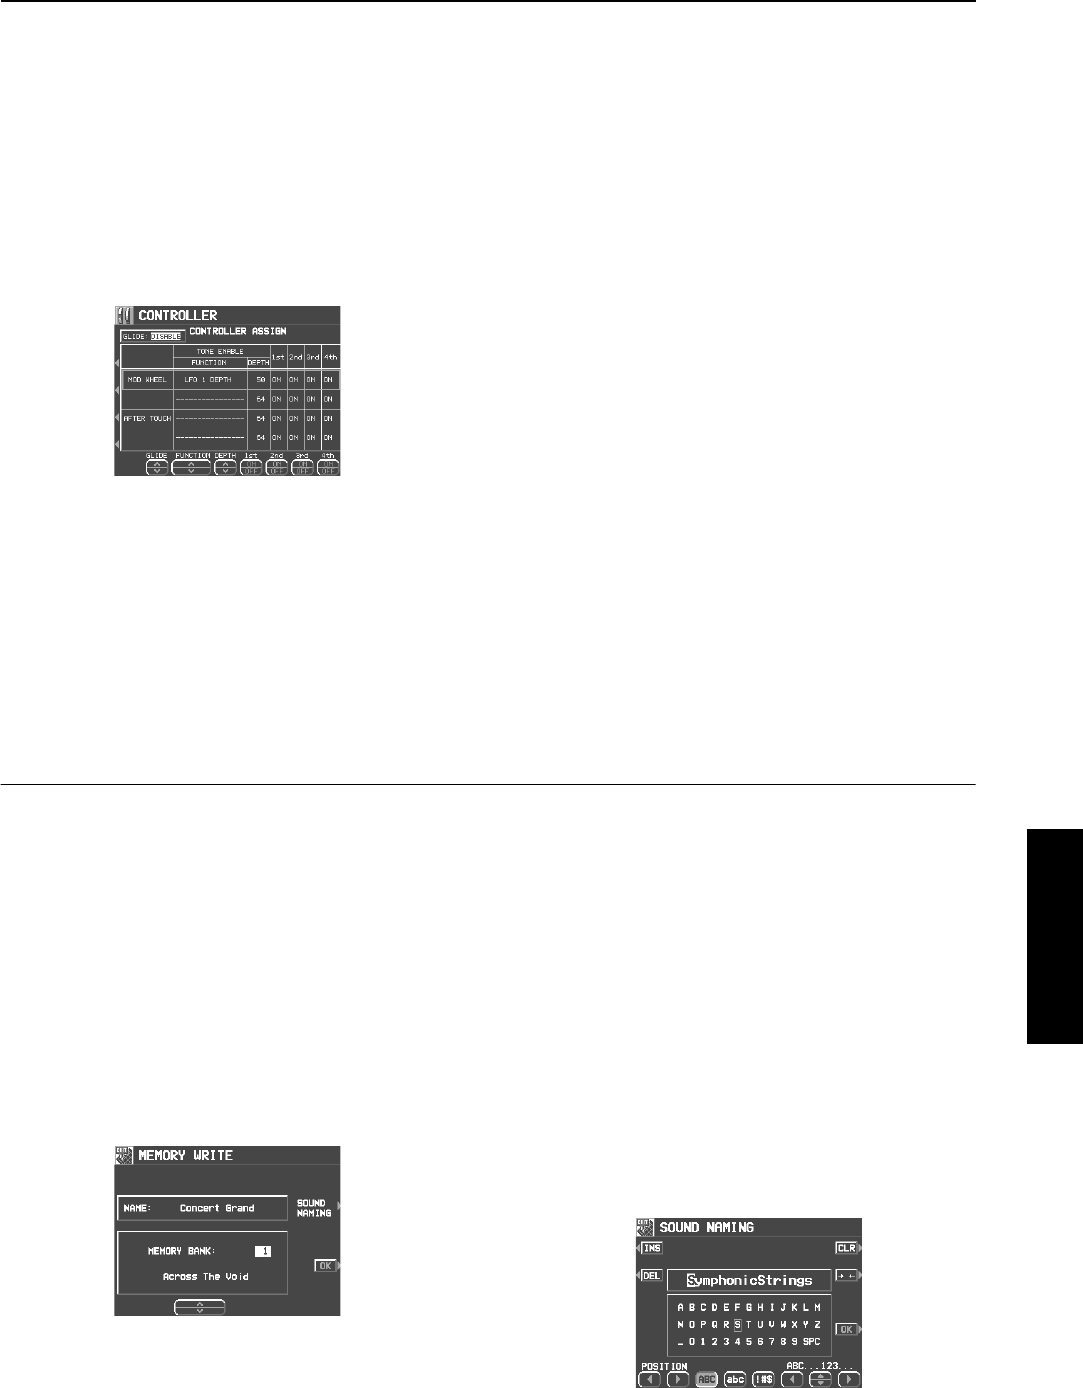
• The display looks similar to the following.
2.
Use the buttons to the left of the display to
select a controller.
• Two functions can be assigned to each con-
troller.
3.
Use the FUNCTION
∧
and
∨
buttons to select
a function for the controller.
4.
Use the DEPTH
∧
and
∨
buttons to set the
depth of the function applied by the controller.
5.
Use the ON/OFF
∧
and
∨
buttons to set the
controller to on or off for each tone.
• When set to INV, the effect is applied
inversely.
6.
Repeat steps 2 to 5 for the other controllers,
as desired.
7.
Use the GLIDE
∧
and
∨
buttons to select
whether or not the glide effect is active.
ENABLE:
The glide effect is enabled.
DISABLE:
The glide effect is disabled.
• To assigning a function to the foot switch, refer
to page 172.
Store the new sound
The MEMORY button in the SOUND GROUP section accesses memory banks reserved for the sounds
you create with the SOUND EDIT. You can store up to 40 original sounds then select the sounds just like
the other sounds in the SOUND GROUP.
Procedure
1.
When you have edited the sound to just the
way you like it, on the SOUND EDIT menu dis-
play press the WRITE button.
• The display changes to the MEMORY WRITE
display.
2.
To assign a name to your new sound, press
the SOUND NAMING button.
• If you do not assign a name to your sound, the
name becomes the same as the original
sound from which you started. In this case,
skip to step 5.
• The display changes to the SOUND NAMING
display.
15_Part X.fm 169 ページ 2003年2月5日 水曜日 午後1時55分
