Scanning
21
Using
6
Press the Start/Stop Key.
• The unit starts scanning and the image is
printed.
• The copying status is shown on the display.
• After printing is finished, the Screen Erase
Announce will be shown on the display.
7
After erasing the written text/diagrams on the
screen, press the Mode Key ( ) to return to
standby mode.
Note
• Only remove the USB cable once you have
returned to standby mode.
• For information regarding how to set ink
cartridges or paper in your printer, please
refer to the manual of the printer.
■ System Requirements
*1
This unit does not function with Hi-Speed USB 2.0. Even if
using a computer equipped with Hi-Speed USB 2.0, this unit
functions with Full Speed USB 2.0.
(This unit will not run at the rated speed of Hi-Speed
USB 2.0.)
*2
Microsoft® Windows® 2000 operating system (hereafter
Windows 2000)
*3
Microsoft® Windows® XP operating system
(hereafter Windows XP)
*4
Microsoft® Windows Vista® operating system
(hereafter Windows Vista)
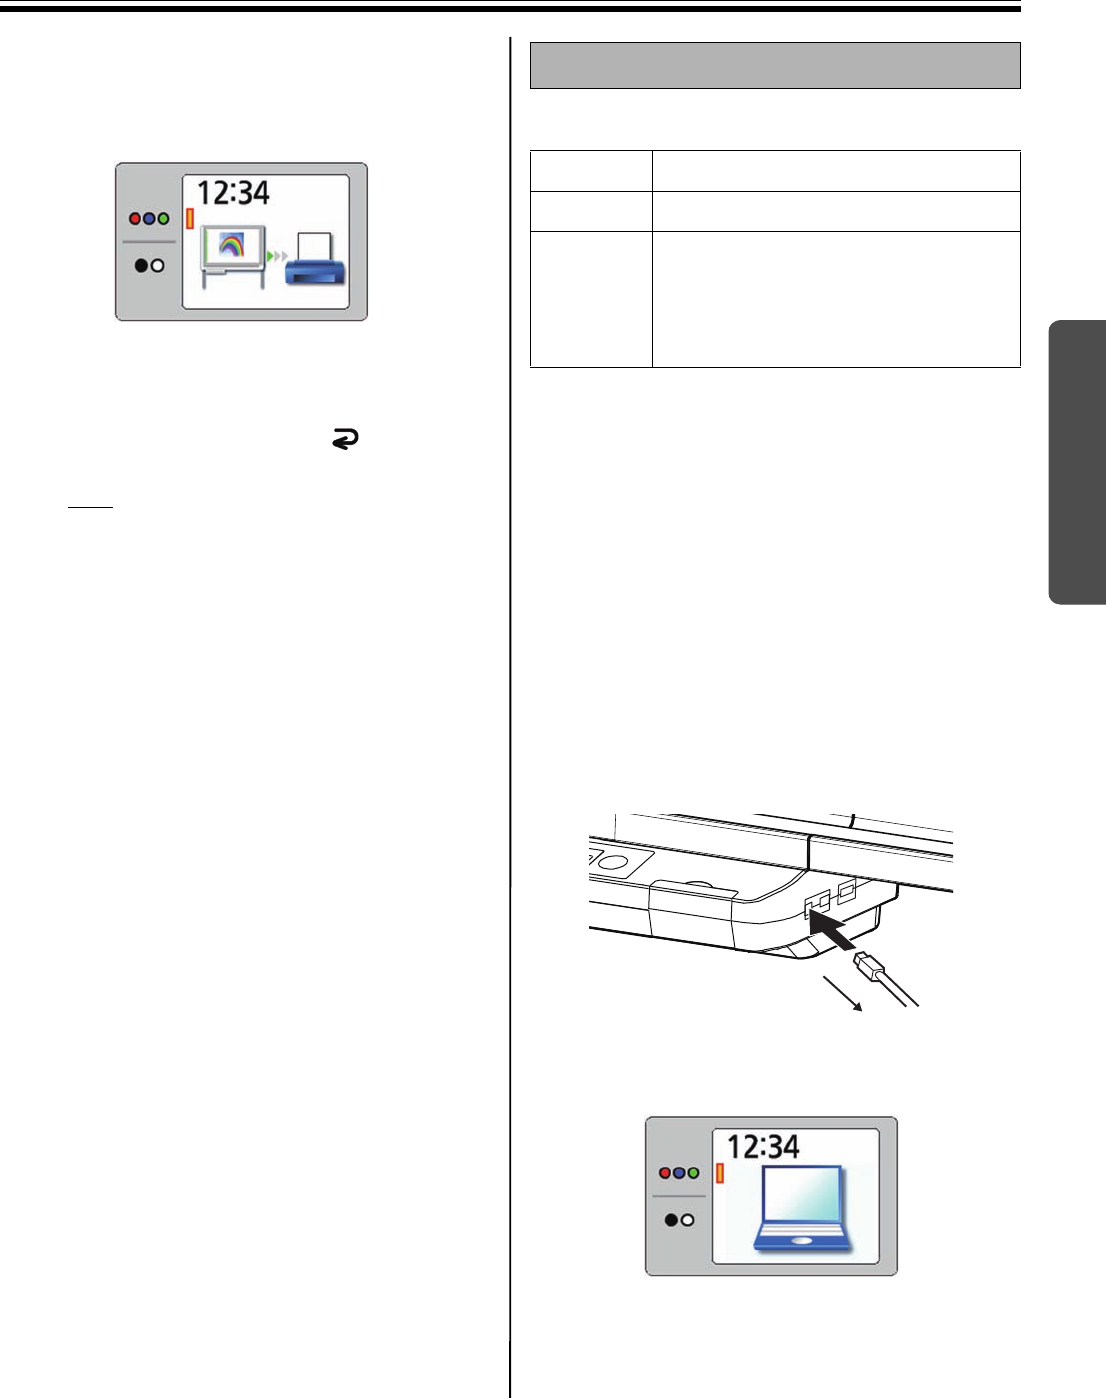
■ Scanning to a computer
1
Set the power switch to on ( I ).
2
Connect the computer to “USB Connector-B for
Computer” with a USB cable (included).
• The computer icon is shown on the display.
The display below is an example of the unit in
standby mode.
• The computer recognizes the electronic board
as a Removable Disk and the drive is
displayed in the Windows Explorer window.
Scanning to a computer
Computer IBM® PC/AT® or compatible machine
Interface USB 2.0 or USB 1.1*
1
OS Windows® 2000*
2
(Service Pack 4 or later)
Windows® XP*
3
(Service Pack 2 or later)
Windows Vista®*
4
UB5838C-PJQXC0259ZA_mst.book 21 ページ 2009年5月26日 火曜日 午後2時59分


