


3
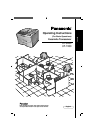
Operating Instruction
ENGLISH
The following notations are used throughout this manual.
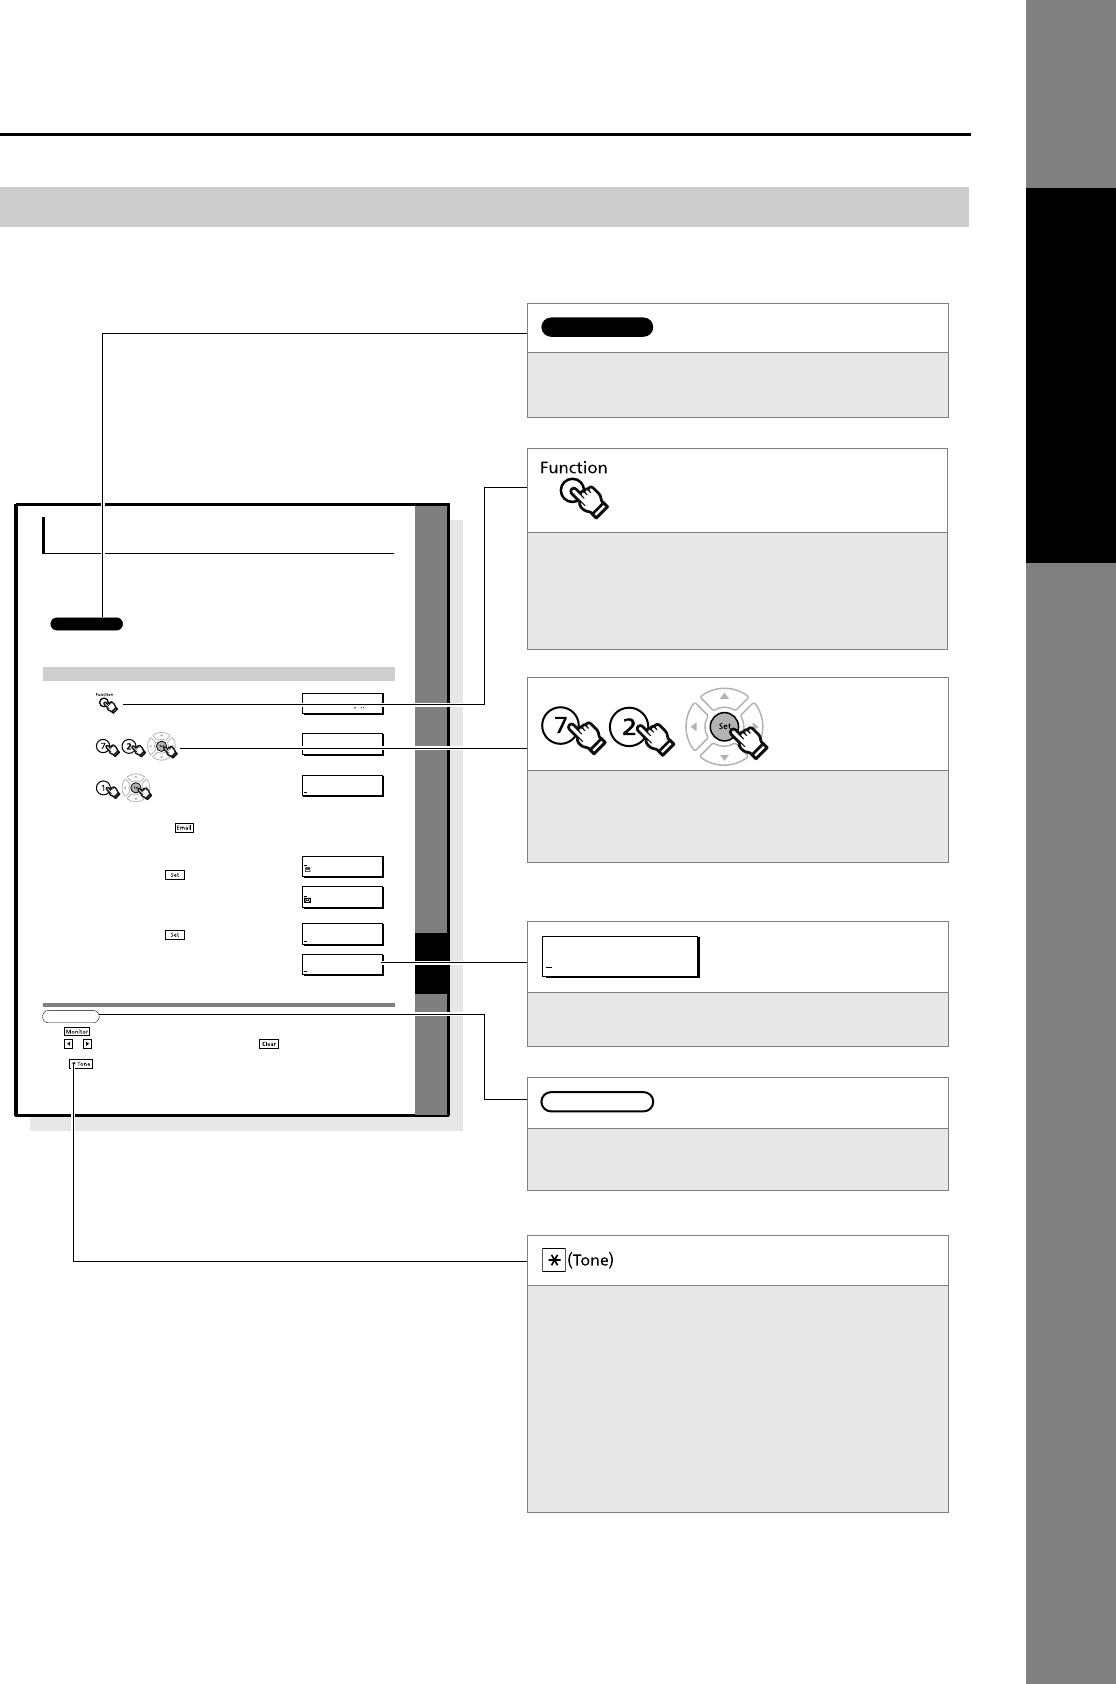
How to Read This Manual
XX
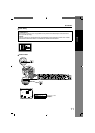
Setting Your
Machine
Continued on the next page...
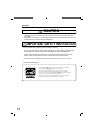
Programming Auto Dialer
Your machine has 2 types of Auto Dialers. The default dialer can be selected by changing the setting of Fax
Parameter No.119 (QWERTY KEYBOARD).
When the setting is set to:
"1:One-Touch": You can manually select the desired One-Touch Key, ABBR. Dialing and the Program Key.
"2:Quick Name Search": You can select the station by searching the Station Name, and the Program Name.
1234
ATTENTION
• The required Six (6) Basic Internet Parameters must be set when setting Email Address. (See page 132)
• Up to 580 stations, plus additional 420 with the optional SD Memory Card installed. (See page 186)
NOTE
1.Use to enter a space between the numbers to make it easier to read.
2.Use or to move the cursor beyond the incorrect character, press then re-enter the new character.
3.If you are using Pulse dialing and you wish to change to Tone dialing in the middle of dialing,
press (represented by a"/"). The dialing method will be changed from Pulse to Tone after dialing the digit "/".
4.When using Address Book Dialing, you cannot use ABBR. Number Dialing.
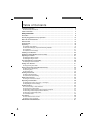
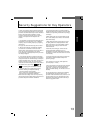
Programming Address Book
1
2
3
4
To change the input mode (between enter Email Address and
Telephone Number), press .
5
Enter the Telephone Number using the Number Pad (up to 36 digits)
or the Email Address using the QWERTY Keyboard (up to 60
characters), then press .
Ex:335 or admin@pana
6
Enter the Station Name using the QWERTY Keyboard (up to 15
characters), then press .
FUNCTION (1-9)
ENTER NO. OR
ADDRESS BOOK (1-3)
ENTER NO. OR
ADD STATION
ENTER TEL. NO.
ENTER NAME
335
ENTER NAME
admin@pana
ADD STATION
ENTER TEL. NO.
ADD STATION
E
NTER EMAIL ADDRESS
ADD STATION
ENTER EMAIL ADDRESS
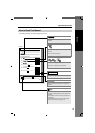
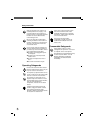
Indicates items that need to be registered in
advance.
Indicates additional information on operations or
features.
Indicates messages shown on the LCD display.
Keys with a pointing finger indicate keys you need
to press.
Ex: Press the Function Key.
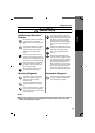
Indicates keys on the Control Panel.
The shape is different from the actual keys on the
machine.
The functions of some of the keys are marked in
parentheses.
For details about the keys on the Control Panel,
refer to Control Panel. (See page 16)
Indicates pressing keys sequentially.
Ex: Press 7, 2, the Set Key in sequence.
ATTENTION
NOTE
Sample