2. Connecting the SmartNode to the network 39
SmartNode 4400 Series Getting Started Guide 4 • Getting started with the SmartNode 4400 Series
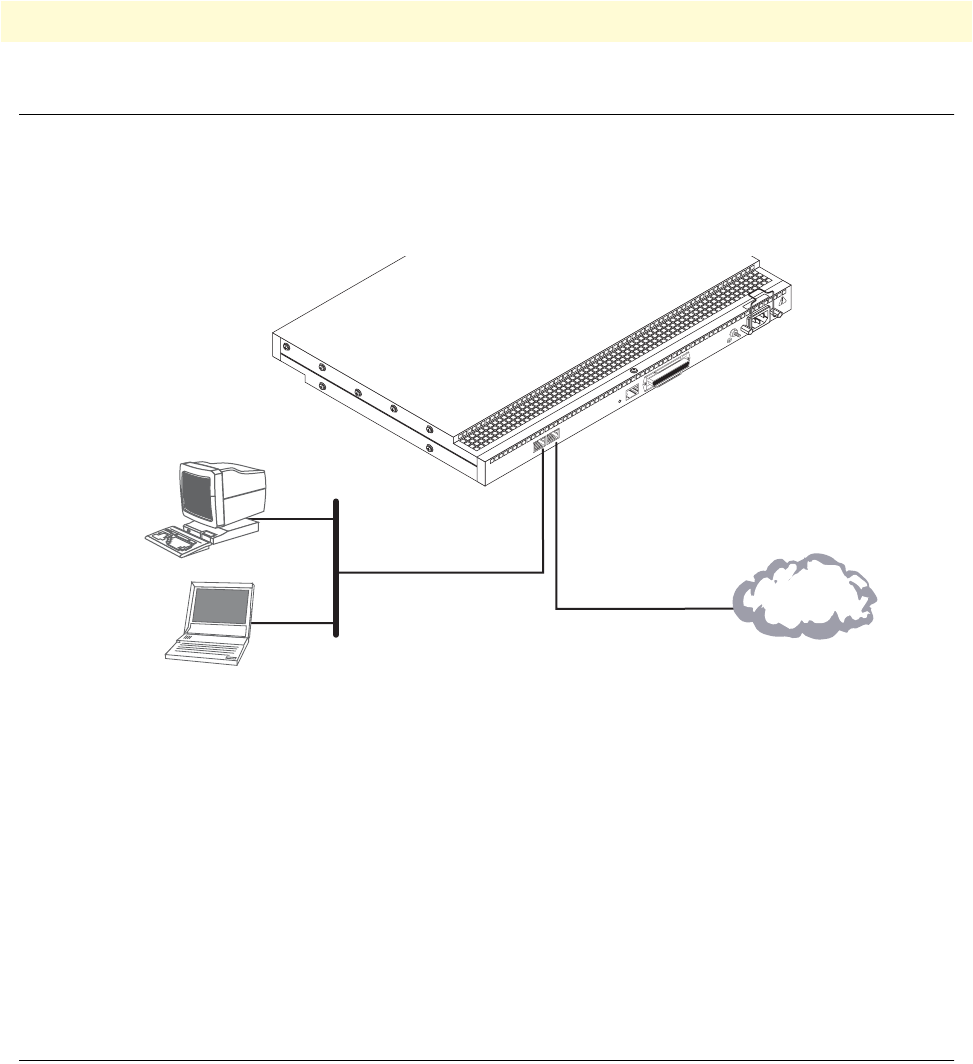
2. Connecting the SmartNode to the network
In general, the SmartNode will connect to the network via the ETH 0/0 (WAN) port. This enables the
SmartNode to offer routing services to the PC hosts on the ETH 0/1 (LAN) port. The SmartNode 4400 Series
is equipped with Auto-MDI-X Ethernet ports, so you can use straight-through or crossover cables for host or
hub/switch connections (see figure 17).
Figure 18. Connecting the SmartNode to the network
You can check the connection with the ping command from the SmartNode to another host on the network.
172.16.1.99(if-ip)[eth0]#ping <IP Address of the host>
Respectively from the host: ping 172.16.1.99
Note To ping outside your local LAN, you will need to configure the
default gateway. (For information on configuring the default gate-
way, refer to section "Set IP addresses" in Appendix C, "Command
Summary" of the SmartNode Series SmartWare Software Configura-
tion Guide.)
3. Loading the configuration (optional)
Patton provides a collection of configuration templates on the CD-ROM that came with the SmartNode
device—and also on the support page at www.patton.com/voip—one of which may be similar enough to your
application that you can use it to speed up configuring the SmartNode. Simply download the configuration
note that matches your application to your PC. Adapt the configuration as described in the configuration note
to your network (remember to modify the IP address) and copy the modified configuration to a TFTP server.
The SmartNode can now load its configuration from this server.
100-240V
(50-60 Hz)
1 AMP
UNIT EQ
U
IPPED WITH DUAL SUPPLIES
DISCONNECT BOTH SUPPLIES
BEFORE SERVICING
ETH 0/0
Console
Telco Ports
50
Reset
ETH 0/1
Straight-through wired or
crossover cable
LAN (ETH 0/1)
Network
interface
PC or workstation
or Telnet
LAN
Internet or
WAN (optional)
WAN
(ETH 0/0)


