


LFF6050
- 67 -
12 - PC Features
Details about Option A and B:
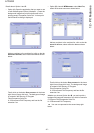
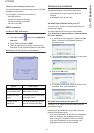
• Option (A): Open the application that you want to use
to edit the background (Word, Wordpad...). Draw the
background image then print this document in the
printer named "Companion Suite Fax". At that point
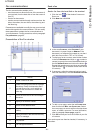
the MFSendFax dialog is displayed:
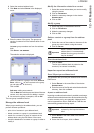
Add any recipient to the recipient list, click on the tab
A
DVANCED OPTIONS, select resolution FINE as shown
below:
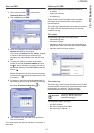
Finally click on the button SAVE AS DRAFT in the lower
right corner (floppy disk icon). The background image
is created in the directory C:\Program
Files\Companion Suite Pro
LL 2\Documents\FAX\Temporary and has the file
extension .fax
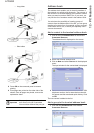
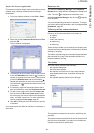
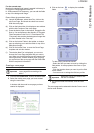
•Option (B): Launch MFM
ANAGER, select NEW FAX,
select the scanner source as shown below:
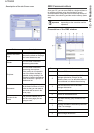
Add any recipient to the recipient list, click on the tab
ADVANCED OPTIONS, select resolution FINE as shown
below:
Finally click on the button S
AVE AS DRAFT in the lower
right corner (floppy disk icon). The background image
is created in the directory C:\Program
Files\Companion Suite Pro
LL 2\Documents\FAX\Temporary and has the file
extension .fax.
Whether you choose Option A or B, you end up with a
background image with extension .fax, which is located in
C:\Program Files\Companion Suite Pro
LL 2\Documents\FAX\Temporary.
You can now proceed to the second step right
below.
Î