


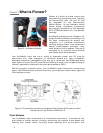


Specifications and Controls
Body, Nose, and Accessory Panels
Your ActivMedia robot’s sturdy, but lightweight aluminum Body houses the batteries,
drive motors, electronics, and other common components, including the front and rear
sonar arrays. The Body also has sufficient room, with power and signal connectors, to
support a variety of robotics accessories inside, including an A/V wireless surveillance
system, radio modems or radio Ethernet, onboard computer, and more.
On all models except the DE, a hinged rear door gives you easy access to the batteries,
which you may quickly hot-swap to refresh any of up to three batteries.
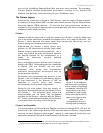
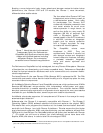
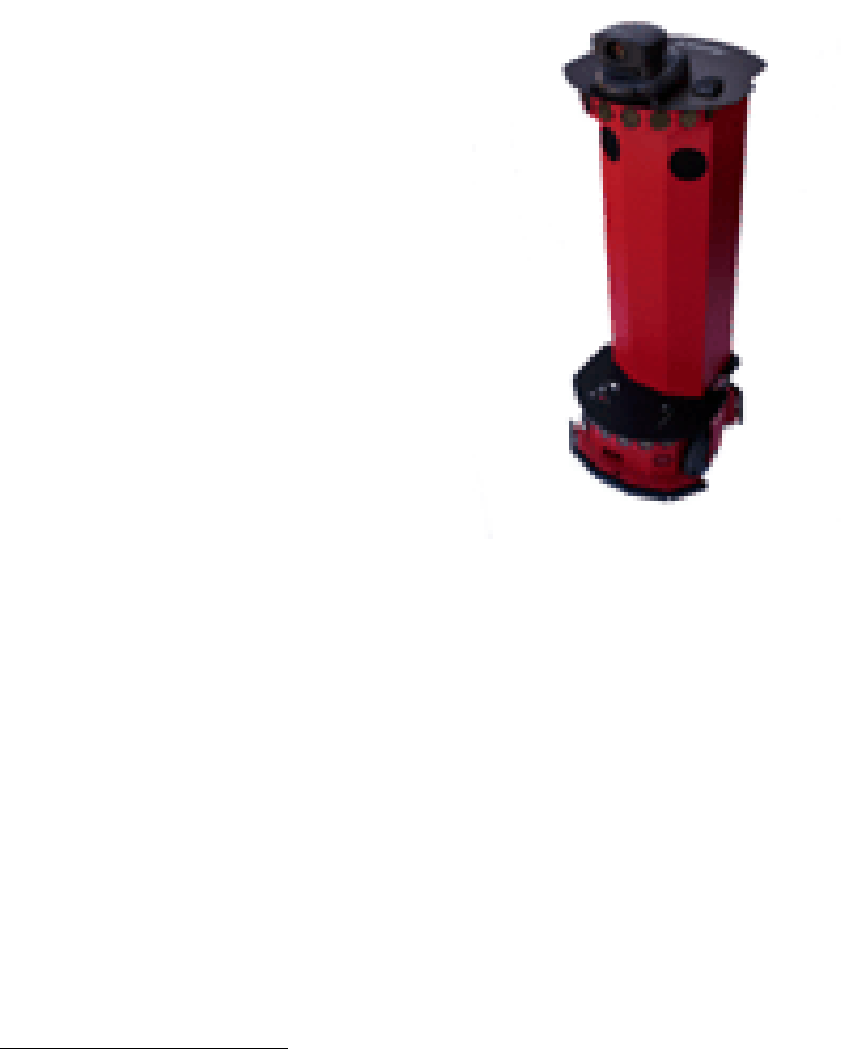
The PeopleBot V1 has a removable pedestal
mounted to its base Deck. A removable
back panel gives you access to internal
wiring and components, including stereo
speakers, A/V and Ethernet radios, and
microphone preamplifier. On top of the
pedestal is the upper Deck where you may
add components like the PTZ Robotic
Camera that normally mounts to the Deck of
a Pioneer 2. PeopleBot’s also have an
additional front sonar array.
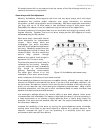
Figure 11. The PeopleBot V1 has a
r
emovable pedestal with top Deck and
sonar array. A rear panel gives you
access to the pedestal’s internal
components and connectors.
Both PeopleBot models include front and
rear bump rings for stability as well as
sensitive collision detection.
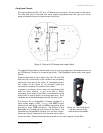
The Noses of Pioneer 2s and PeopleBots are
empty, except when equipped with an
onboard PC. The Nose is readily removable
for access: Simply remove two screws from
underneath the front sonar array. With the 2-
AT, a third screw holds the Nose to the
bottom of the Body; the DXe’s Nose is hinged
at the bottom.
Earlier Pioneer 2 models and the PeopleBots
have a Nose that is secured by a single
screw beneath the front sonar array and one
on the bottom of the robot.
Once the mounting screws are removed, simply pull the Nose away from the Body.
6
This
provides a quick and easy way to get to the accessory boards and disk drive of the
onboard PC, as well as to the sonar gain adjustment for the front sonar array. The Nose
also is an ideal place for you to attach your own custom accessories and sensors.
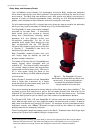
The Pioneer 2-DX, -DXe, -CE, and PeopleBot V1 robots come with removable panels on
each side through which you may install accessory connectors and controls. A special
side panel comes with the onboard PC option, for example, which gives users monitor,
keyboard, mouse, and 10Base-T Ethernet access, as well as the means to reset and
switch power for the onboard computer.
The AT comes with a single accessory panel in the Deck. Fastened down with finger-tight
screws, the AT panel is accessible through a hinged door.
6
With older Pioneer 2 models, you also need to remove the Gripper before removing the Nose.
With the DXE and newer AT, the Nose and Gripper come off together, so you only need to
remove the Nose’s mounting screws. See Chapter 8,
Maintenance & Repair for details.
12