28
"* 08!)&
The Web Smart Ethernet Switch provides a Web interface for Switch Smart function configuration. Since the
Switch can be configured through the Web Browser, a network administrator can manage and monitor the
Switch from the local LAN or from the Internet. Before login the Web interface of Switch, please setup the “IP
Address” with local serial console port (RS232 port) and use this IP address to configure Switch through the
Web interface. Or modify your PC’s IP domain to the same with Switch then use the default IP address to
remote configure Switch through the Web interface.
"'#
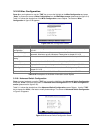
Before you start configure the Switch, please note the Switch is configured through an Ethernet connection,
make sure the manager PC must be set on same the IP subnet address. For example, the default IP address
of the Switch is 192.168.0.100, then the manager PC should be set at 192.168.0.x (where x is a number
between 1 and 254, except 100), and the default subnet mask is 255.255.255.0. Use Internet Explorer 5.0 or
above Web browser. Enter IP address http://192.168.0.100 (the factory-default IP address) to access the Web
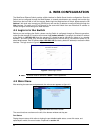
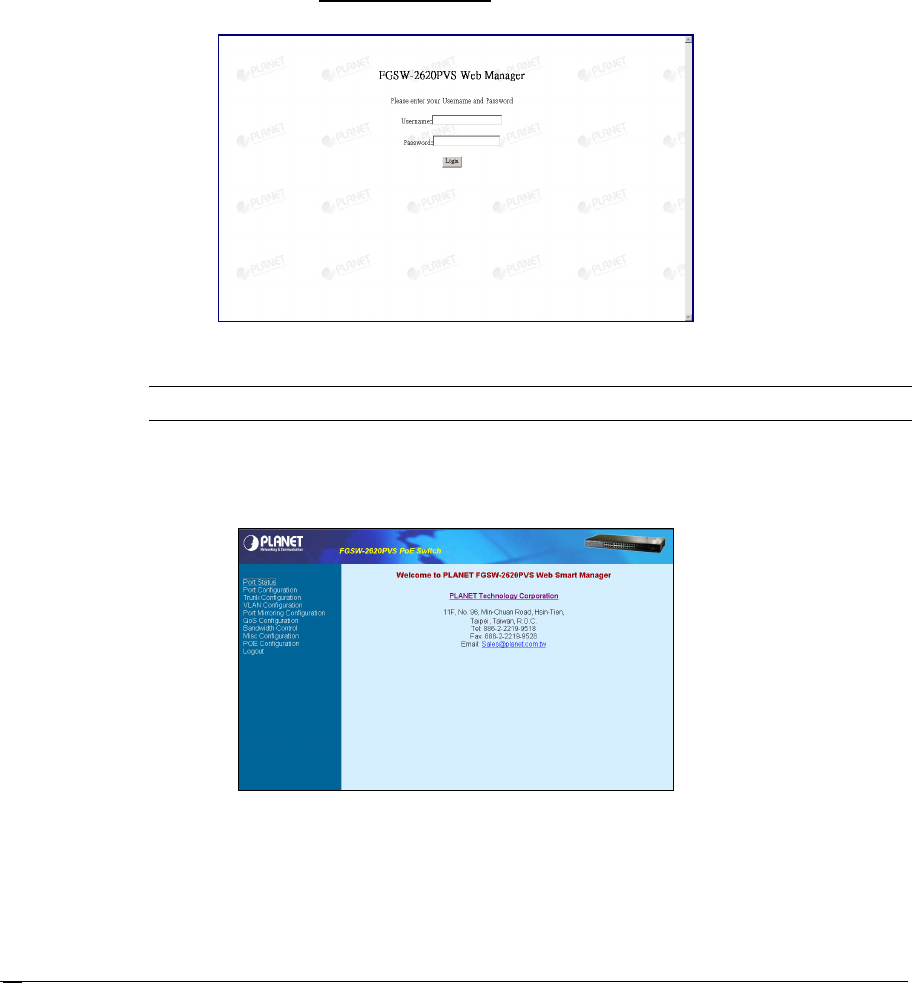
interface. The login screen in figure 4-1 appears.
Figure 4-1 Web login Screen
Note:
the default mode is username “admin” without password.
"
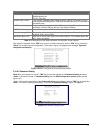
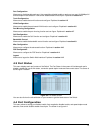
After entering the username and password, the main screen appears as figure 4-2.
Figure 4-2 Web Main Menu Screen
The smart functions are shown on the left of the browser window and they are:
Port Status:
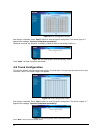
Display the port status, which allow to viewing the port disable/enable status, current link status, and
speed/duplex mode, flow control status. Explained on section 4.3


