10 DOMINION KX USER MANUAL
Note to CommandCenter Users
If you are using Dominion KX in a CommandCenter configuration, perform the installation steps as
outlined above. After completing these steps, consult the CommandCenter user guide to proceed with your
installation. The rest of this user guide applies primarily to users deploying their Dominion KX unit(s)
without the integration functionality of CommandCenter.
Connect to Dominion KX Remotely
When you complete the physical installation of Dominion KX, establish an initial network connection,
following the steps below.
Note: Please see Chapter 3: Raritan Remote Client, KVM Console Control and Color Calibration for
more information on optimizing Dominion KX performance for target servers.
Launch Raritan Remote Client (RRC)
1. Log on to any Windows-based computer with network access to Dominion KX.
2. If you are using Windows NT, 2000, XP, or 2003, ensure that you are not a “restricted” user.
3. Launch Microsoft Internet Explorer (ensure that your Internet Explorer security settings allow the
download and execution of ActiveX controls).
Note: A Windows default security setting of Medium is sufficient.
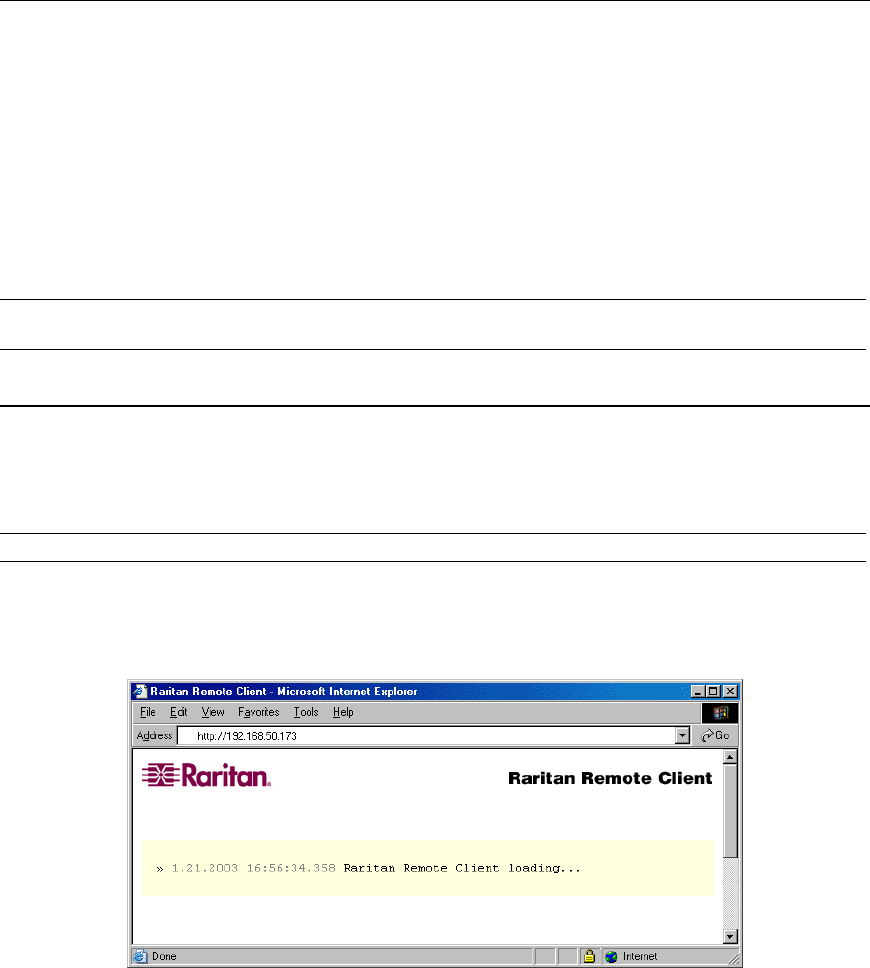
4. In the Internet Explorer Address bar, type the IP address you assigned to Dominion KX in Step 6 of the
previous section, Initial Configuration. Press the <Enter> key to load and launch the web access
client, Raritan Remote Client (RRC).
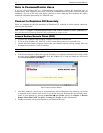
Figure 7 RRC Connection Window
5. After RRC launches, a device tree of all automatically detected Raritan devices found on your subnet
is displayed on the left side of the screen. If you do not find your Dominion KX unit listed by name,
create an icon manually by selecting Connection → New Profile (please see Chapter 3: Raritan
Remote Client (RRC), RRC Navigator, Creating New Profiles for more information).
6. Double-click on the icon that corresponds to your Dominion KX unit.


