CHAPTER 2: INSTALLATION 11
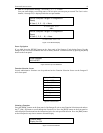
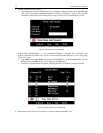
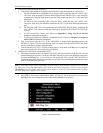
7. Re-Configure: Paragon II will automatically configure the system as computers or devices are added
or removed. However, the system administrator can use this function to scan and re-configure the
system manually. When complete, it will return to normal display.
Re-Configure
Searching Now…
Figure 16 Auto Configure
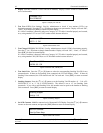
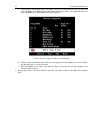
8. Set IP Address: As administrator, you may change Paragon II’s IP address directly from the front
panel of the device. The Paragon II’s current IP address will be displayed, along with a cursor. Use the
[]and []keys to move the cursor over digit-by-digit, and use the [] or []arrow keys to change
the value of that digit. Press the [ENT] button when the new IP address has been set. Press the [ENT]
button again to save changes and reboot the unit when asked to “Save Changes?” The unit will restart
with the new network address.
Note: Stacking units do not have their own databases and configurations settings, and likewise, do not have
their own network addresses. You cannot configure one using the front panel controls on UMT E units.
9. Reset Unit (Paragon II Unit Switch): Enables restart of Paragon II unit as if unit’s power had been
physically turned off and back on again. However, the Paragon II unit will not perform start-up test
unless ENT button is held down during restart.
With Paragon II unit firmware 2B1 and User Station (UST1) firmware 2K10 or higher, either a power
reset or a factory “function” reset can be performed from the front panel of the Paragon II unit using
shortcut button combinations.
Power Reset:
Hold the [] and [] buttons on the front panel of the Paragon II unit simultaneously for approximately
three seconds. When the front panel stops scrolling, release the buttons.
Factory “Function” Reset:
Hold the [] and [] buttons on the front panel of the Paragon II unit simultaneously while pressing the
[FUNC] button. When the front panel stops scrolling, release the [] and [] buttons, wait an additional
three seconds, then release the [FUNC] button.


