MONITOR SETTINGS Menu 6
You can set the automatic sequential display speed on each monitor and the display sequence order. Also, you can have the live
and/or recorded picture from certain cameras masked so that they are not visible on-screen.
(MONITOR SET)
Setting the Monitor Display
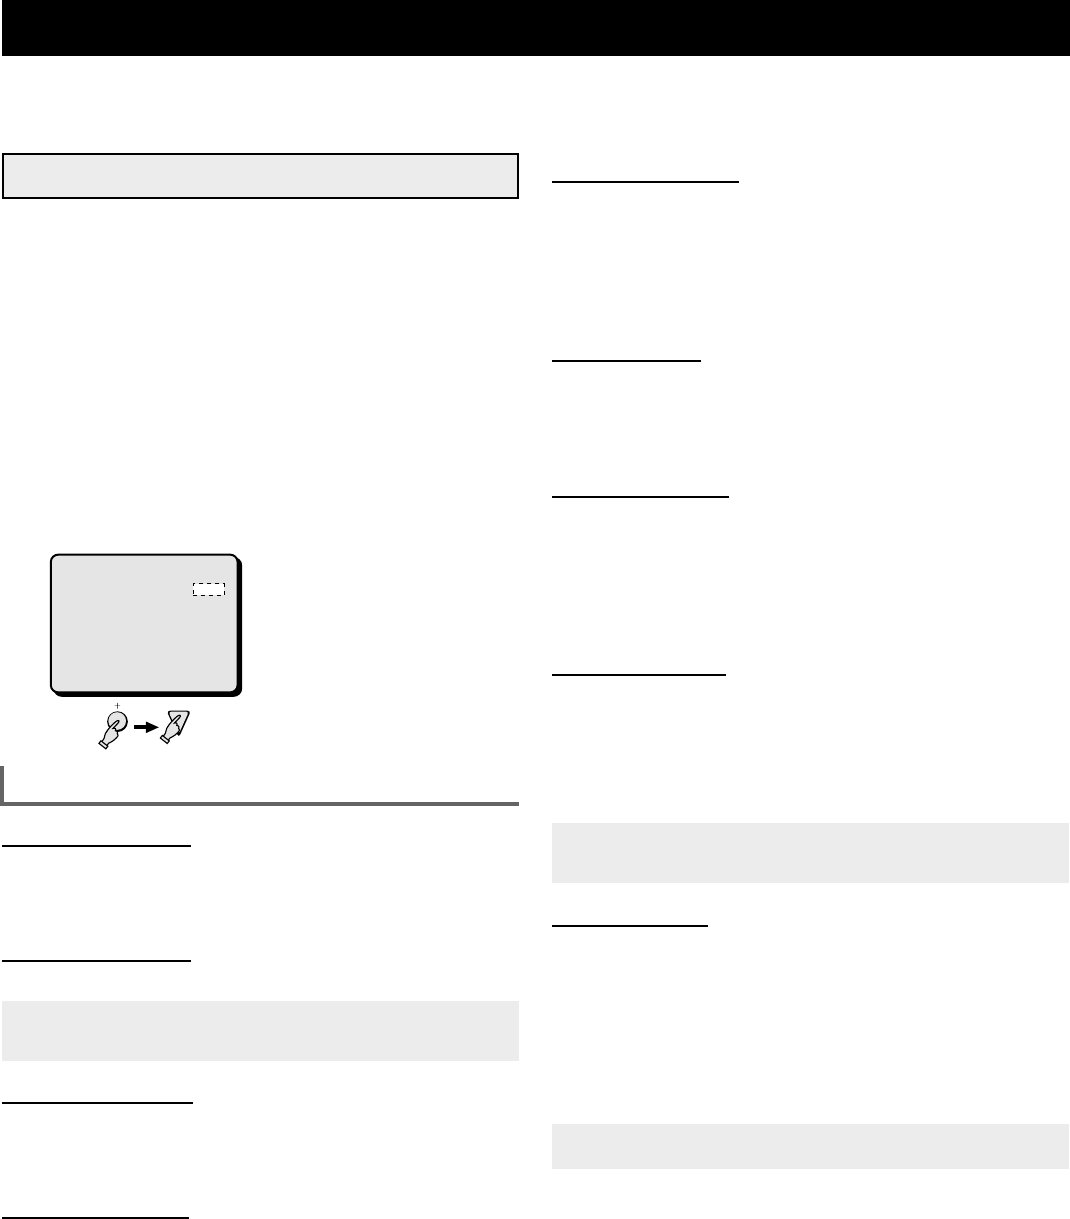
1 Press the MENU button 6 times to display the
(MONITOR SET) menu.
2 Press the l button to highlight the setting to modify.
Using the + (or –) button, select the desired setting,
then press the l button.
Following this procedure, select the settings or MON1 SEQ.
TIMER ... COLOR LEVEL.
3
☞
Press the MENU button to go to the next menu
screen, or
☞
Press the EXIT button to exit the menu display.
MONITOR SET menu
MON1 SEQ.TIMER (Default setting: 1 S)
To set the full screen automatic sequential display speed
(interval) on monitor 1.
The available intervals are: 1 – 30 seconds, INDIV.
MON2 SEQ.TIMER (Default setting: 1 S)
The available intervals are: 1 – 30 seconds, INDIV.
NOTE:
If the “INDIV.” setting is used, in the (CAMERA SET) menu,
enter the desired setting for each camera (see page 36).
QUAD SEQ.TIMER (Default setting: 1 S)
To set the 4 divisions screen automatic sequential display speed
(interval).
The available intervals are: 1 – 30 seconds
MON1 SEQ.MODE (Default setting: MODE1)
MODE1: The cameras are displayed sequentially in order (1 to
16).
MODE2: The cameras are displayed sequentially in the order
set in the (POSITION SET) menu, when the 16
cameras are displayed in a 16 divisions screen (see
page 43).
MON2 SEQ.MODE (Default setting: MODE1)
MODE1: The cameras are displayed full screen sequentially in
order (1 to 16).
MODE2: The cameras are displayed sequentially in the order
set in the (POSITION SET) menu, when the 16
cameras are displayed in a 16 divisions screen (see
page 43).
MON2←MON1 (Default setting: OFF)
ON: The display on monitor 2 will be the same as the one on
monitor 1.
OFF: The display mode on monitor 2 will an automatic
sequential display or full screen display of live pictures.
MON.MASK LIVE (Default setting: ON)
ON: If, for certain cameras, in the (CAMERA SET) menu, the
“MON.MASK” item is set to “ON”, the live picture from
those cameras will not be visible on-screen.
OFF: The live picture from all cameras will be visible on-screen
regardless of the “MON.MASK” item setting of each
camera, in the (CAMERA SET) menu.
MON.MASK VCR (Default setting: ON)
ON: If, for certain cameras, in the (CAMERA SET) menu, the
“MON.MASK” item is set to “ON”, the recorded picture
from those cameras will not be visible on-screen.
OFF: The recorded picture from all cameras will be visible
on-screen regardless of the “MON.MASK” item setting of
each camera, in the (CAMERA SET) menu.
NOTE:
The individual monitor masking setting is entered for each
camera in the (CAMERA SET) menu (see page 36).
COLOR LEVEL (Default setting: AUTO)
AUTO: In divided screen display mode, the colors will be
adjusted automatically.
☞ If in divided screen mode the colors depth changes and the
image is not clear, press the + or (–) button to select the
desired level.
The available settings are:
1, 2, 3, 4, 5, AUTO, 5, 6, 7, 8, 9 (A higher number will set the
colors to a depth setting.)
NOTE:
Model MPX-MD162 does not have COLOR LEVEL function.
2
(MONITOR SET)
MON1 SEQ.TIMER 1 S
MON2 SEQ.TIMER 1 S
QUAD SEQ.TIMER 1 S
MON1 SEQ.MODE MODE1
MON2 SEQ.MODE MODE1
MON2 í MON1 OFF
MON.MASK LIVE ON
MON.MASK VCR ON
COLOR LEVEL AUTO
L8FC5/US (MPX-CD162, MD162 GB) 2000. 8. 31
English 35


