51
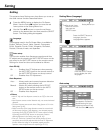
Setting
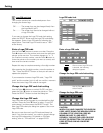
On start
Lamp control
Remote control
Remote control
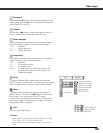
Pointer
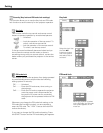
When this function is set to “On,” the projector will be
automatically turned on just by connecting the AC power
cord to a wall outlet.
✔Note:
•Be sure to turn off the projector properly (see “Turning Off the
Projector” on page 22). If the projector is turned off in the incorrect
sequence, the On start function does not work properly.
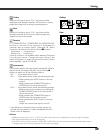
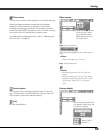
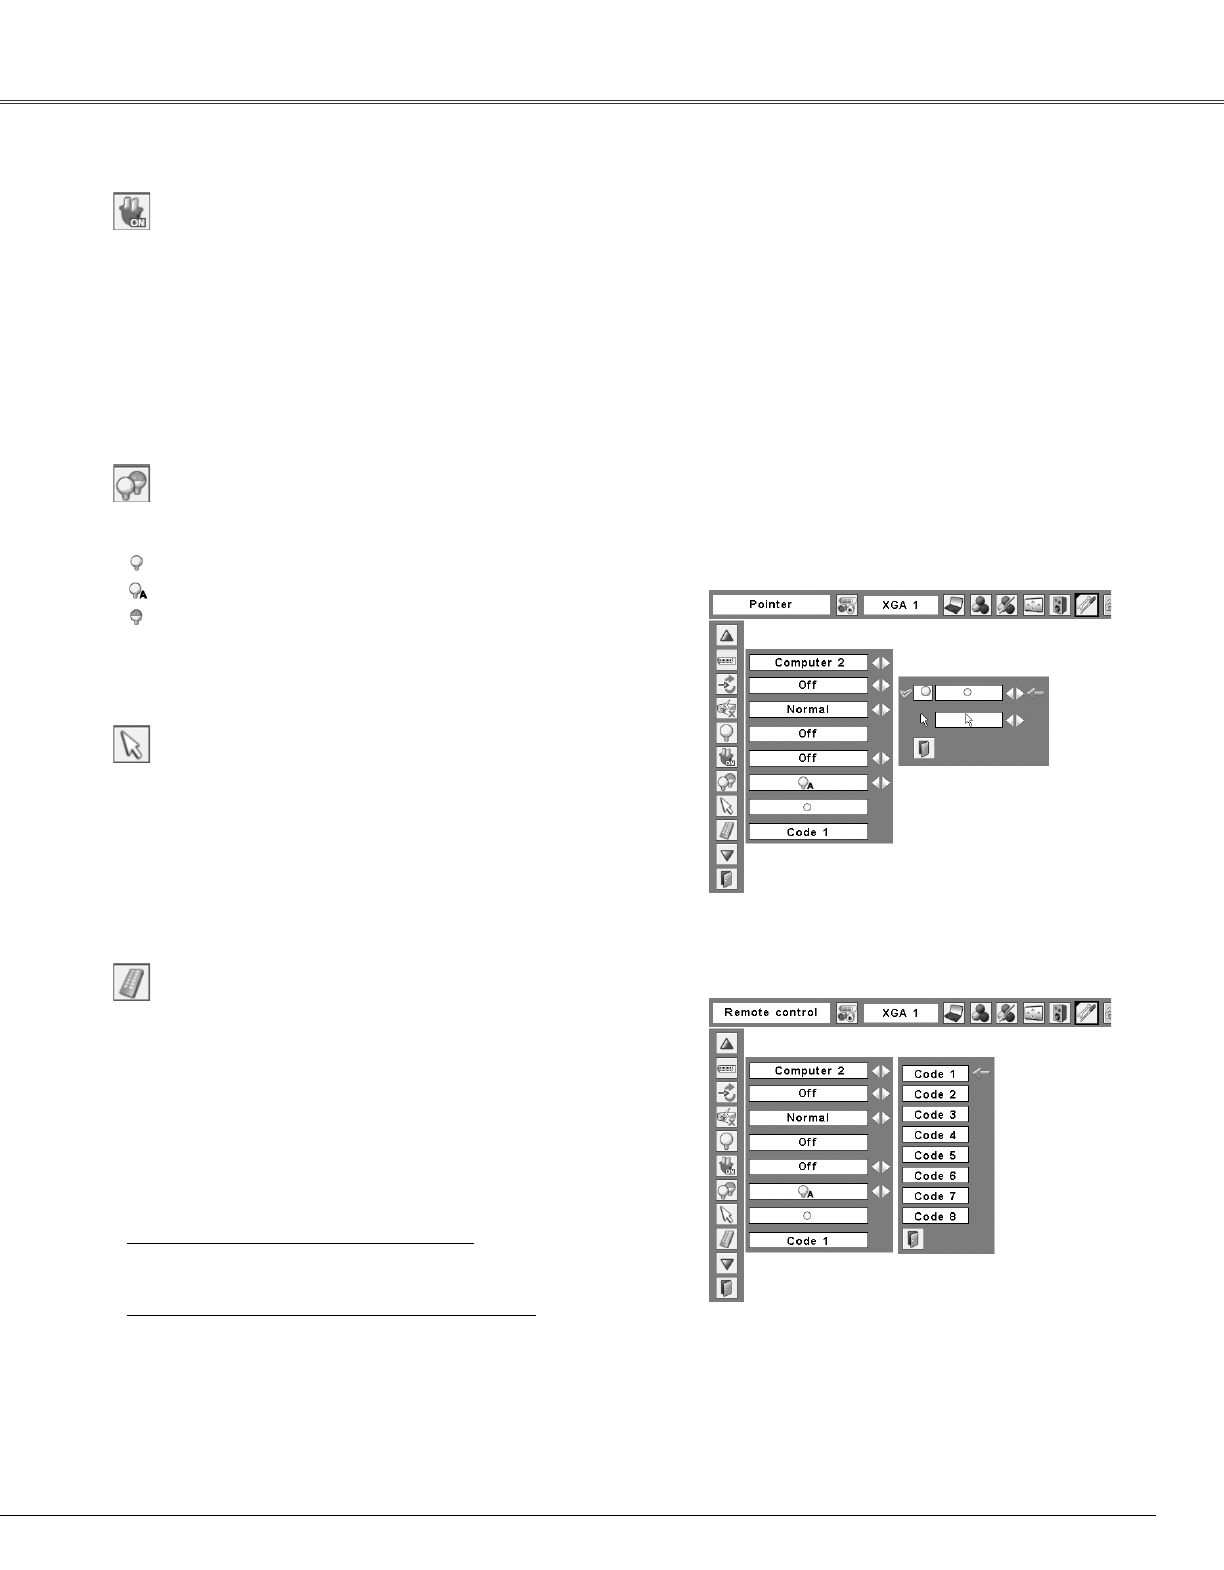
You can emphasize a part of the projected image with this
function. Use the Point ed buttons to choose either
Spotlight or Pointer and press the SELECT button. Then use
the Point 7 8 buttons to select a size of the Spotlight
(Large, Middle, or Small) or a pattern of the Pointer (Arrow,
Finger, or Dot). See “Pointer Function” on page 13.
Pointer
Use the Point ed buttons
to choose either Spotlight
or Pointer, and then use
the Point
7 8 buttons to
switch between the
options.
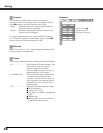
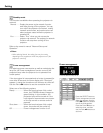
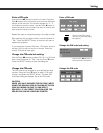
The eight different remote control codes (Code 1–Code 8)
are assigned to the projector; the factory-set, initial code
(Code 1) and the other seven codes (Code 2 to Code 8).
The same code should set on both the projector and the
remote control. For example, operating the projector in
“Code 7”, the remote control code also must be switched
to “Code 7”.
To change the code for the projector
Select a remote control code in this Setting Menu.
To change the code for the remote control:
While holing down the MENU button, press the IMAGE
button the number of times corresponding to the remote
control code for the projector. See “Remote Control
Code” on page 14.
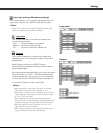
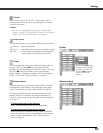
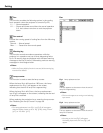
This function allows you to change brightness of the screen.
Normal ....Normal brightness
Auto ........The brightness according to the input signal
Eco ..........Lower brightness reduces the lamp power
consumption and extends the lamp life.


