E-19
RGB Adjustment Controls
When displaying computer patterns which repeat every other dot (tiling, vertical stripes, etc.), interference may
occur between the LCD pixels, causing flickering, vertical stripes, or contrast irregularities in portions of the screen.
Should this occur, use the ADJUSTMENT / buttons for HORIZONTAL (LEFT/RIGHT) and VERTICAL (UP/
DOWN) POSITION ADJUSTMENTS to adjust for the optimum picture.
RGB INPUT ADJUSTMENTS (CLOCK, PHASE, V-POS and H-POS)
1. Select RGB with the INPUT SELECT button and press
the MENU button to select the RGB INPUT ADJ. mode.
With the MENU screen displayed, press the ADJUSTMENT / buttons to
select RGB INPUT ADJ. Then press the ENTER button to display the
RGB INPUT ADJ. screen.
2. Select the item you wish to adjust with the
ADJUSTMENT
/ buttons. Adjust the item with the
ADJUSTMENT
/ buttons.
Note:
To display only the item that you want to adjust, press the ENTER button after
selecting the item with the ADJUSTMENT / buttons. Then adjust the item with
the ADJUSTMENT
/ buttons.
3. Press the MENU button anytime to exit RGB INPUT ADJ.
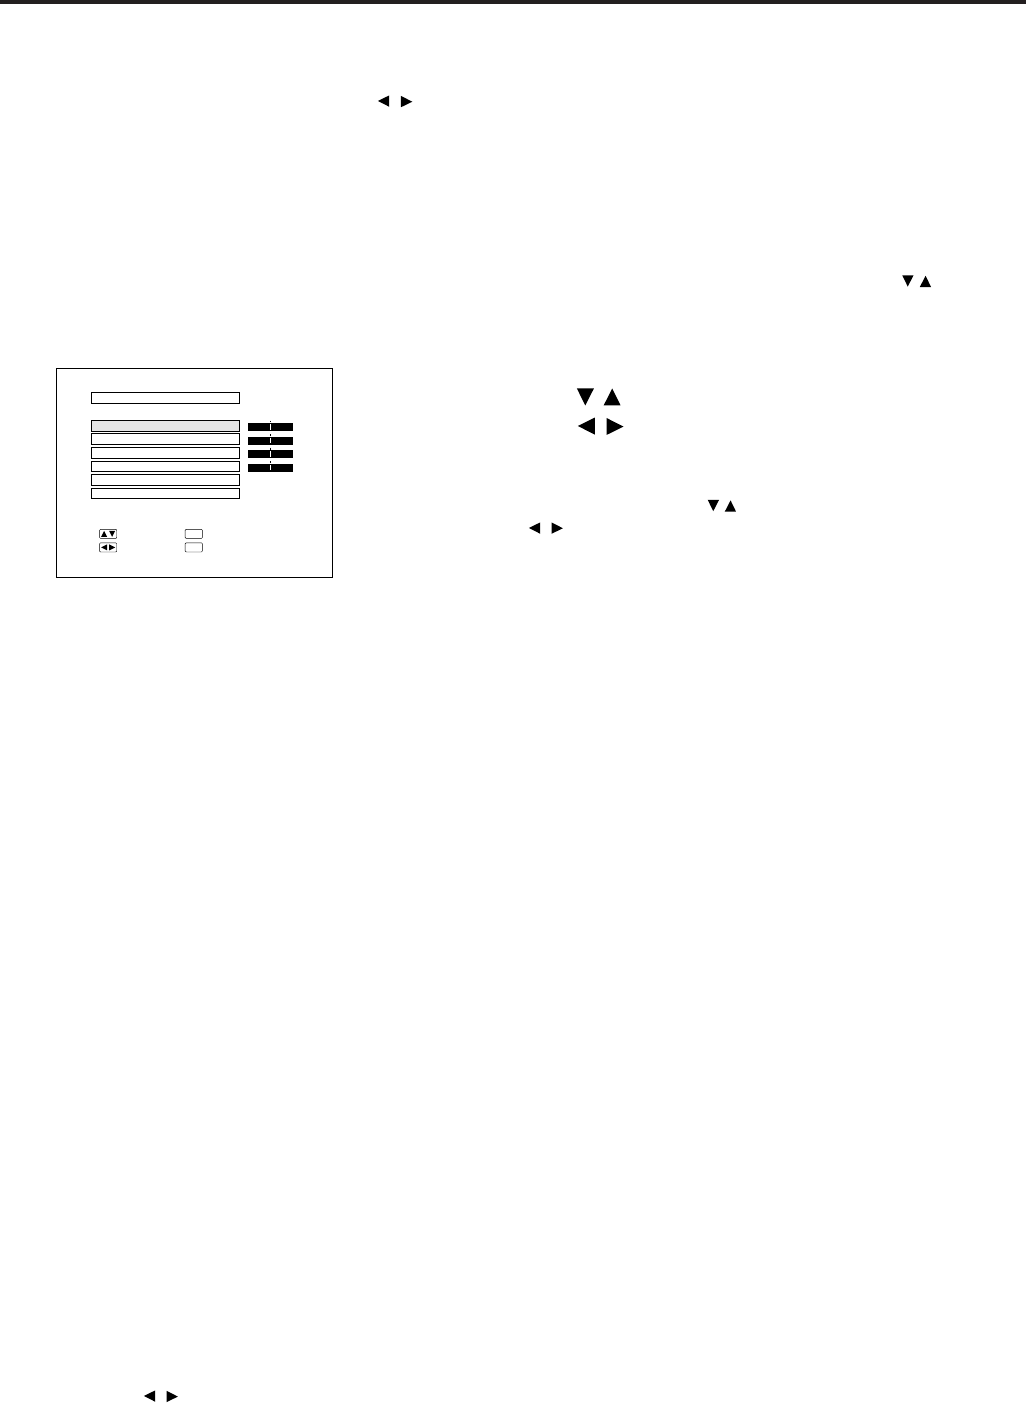
2
RGB INPUT ADJ.
PHASE
H-POS
V-POS
MODE
RESET
+
0
0
0
0
:SEL.
:ADJ.
:NEXT
ENTER
:END
MENU
[
OFF
]
-
+
-
+
-
+
-
CLOCK
Description of Adjustment Items
CLOCK SPEED ADJUSTMENT (FAST/SLOW)
• Adjust the input signal horizontal frequency and the dot clock so that the screen display is normal.
PHASE ADJUSTMENT (UP/DOWN)
• Used to reduce image distortion or improve contrast.
HORIZONTAL POSITION ADJUSTMENT (LEFT/RIGHT)
• Used to center the on-screen image by moving it to the left or right.
VERTICAL POSITION ADJUSTMENT (UP/DOWN)
• Used to center the on-screen image by moving it up or down.
MODE ADJUSTMENT
Connecting to IBM-PC Computers
• Ordinarily, the type of input signal is detected and the correct resolution mode (Text or Graphics) is automatically selected.
However, for the following signals, set MODE to ON or OFF to select the projector’s resolution mode to match the computer
display mode properly.
720 dots × 400 lines, 720 dots × 350 lines (Text Mode)
640 dots × 400 lines, 640 dots × 350 lines (Graphic Mode)
• For graphic mode, select MODE and set the MODE to ON.
• For text mode, select MODE again at this time, and set MODE to OFF.
Connecting to Macintosh LC/II Series Computers
• When connecting to a Macintosh II with 35 kHz Dot Frequency, select MODE and set MODE to ON.
• When connecting to a Macintosh LC Series computer with 34.97 kHz Dot Frequency, set MODE to OFF.
• When connecting to third party video cards and other Macintosh computers, set MODE to ON or OFF to select the correct
display mode.
• When the input signal is automatically detected or when there is no input signal, MODE (---) appears on the screen and the
display mode cannot be changed.
INITIAL RESET
• To return the H-POS, V-POS, PHASE and CLOCK adjustments to their initial settings, select RESET and then press the
ENTER button.
Notes:
• Flickering, vertical stripes, or contrast irregularities may also occur when the image is reversed. Once again, use the
ADJUSTMENT
/ buttons for HORIZONTAL (LEFT/RIGHT) and VERTICAL (UP/DOWN) POSITION ADJUSTMENTS to
adjust for the optimum picture.
• Avoid displaying computer patterns which repeat every other line (horizontal stripes). (Flickering may occur, making the picture
hard to see.)


