


E-14
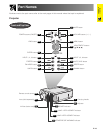
Setup & Connections
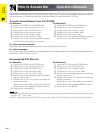
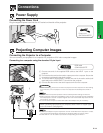
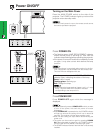
Power Supply
Connecting the Power Cord
Plug the supplied power cord into the AC socket on the side of the projector.
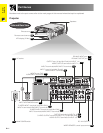
Projecting Computer Images
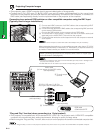
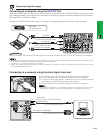
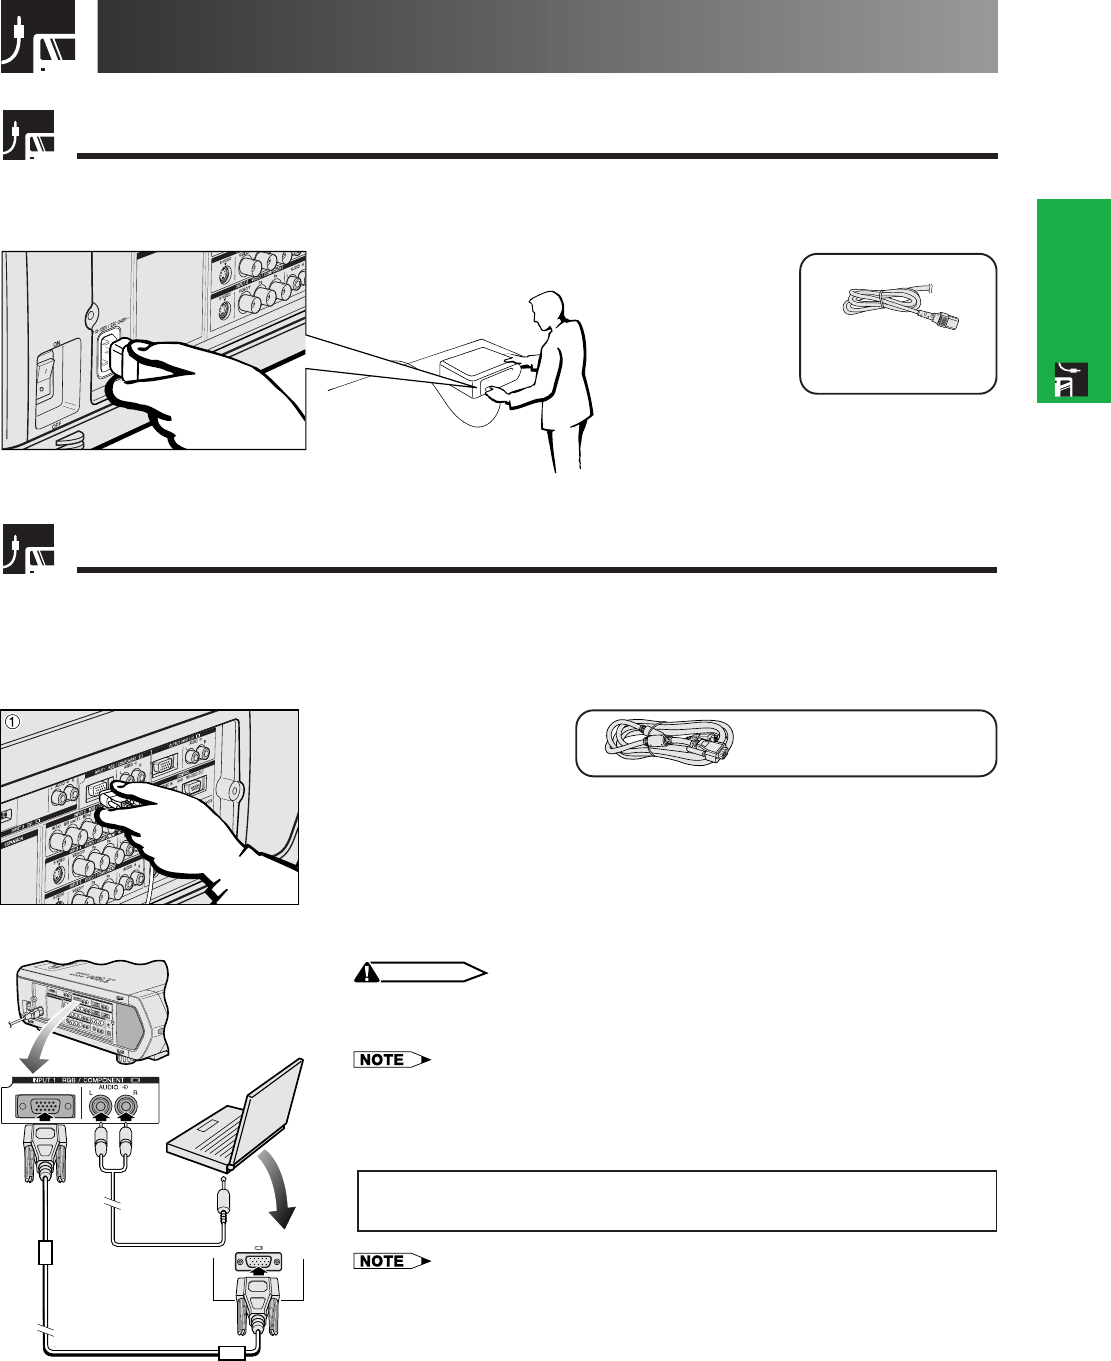
Connecting the Projector to a Computer
You can connect your projector to a computer for projection of full color computer images.
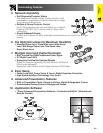
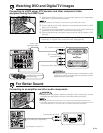
Connecting to a computer using the standard 15-pin Input
RGB cable
QCNW-5304CEZZ
1 Connect one end of the supplied RGB cable to the INPUT 1 port on the
projector.
2 Connect the other end to the monitor output port on the computer. Secure the
connectors by tightening the thumb screws.
3 To use the built-in audio system, connect one end of the audio cable (sold
separately) to the AUDIO INPUT 1 terminal on the projector.
4 Connect the other end to the audio output terminal on the computer.
CAUTION
• Before connecting, be sure to turn both the projector and the computer off. After making
all connections, turn the projector on first. The computer should always be turned on
last.
• Please read the computer’s operation manual carefully before making connections.
• Refer to page 84 “Computer Compatibility Chart” for a list of computer signals compatible
with the projector. Use with computer signals other than those listed may cause some of
the functions not to work.
• A 3.5 mm stereo minijack to stereo RCA audio cable adaptor may be necessary.
When connecting this projector to a computer, select “RGB” for “Signal Type”
on the GUI menu. (See page 45.)
• A Macintosh adaptor may be required for use with some Macintosh computers. Contact
your nearest Authorized Sharp Industrial LCD Products Dealer or Service Center.
• AUDIO INPUT 1 can be used to input audio corresponding to the INPUT 1.
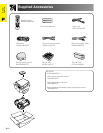
Connections
Power cord
QACCU5013CEZZ
13
4
2