


E-53
Basic Operation
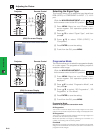
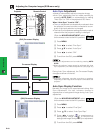
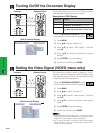
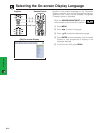
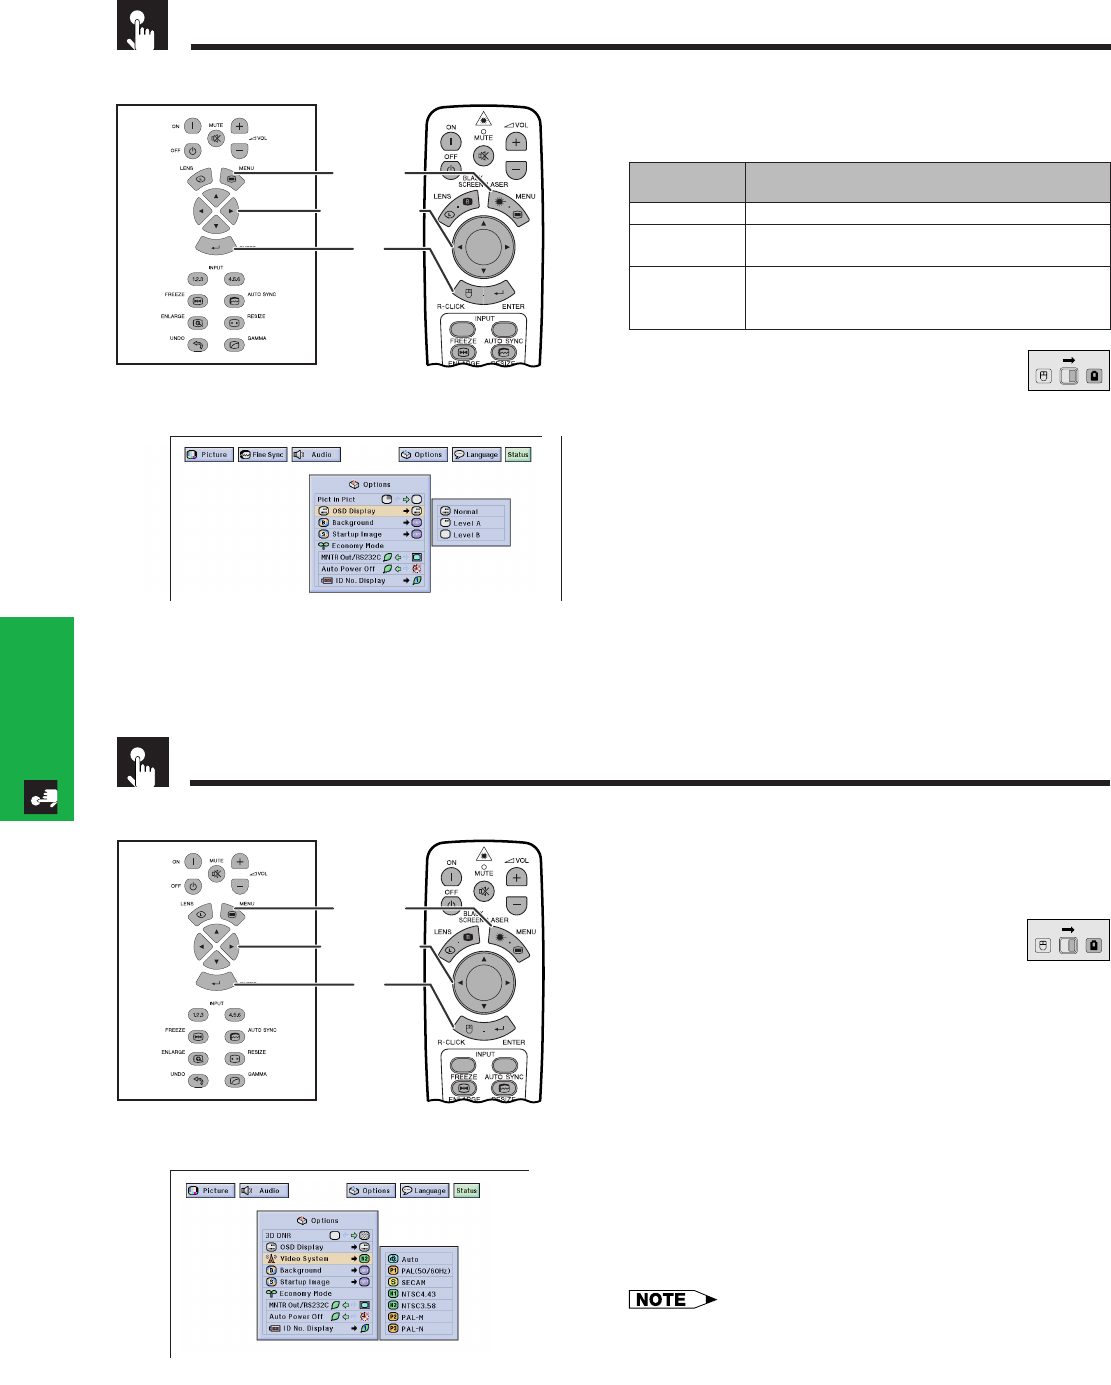
Turning On/Off the On-screen Display
This function allows you to turn on or off the on-screen
messages that appear during input select.
(Slide the MOUSE/ADJUSTMENT switch
on the remote control to the ADJ. position.)
1 Press MENU.
2 Press ß/© to select “Options (1)”.
3 Press ∂/ƒ to select “OSD Display”, and then
press ©.
4 Press ∂/ƒ to select the desired On-screen
Display.
5 Press ENTER to save the setting.
6 To exit from the GUI, press MENU.
Projector Remote Control
1.2.3 4.5.6
1, 6
5
2, 3, 4
(GUI) On-screen Display
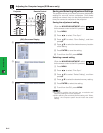
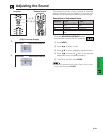
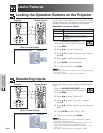
Setting the Video Signal (VIDEO menu only)
1.2.3 4.5.6
1, 6
5
2, 3, 4
Projector
The video input system mode is preset to “Auto”;
however, it can be changed to a specific system mode
if the selected system mode is not compatible with the
connected audiovisual equipment.
(Slide the MOUSE/ADJUSTMENT switch
on the remote control to the ADJ. position.)
1 Press MENU.
2 Press ß/© to select “Options (1)”.
3 Press ∂/ƒ to select “Video System”, and then
press ©.
4 Press ∂/ƒ to select the desired video system
mode.
5 Press ENTER to save the setting.
6 To exit from the GUI, press MENU.
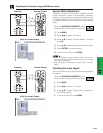
• When the system mode is set to “Auto”, you may not receive
a clear picture due to signal differences. Should this occur,
switch to the video system of the source signal.
• AUTO cannot be set for PAL-M and PAL-N input signals.
Select “PAL-M” or “PAL-N” in “Video System” menu for PAL-
M and PAL-N input signals.
(GUI) On-screen Display
MOUSE
ADJ.
Remote Control
MOUSE
ADJ.
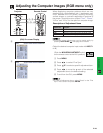
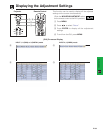
DescriptionSelected item
Normal
Level A
Level B
Description of OSD Display
All On-screen Display are displayed.
INPUT, CUSTOM, FREEZE, ENLARGE, AUTO SYNC,
VOLUME, MUTE, BLACK SCREEN are not displayed.
All On-screen Display are not displayed (except warning
display (MENU, TOOLS, LENS, Power off, Temp., Lamp
etc.)).