


-12
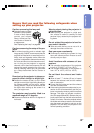
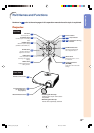
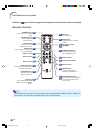
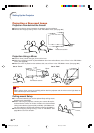
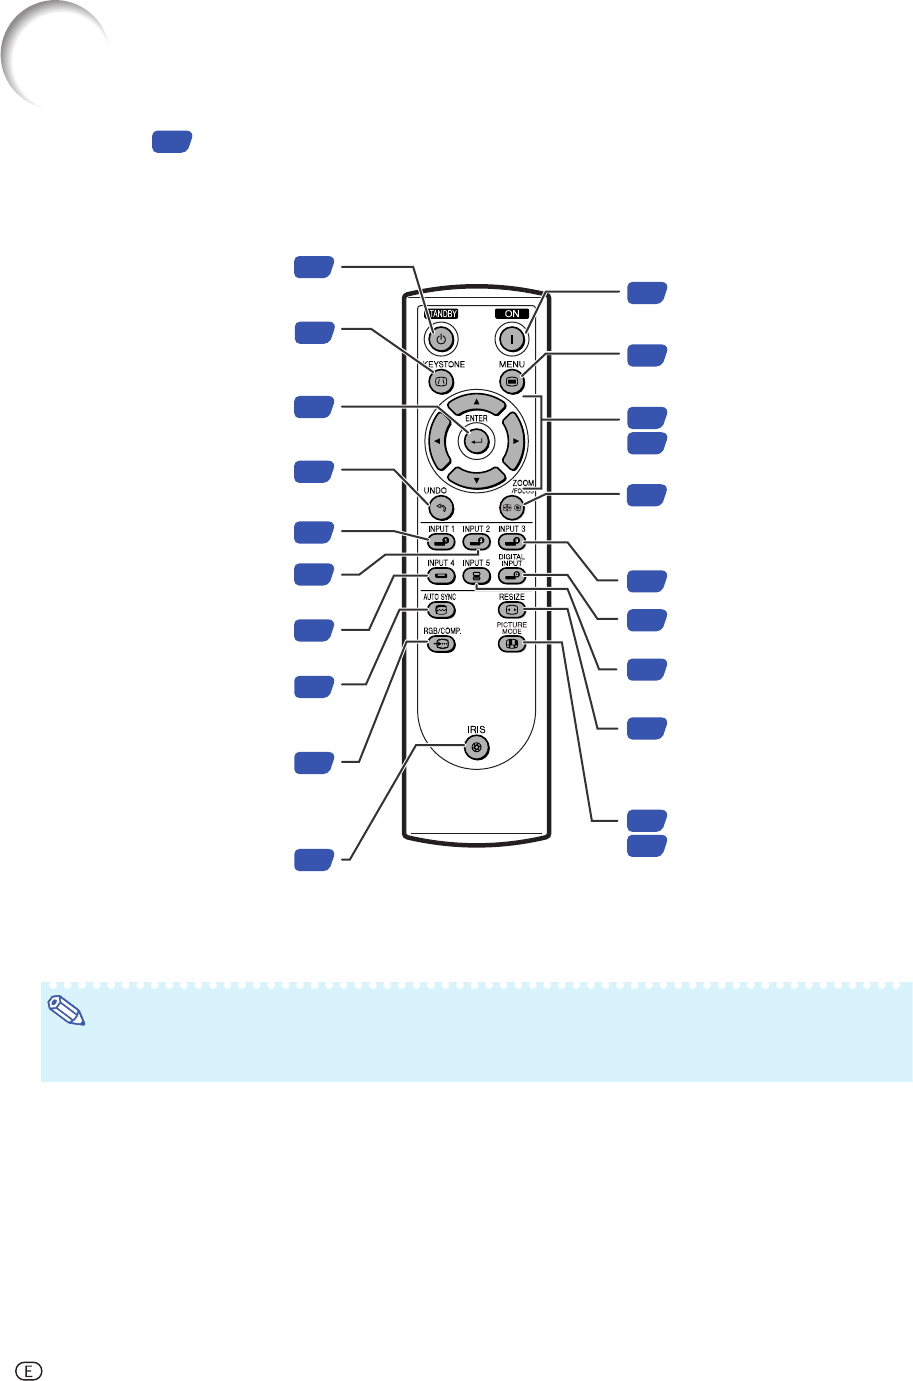
Remote Control
Adjustment buttons
('/"/\/|)
38
30
MENU button
Display adjustment and setting
screens.
38
ON button
Turn the power on.
28
30
ZOOM/FOCUS button
Adjust the projected image
size or adjusting the focus.
29
INPUT 3 button
29
INPUT 5 button
34
34
44
RESIZE button
Switch the picture display
(STRETCH, SIDE BAR, etc.).
29
DIGITAL INPUT button
PICTURE MODE button
Select the picture setting (Memory)
stored in “Picture Mode” on the
“Picture” menu.
29
STANDBY button
Put the projector into standby
mode.
32
KEYSTONE button
Enter the Keystone
Correction mode.
39
ENTER button
Set items selected or
adjusted on the menu.
34
UNDO button
Undo an operation or returning to
the previous display.
29
INPUT 1 button
29
INPUT 2 button
29
INPUT 4 button
46
AUTO SYNC button
Automatically adjust images when
connected to a computer.
48
RGB/COMP. button
Switch the signal type
(RGB or Component).
34
IRIS button
Switch “HIGH BRIGHTNESS
MODE” or “HIGH CONTRAST
MODE”.
Numbers in refer to the main pages in this operation manual where the topic is explained.
Note
•All the buttons on the remote control are made of luminous material that is visible in the dark. Visibility will
diminish over time. Exposure to light will recharge the luminous buttons.
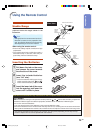
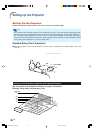
Part Names and Functions
DT400_E_P06_15.p65 04.10.18, 1:14 PM12