


-27
Basic Operation
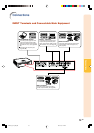
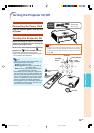
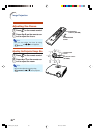
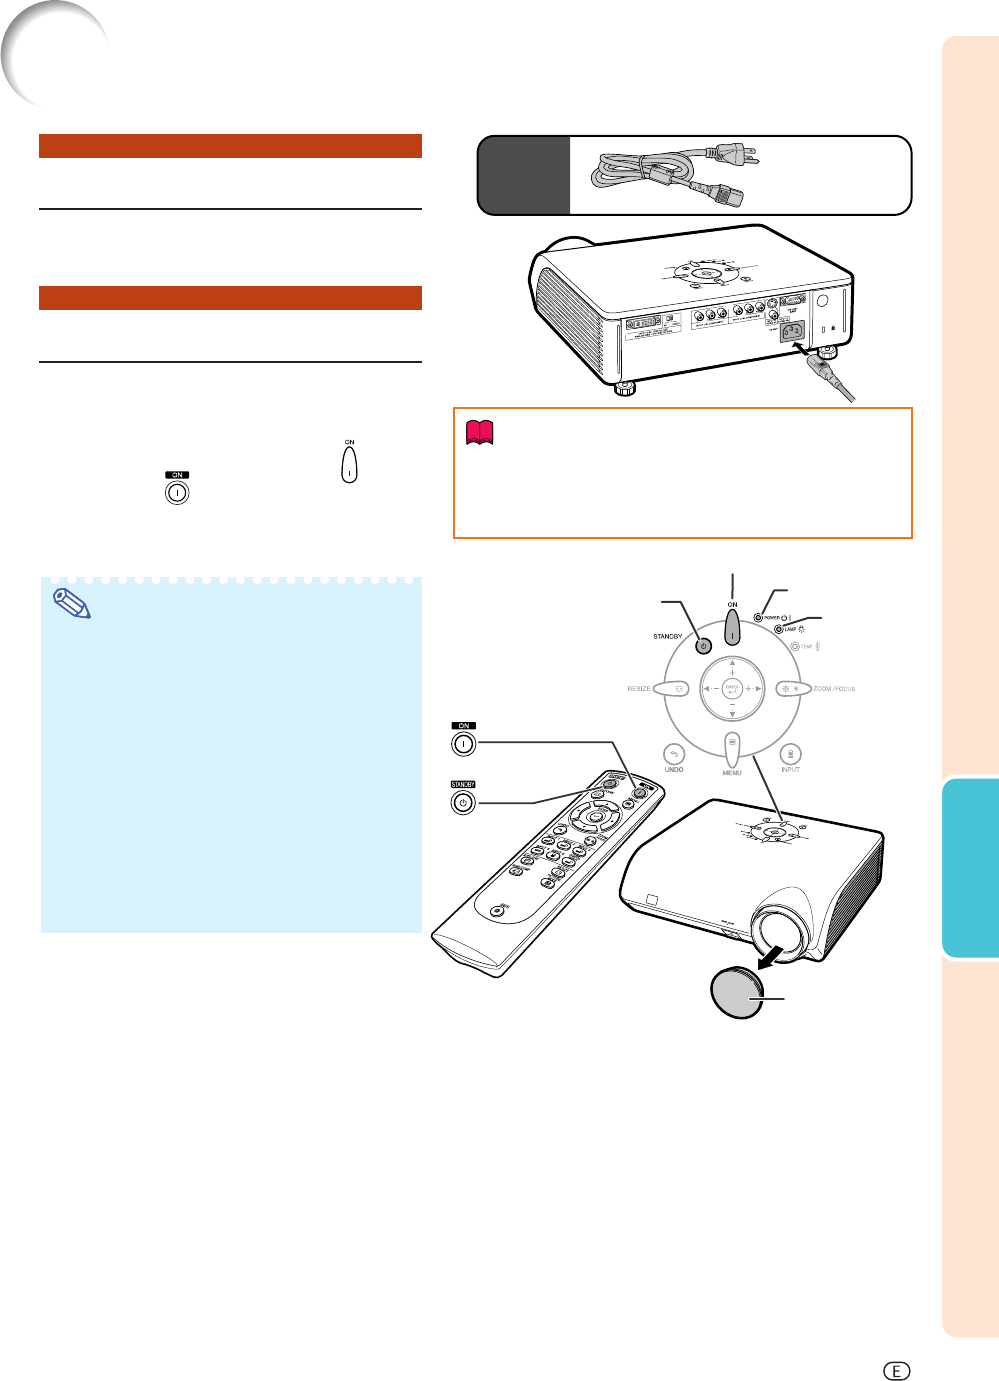
Connecting the Power Cord
Plug the supplied power cord into the
AC socket.
Turning the Projector On
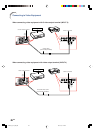
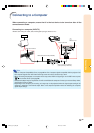
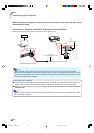
Before performing the steps in this section,
connect any equipment that you use with the
projector. (See pages 19-26.)
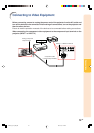
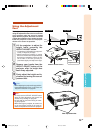
Remove the lens cap and press on the
projector or on the remote control.
•The power indicator illuminates green.
•After the lamp indicator illuminates, the projec-
tor is ready to start operation.
Note
•The lamp indicator illuminates or blinks, in-
dicating the status of the lamp.
Green:The lamp is ready.
Blinking green:The lamp is warming up
or shutting down.
Red:
The lamp is shut down abnormally or
the lamp should be replaced.
•
When switching on the projector, a slight flicker-
ing of the image may be experienced within the
first minute after the lamp has been illuminated.
This is normal operation as the lamp's control
circuitry is stabilising the lamp output charac-
teristics. This does not indicate malfunction.
•If the projector is put into standby mode and
immediately turned on again, the lamp may
take some time to illuminate.
Power cord
(6' (1.8 m))
Supplied
accessory
Lamp
indicator
Power indicator
STANDBY
button
ON button
Lens cap
ON button
STANDBY
button
Info
•English is the factory preset language. If you want to
change the on-screen display to another language,
change the language according to the procedure on
page 52.
Turning the Projector On/Off
DT400_E_P27_35.p65 04.10.18, 1:18 PM27