29
Creating Files (under Superuser Privilege)
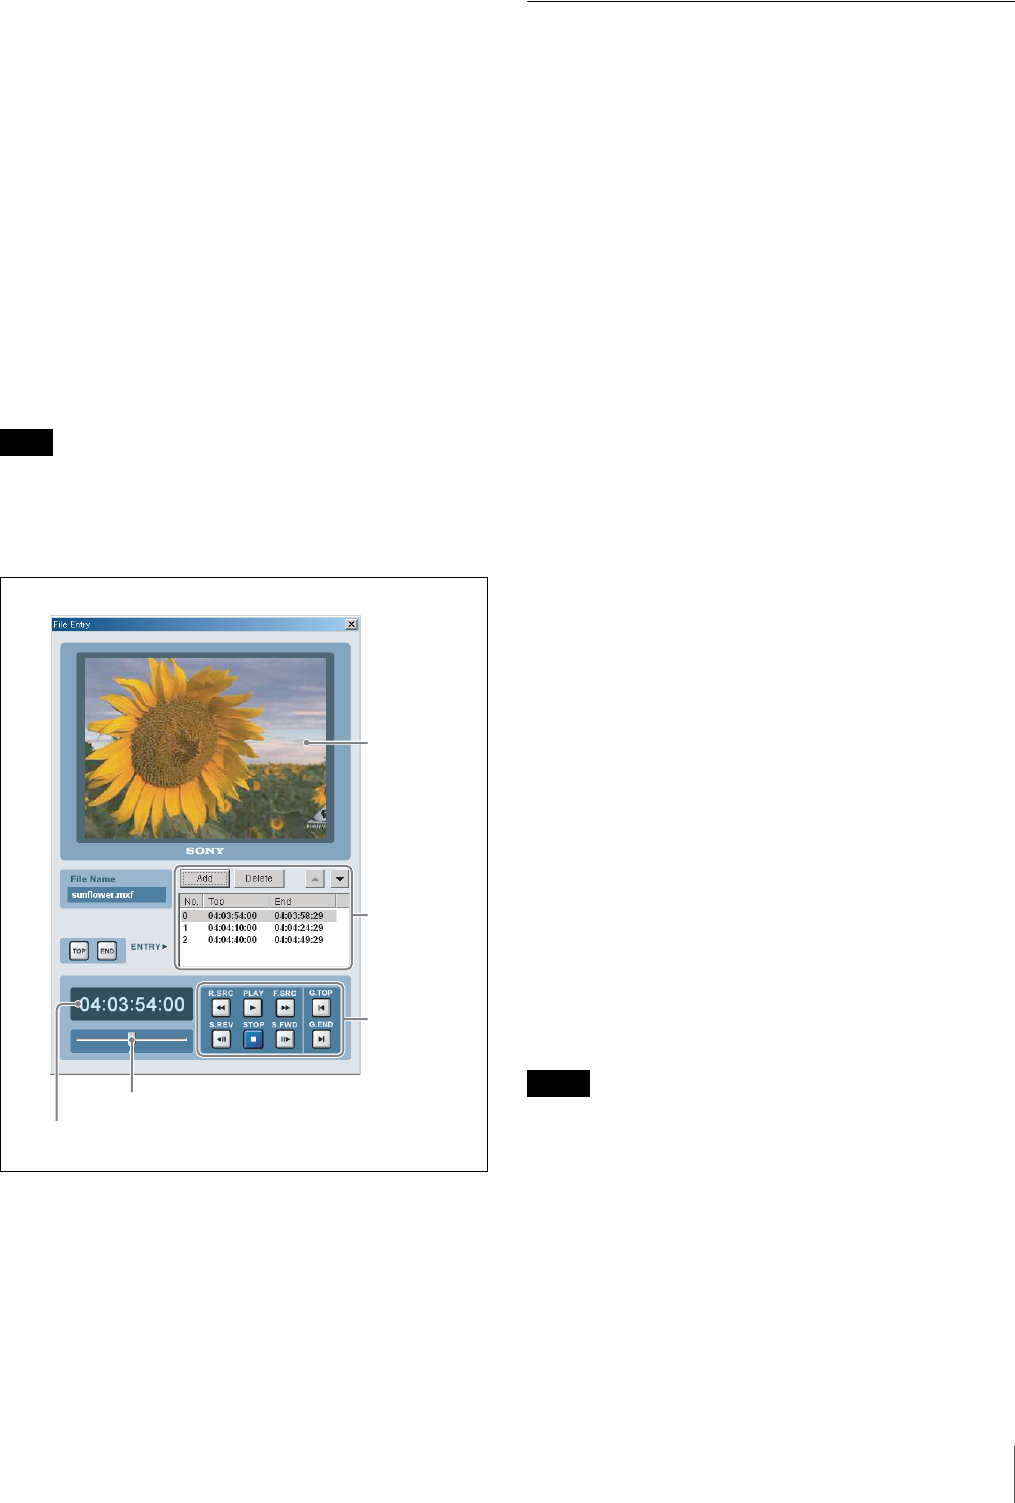
Deleting record entries
1
In the recording entries list, activate the record entry
that you want to delete by clicking its number.
2
Click on the Delete button.
Changing record entry positions in the list
1
In the recording entries list, activate the record entry
whose position you want to change by clicking its
number.
2
Click on the up or down arrow button next to the
recording entries list to move the selected entry v (up)
or V (down) in the list.
With the factory settings, files can be received only on
cassettes which have a Tele-File label attached (see page
12).
Importing/Exporting File List
Entry information in MXF files on the e-VTR can be
exported to, named and saved on the PC.
When file information saved on the computer is imported
to another e-VTR, a new MXF file will be created on the
e-VTR.
Files created during import are referred to as “import files”
to distinguish them from other file formats (real file,
temporary file, and virtual file). Since information in
import files is not saved to the memory labels attached to
cassettes, they are discarded when the power is turned off
or the tape is ejected.
There are 2 levels for file import and export.
Full: All file-related data are imported and exported. This
data is binary and thus cannot be viewed in the editor
window or by other applications.
Simple: Only file names and the starting and ending
timecodes of files are imported and exported. This data
consist of alphanumeric characters and can be viewed
in the editor window or by other applications. Please
note that the existence of identical timecodes on the
cassette to may lead to cueing failures.
1
Select File in the main window of the e-VTR Manager,
and then select Setup to select the import/export level.
To select Full level, check the Full Style File Import
checkbox. To select Simple level, remove the check
from the checkbox.
2
Right-click in an empty area in the file list, and then
select Export File or Import File from the popup menu.
When Export File is selected, the Input File Name
window appears.
When Import File is selected, the Select File Name
window appears.
3
Enter the file name or the select files to be imported,
and then click on OK.
• Only real files, temporary files, and import files are
exportable. Virtual files cannot be exported.
• Make sure the import/export level settings are the same
on the transmitting and receiving VTRs. For example,
file data exported with a Full setting cannot be imported
with a Simple setting.
• If the cassette tape in the e-VTR contains even a single
file that was imported with a Simple setting, then file
reception will be disabled since it is impossible to
specify the recording range on the tape.
Note
Monitor
Timecode display
VTR control
buttons
Recording
entries list
Shuttle control slider
Notes
