


Chapter 3 Basic Operation
3-38 Chapter 3 Basic Operation
Inserting Characters and Graphics (1) — Title Key
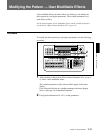
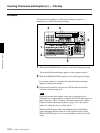
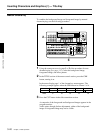
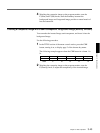
4 In the TITLE section of the menu control section, press the CRK
button, turning it on.
In the menu display page 1 of the chroma key menu appears. The
following example appears when the CRK button in column 1 is lit.
T1CRK
1/3
Clip
0-100
Gain
0-100
Hue
0-99
Angle
0-100
AUTO
PAGE F1 F2 F3 F4 F5
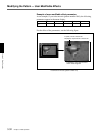
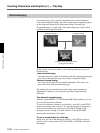
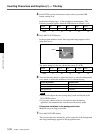
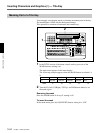
5 Press the F5(AUTO) button.
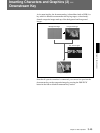
In the program monitor screen, the foreground image appears with a
white box cursor.
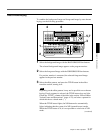
The menu changes to the auto chroma key menu (T1ACR).
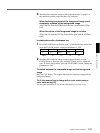
T1ACR
1/1
Pos H
–100-100
Pos V
–100-100
Size
0-100
– – AUTO
CANCEL START
CRK – –
PAGE F1 F2 F3 F4 F5
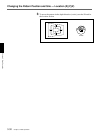
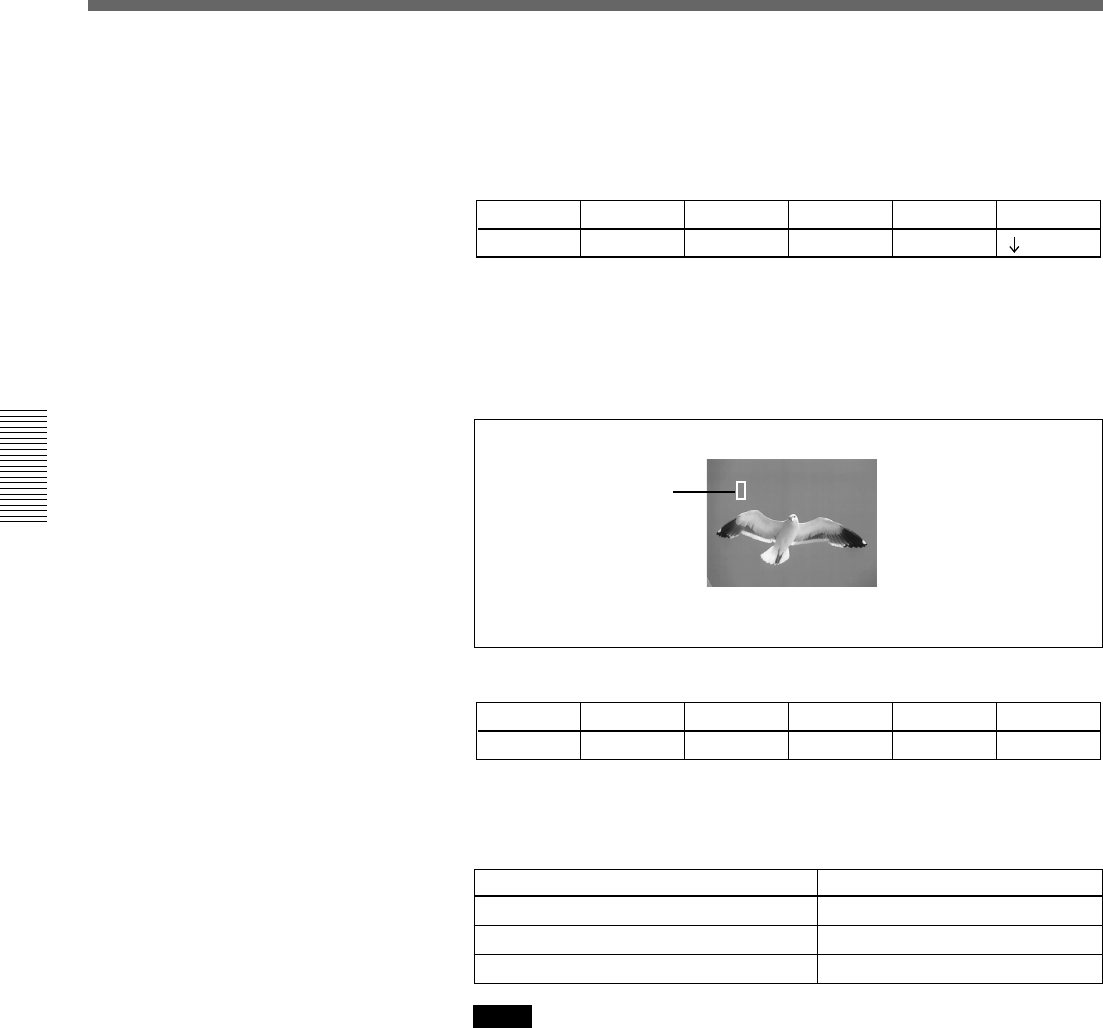
6 Turn the following knobs to adjust the cursor, to select the background
color which is used as the reference color for chroma keying.
Notes
• You can also adjust the cursor using the joystick and Z-knob in the
LOCATION section.
• If you press a button which is not related to auto chroma key
operations, this automatically ends the auto chroma key mode.
If there are variations in the background color
Make the cursor as large as possible.
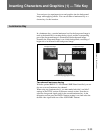
7 Press the F5(START) button.
This executes the auto chroma key, and a composite of the background
and foreground images appears in the program monitor.
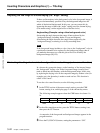
Cursor
Foreground image
Cursor adjustment Control knob
Move horizontally. F1(Pos H)
Move vertically. F2(Pos V)
Change the size. F3(SIZE)