


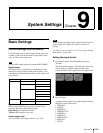
Chapter 9 System Settings
159Basic Settings
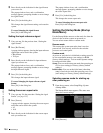
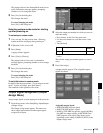
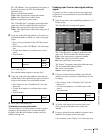
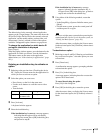
The “XPT Button” (cross-point button) list appears at
the left of the status area. This list includes the
following items.
No: cross-point button number
P-No: video signal and key signal pair number
Video: video signal name (source name)
Key: key signal name (source name)
The “Video/Key Pair” list appears at the right of the
status area. This list includes the following items.
P-No: video signal and key signal pair number
Video: video signal name (source name) being one of
the pair
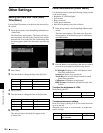
2
Using any of the following methods, select the cross-
point button number to which you want to assign the
signal.
• Press a cross-point button in the AUX bus control
block.
• Press directry on the “XPT Button” list in the status
area.
• Use the arrow buttons to scroll the reverse video
cursor.
• Turn the knob.
a) For 1 M/E panel and 1.5M/E panel
b) For 1.5 M/E wide panel
The selected number appears in reverse video.
3
Using any of the following methods, select the pair
number for the video signal and key signal you want to
assign to the selected cross-point button number.
• Press directry on the “Video/Key Pair” list in the
status area.
• Use the arrow buttons to scroll the reverse video
cursor.
• Turn the knobs.
4
Press [Set] in the button area.
To disable any cross-point button
You can disable a cross-point button to which a signal is
assigned so that pressing it does not select the signal.
In step 2, select the desired button number, and press
[Inhibit], turning it on.
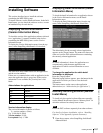
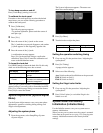
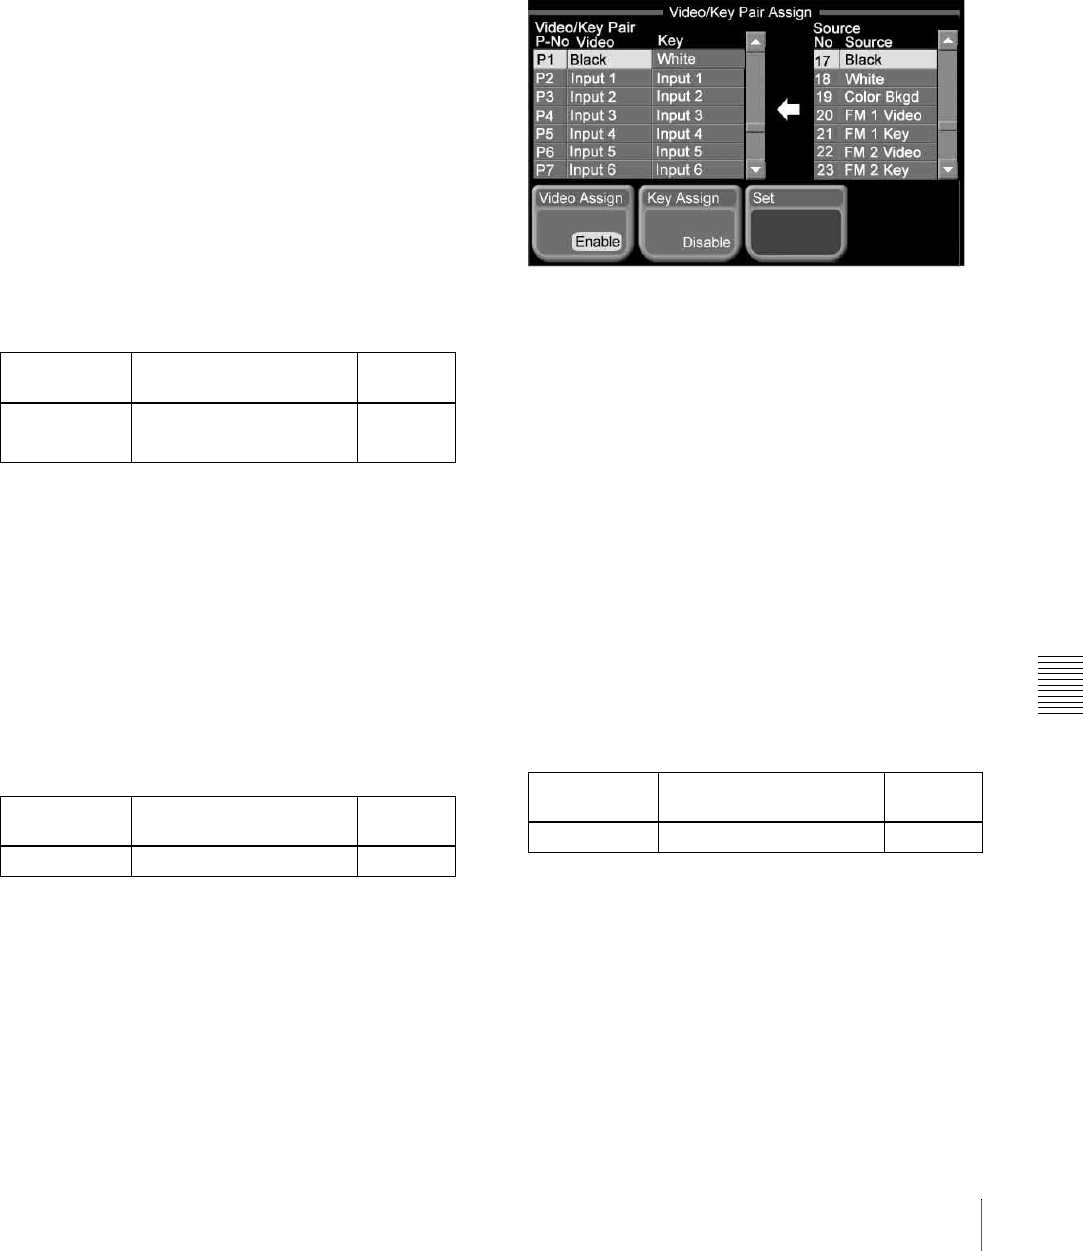
Creating a pair from a video signal and key
signal
To create a pair from a video signal and key signal to be
assigned to a cross-point button, use the Video/Key Pair
Assign menu.
1
From the top menu, select Setup/Diag >Operation >V/
K Pain Assign.
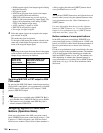
The Video/Key Pair Assign menu appears.
The “Video/Key Pair” list appears at the left of the
status area. This list includes the following items.
P-No: video signal and key signal pair number
Video: video signal name (source name)
Key: key signal name (source name)
The “Source” list appears at the right of the status area.
This list includes the following items.
No: source signal number
Source: source signal name
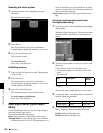
2
Using any of the following methods, select the pair
number you want to create (or combination you want
to change).
• Press directry on the “Video/Key Pair” list in the
status area.
• Use the arrow buttons to scroll the reverse video
cursor.
• Turn the knobs.
The selected pair number appears in reverse video.
3
To set the video signal for the selected pair, press
[Video Assign] in the button area, setting it to
“Enable.”
4
Using any of the following methods, select the source
number to be assigned as the video signal.
• Press directry on the “Source” list in the status area.
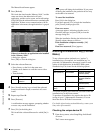
Knob Description Setting
values
1 (Button No) Cross-point button number
selection
1 to 24
a)
1 to 40
b)
Knob Description Setting
values
4 (Pair No) Pair number selection P1 to P40
Knob Description Setting
values
1 (Pair No) Pair number selection P1 to P40