25 (GB)
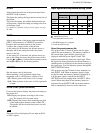
SIZE H
Adjusts the horizontal size of the picture input from
the INPUT A/B connector.
The higher the setting, the larger the horizontal size of
the picture.
The lower the setting, the smaller the horizontal size
of the picture. Adjust the setting according to the dots
of the input signal.
For details on a suitable value for preset signals, see page
26 (GB).
SHIFT
Adjusts the position of the picture input through the
INPUT A/B connectors or VIDEO IN connectors.
H adjusts the horizontal position of the picture.
V adjusts the vertical position of the picture.
As the setting for H increases, the picture moves to
the right, and as the setting decreases, the picture
moves to the left.
As the setting for V increases, the picture moves up,
and as the setting decreases, the picture moves down.
Use the < or , key to adjust the horizontal position
and the M or m key for the vertical position.
ASPECT
Sets the aspect ratio of the picture.
When inputting a 16:9 (squeezed) signal from
equipment such as a DVD player, set this to 16:9.
4:3 : When a picture with a ratio of 4:3 is input.
16:9 : When a picture with a ratio of 16:9 (squeezed)
is input.
SCAN CONV (Scan converter)
Converts the signal to display the picture according to
the screen size.
ON: Displays the picture according to the screen
size. The picture will lose some clarity.
OFF: Displays the picture while matching one pixel
of the input picture element to that of the LCD.
The picture will be clear but the picture size will
be smaller.
Note
This item will not be displayed if you input an XGA
or SXGA signal.
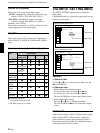
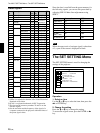
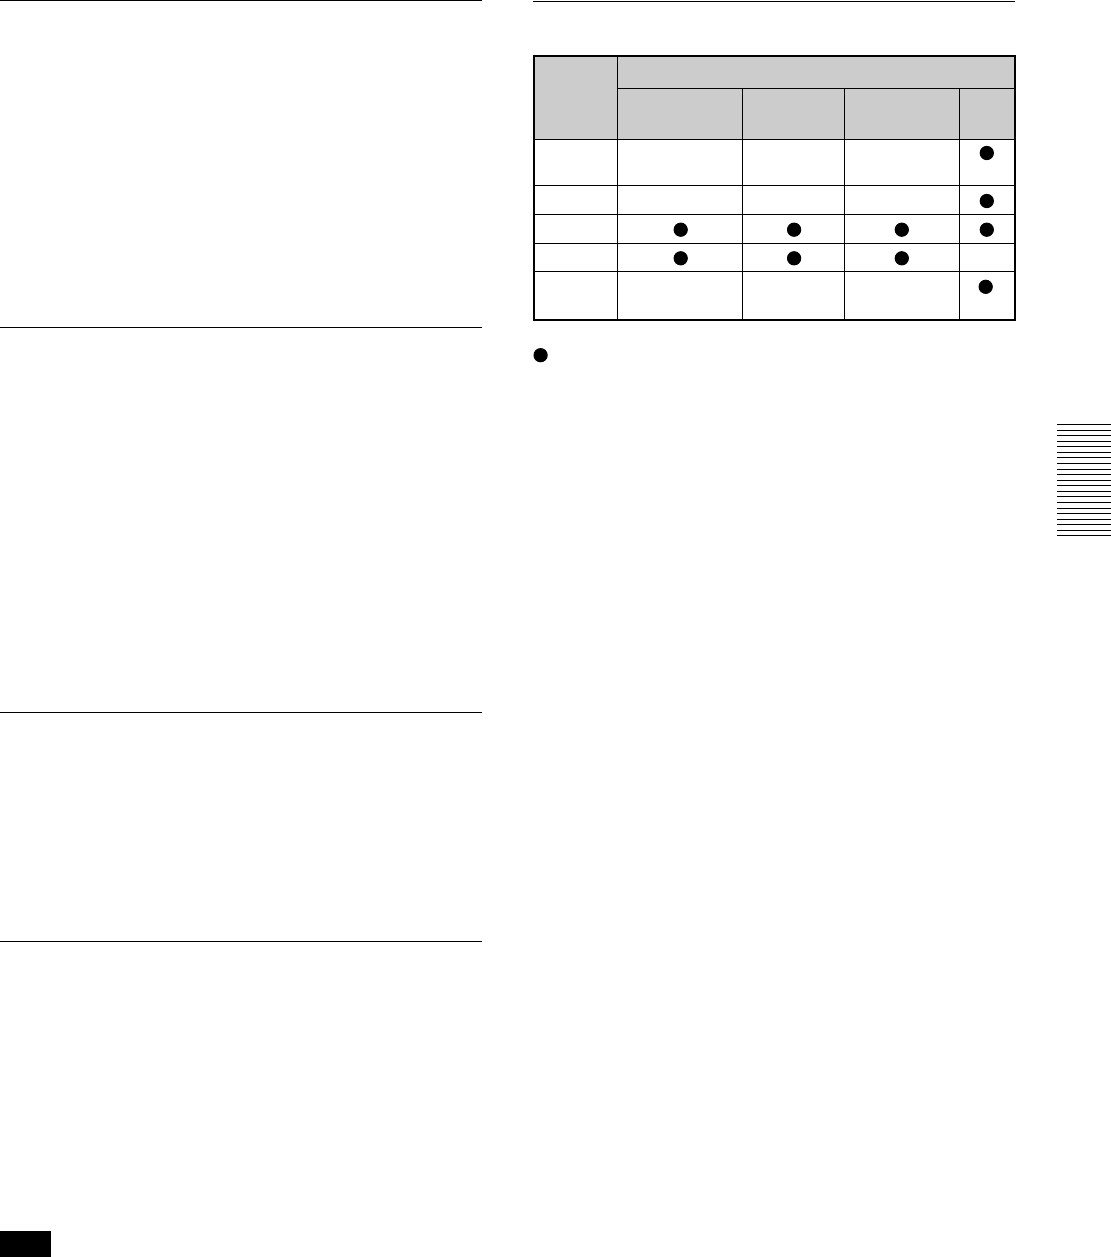
Input signals and adjustable/setting items
Item Input signal
Video or Video GBR RGB
1)
S video (Y/C)
Component
DOT – – –
PHASE
SIZE H – – –
SHIFT
ASPECT –
SCAN – – –
2)
CONV
: Adjustable/can be set
– : Not adjustable/can not be set
1) The RGB signals of a computer
2) Lower than SVGA only
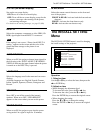
About the preset memory No.
This projector has 37 kinds of preset data for input
signals (the preset memory). The memory number of
the current input signal and the signal type are
displayed when the preset signal is input. This
projector automatically detects the signal type. When
the signal has been registered in the preset memory, a
suitable picture is displayed on the screen according to
the signal type. You can adjust the picture through the
INPUT SETTING menu.
This projector also has 20 kinds of user memories for
each INPUT A/B. When an unpreset signal is input
for the first time, the memory number is displayed as
0. If the input signal is adjusted in the INPUT
SETTING menu, the setting made via INPUT A/B is
stored. When more than 20 user memory items are
registered for each INPUT A/B, the newest memory
item is automatically stored over the oldest one.
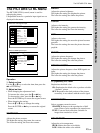
The INPUT SETTING Menu


