


112
to calculate starting and ending points for a line (in our circle the
“lines” are very short - sometimes the starting and ending
points are the same). The coordinates of the starting point of the
line are assigned to variables Xl and Y 1. The line ends at point
X2, Y2. When these coordinates have been calculated, a
subroutine call is made to line 250. This subroutine calculates
the coordinates of individual points along that line.
After these coordinates have been determined, the subroutine
at line 400 is called. This routine turns “on” an individual dot in
our array called BIT%. (Keep in mind that no printing has been
done yet; the computer is still drawing the image on its “graph
paper” in memory.) The way an individual dot is turned on is us-
ing the logical OR function in line 470.
When all the points have been plotted in memory, printing
begins at line 130. We first set the line spacing to 6/72 inch us-
ing the (ESC)“A”CHR$( n command. This is so that there are
)
no gaps between rows of dots. Then the loop from line 150 to
line 220 prints the dot graphics image one line (which is six dots
high) at a time. The variable A$ is used to build a string of all
the columns of BIT% in a given row.
As you can see, by taking the program in small pieces and
analyzing it, graphics programming does not have to be dif-
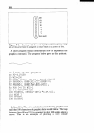
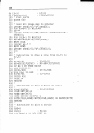
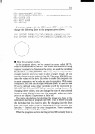
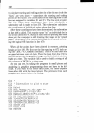
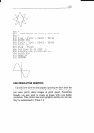
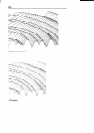
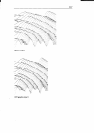
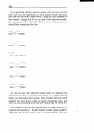
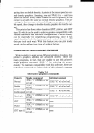
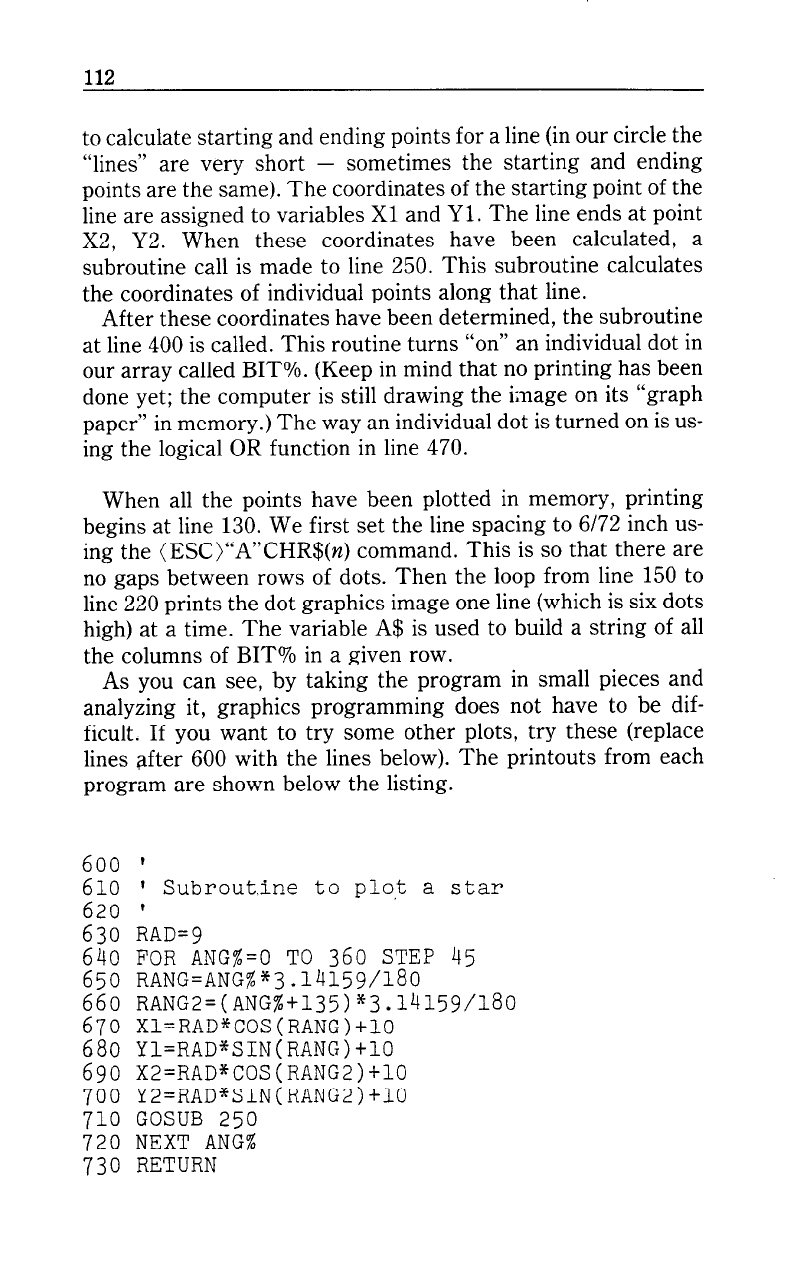
ficult. If you want to try some other plots, try these (replace
lines after 600 with the lines below). The printouts from each
program are shown below the listing.
600 '
610 ' Subroutine to plo,t a star
620 1
630 RAD=9
640 FOR ANG%=O TO 360 STEP 45
650 RANG=ANG%*3.14159/180
660 RANG2=(ANG%+l35)*3.14159/180
670 Xl=RAD*COS(RANG)tlO
680 Yl=RAD*SIN(RANG)+lO
6go X2=RAD*COS(RANG2)+10
700 Y2=RAD*SIN(RANG2)+10
710 GOSUB 250
720 NEXT ANG$
730 RETURN