D14637.01—MARCH 2010
34
TANDBERG Quick Set C20/C20 Plus and Profiles using C20
Administrator guide
Contents Introduction Advanced configuration Password protection About monitors Appendices Contact us
www.tandberg.com
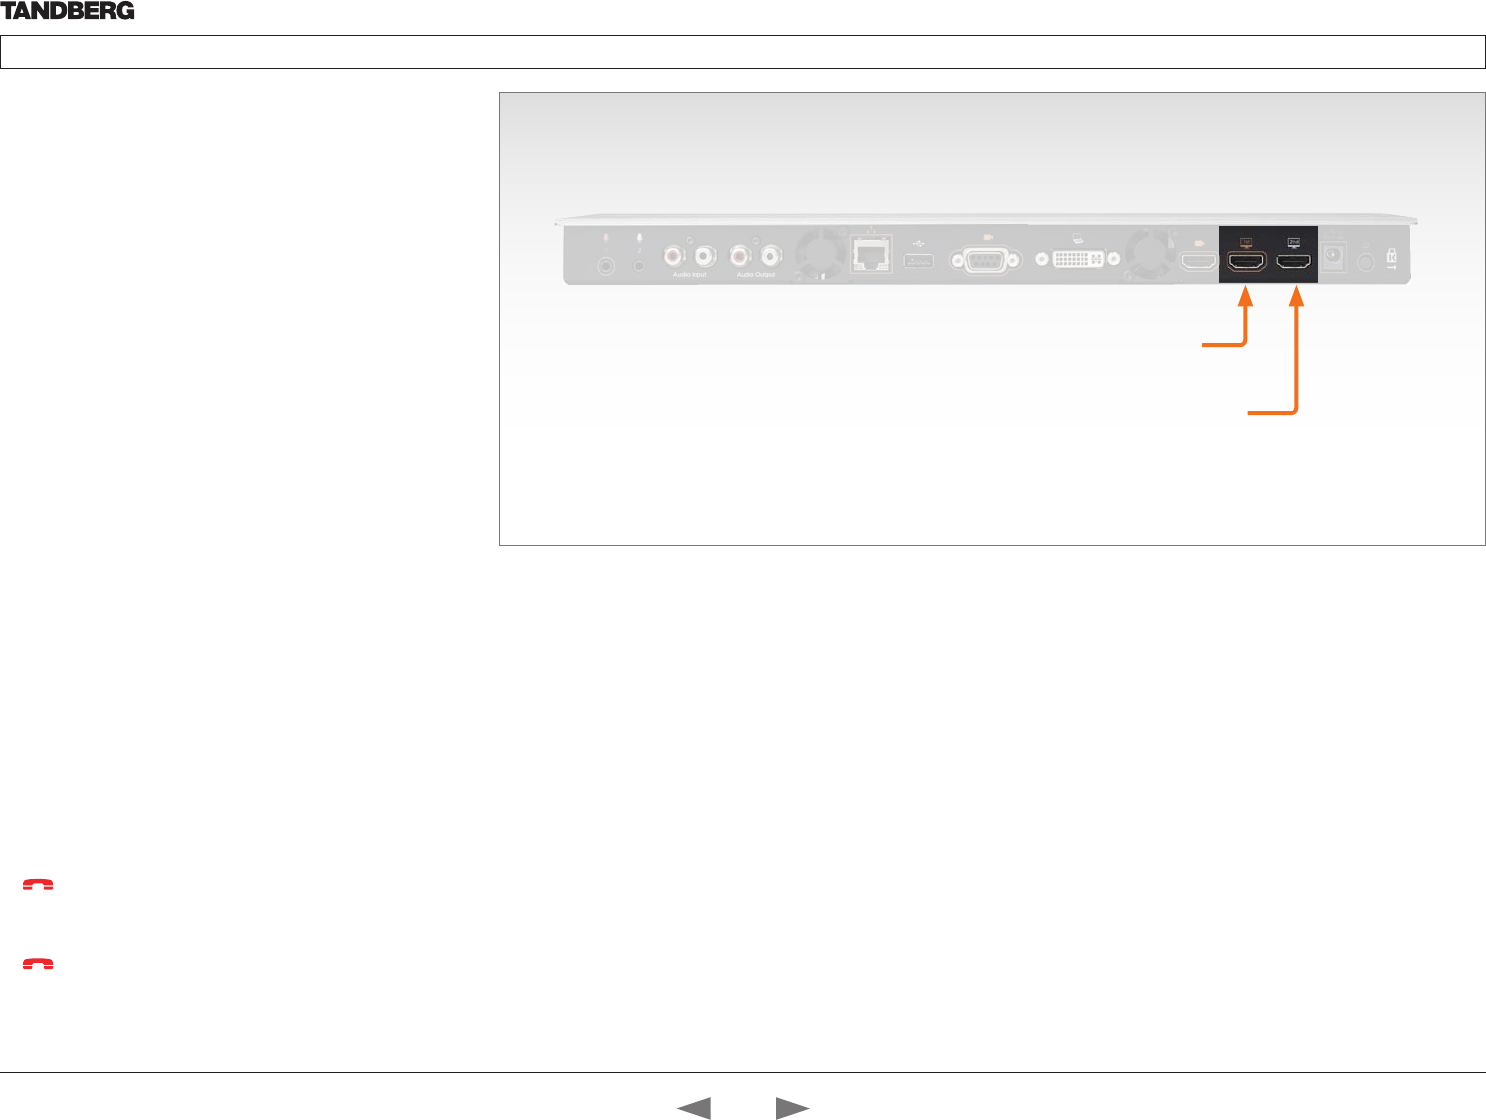
The video outputs at Codec C20
About monitors when you have a
Codec C20
Connecting the monitor
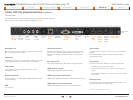
The monitor can be connected to video output HDMI 1 (default) or
HDMI 2*. The default resolution for HDMI is 1280x720@60Hz.
Connecting to HDMI 1
When connecting the monitor to HDMI 1, which is the default
video output on Codec C20, the menu, icons and other
information on screen (OSD - on screen display) will be displayed
on this monitor.
Connecting to HDMI 2
When connecting the monitor to HDMI 2* output on Codec
C20 the menus and icons is not automatically displayed on
screen. The OSD must be moved to this output by running a key
sequence on the remote control.
NOTE! There is no audio on HDMI 2.
Moving the OSD using the remote control
When connecting the main monitor to the HDMI 2 output, you
must move the OSD to this output. If you cannot see any menu on
screen you must run a key sequence on the remote control. The
menu on screen, icons and other information (OSD - on screen
display) will be moved to the selected output.
Check which connector the monitor is connected to, and run the
following key sequence on the remote control.
• Disconnect * # * # 0 x # x=1 (HDMI 1) x=2 (HDMI 2)
Example 1: Set HDMI 1 as the OSD output:
– * – # – * – # – 0 – 1 – #
Example 2: Set HDMI 2 as the OSD output:
– * – # – * – # – 0 – 2 – #
Dual monitors
NOTE! Requires the Dual Display option.
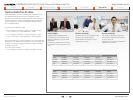
When you want to run a dual monitor setup, connect the main
monitor to video output HDMI 1 and the second monitor to video
output HDMI 2 on Codec C20.
Dual monitor configuration
Go to Advanced settings to set the monitor to dual:
1. Navigate to Settings > Advanced > Advanced settings > Video
> Output > Monitor and set the Monitor to Dual.
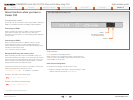
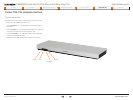
HDMI 1
(the default connector
for the main monitor)
HDMI 2*
* Use of HDMI 2 requires the Dual Display option.
Contact us
Contents
Introduction
Advanced configuration
Password protection
About monitors
Appendices
Contact us


