61
CONTENTS
Adjustments &
Settings
MENU
ON/STANDBYINPUT
L-CLICK R-CLICK
ENTER
KEYSTONE
AUTO
SET
EXIT
PIP
FREEZE
MUTECALL
RESIZE
VOLUME/ADJUST
TEMP LAMP ON
BUSY FAN
KEYSTONE
SET
AUTOAUTO
EXIT
ENTER
MENU
INPUT
VOL/ADJ.
5
5
4
4
TEMP
LAMPON
BUSY FAN
ON/STANDBY
KEYSTONE
SET
AUTOAUTO
EXIT
ENTER
MENU
INPUT
VOL/ADJ.
ON/STANDBY
LASER
After the settings are finished, press EXIT.
The menu screen disappears.
EXIT
EXIT
5
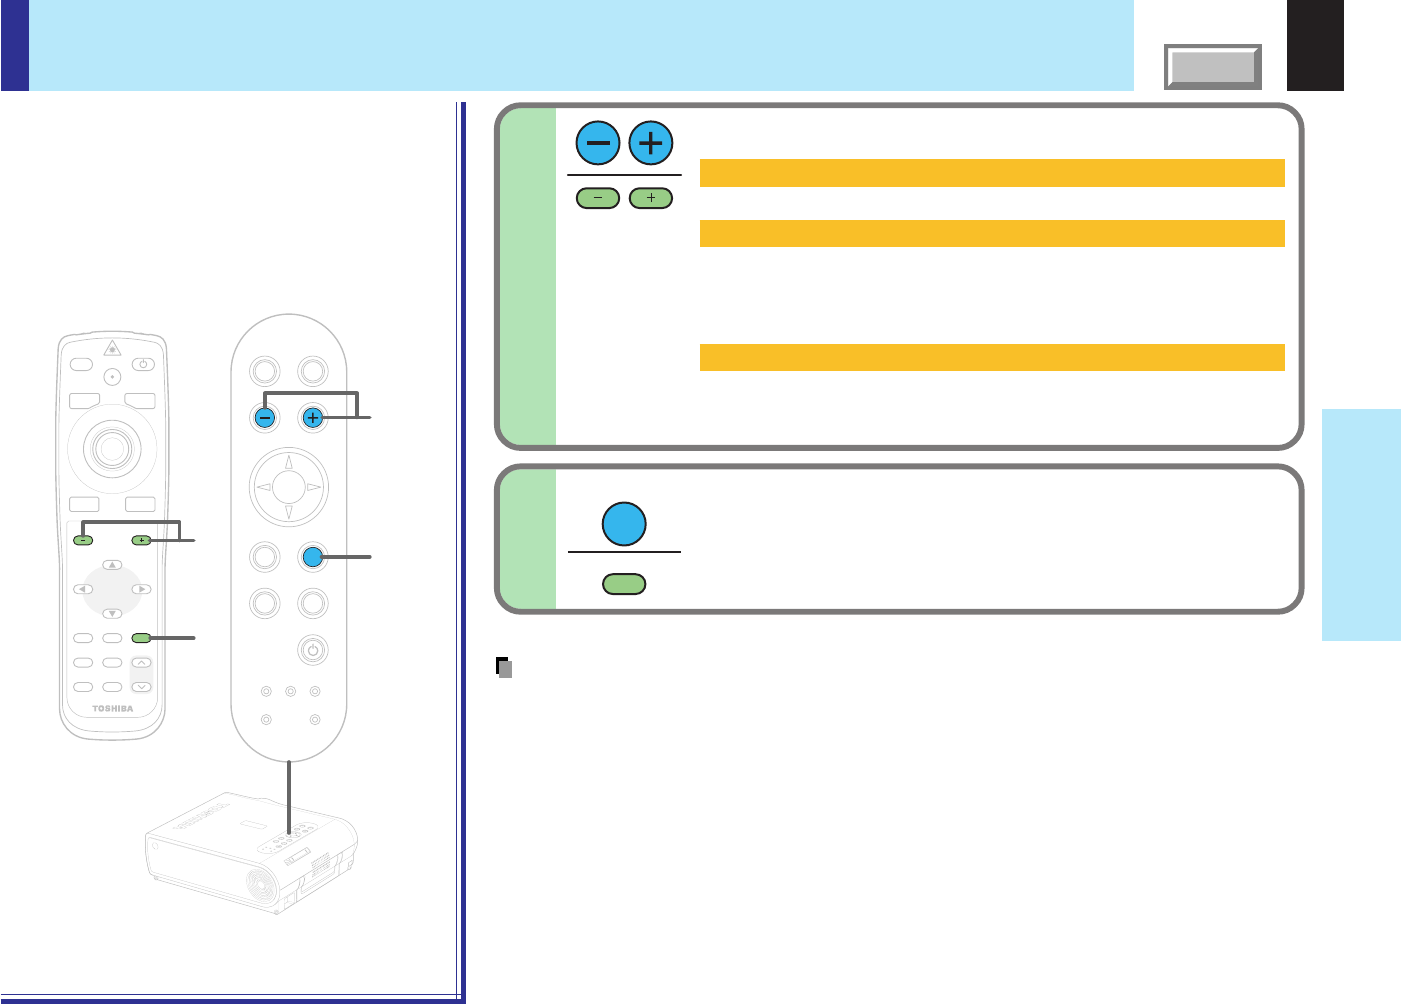
Press VOL/ADJ (+/
-
) to adjust and set.
4
Notes
• If the power is turned off by pressing the ON/STANDBY button, the adjustments or settings
made are automatically stored in the memory. If the power cord is unplugged or if a power
failure occurs while the projector is on, the adjustments or settings are not stored in the
memory.
• The “Audio” settings are applied to all the input sources. (It is impossible to change the
settings for each input source.)
• The settings do no affect on the audio output signals from the AUDIO OUT jack.
• If either the memory card input or the document imaging camera input mode (for models with
document imaging camera) is selected, the sound is not developed.
Speaker output
When set to “Off”, no sound is produced from the speakers.
Channel select
L+R: The sound of the left and right channels is mixed and
developed from the speakers.
L: To develop only left input audio signal from the speakers.
R: To develop only right input audio signal from the speakers.
Loudness
When set to “On”, the loudness effect is added to the speaker
sound.
FULL MENU settings – Audio (continued)
Remote control
Control panel
(Main unit side)


