70
CONTENTS
Adjustments &
Settings
MENU
ON/STANDBYINPUT
L-CLICK R-CLICK
ENTER
KEYSTONE
AUTO
SET
EXIT
PIP
FREEZE
MUTECALL
RESIZE
VOLUME/ADJUST
TEMP LAMP ON
BUSY FAN
KEYSTONE
SET
AUTOAUTO
EXIT
ENTER
MENU
INPUT
VOL/ADJ.
5
5
4-c
4-c
TEMP
LAMPON
BUSY FAN
ON/STANDBY
KEYSTONE
SET
AUTOAUTO
EXIT
ENTER
MENU
INPUT
VOL/ADJ.
ON/STANDBY
LASER
After the settings are finished, press EXIT.
The menu screen disappears.
EXIT
EXIT
5
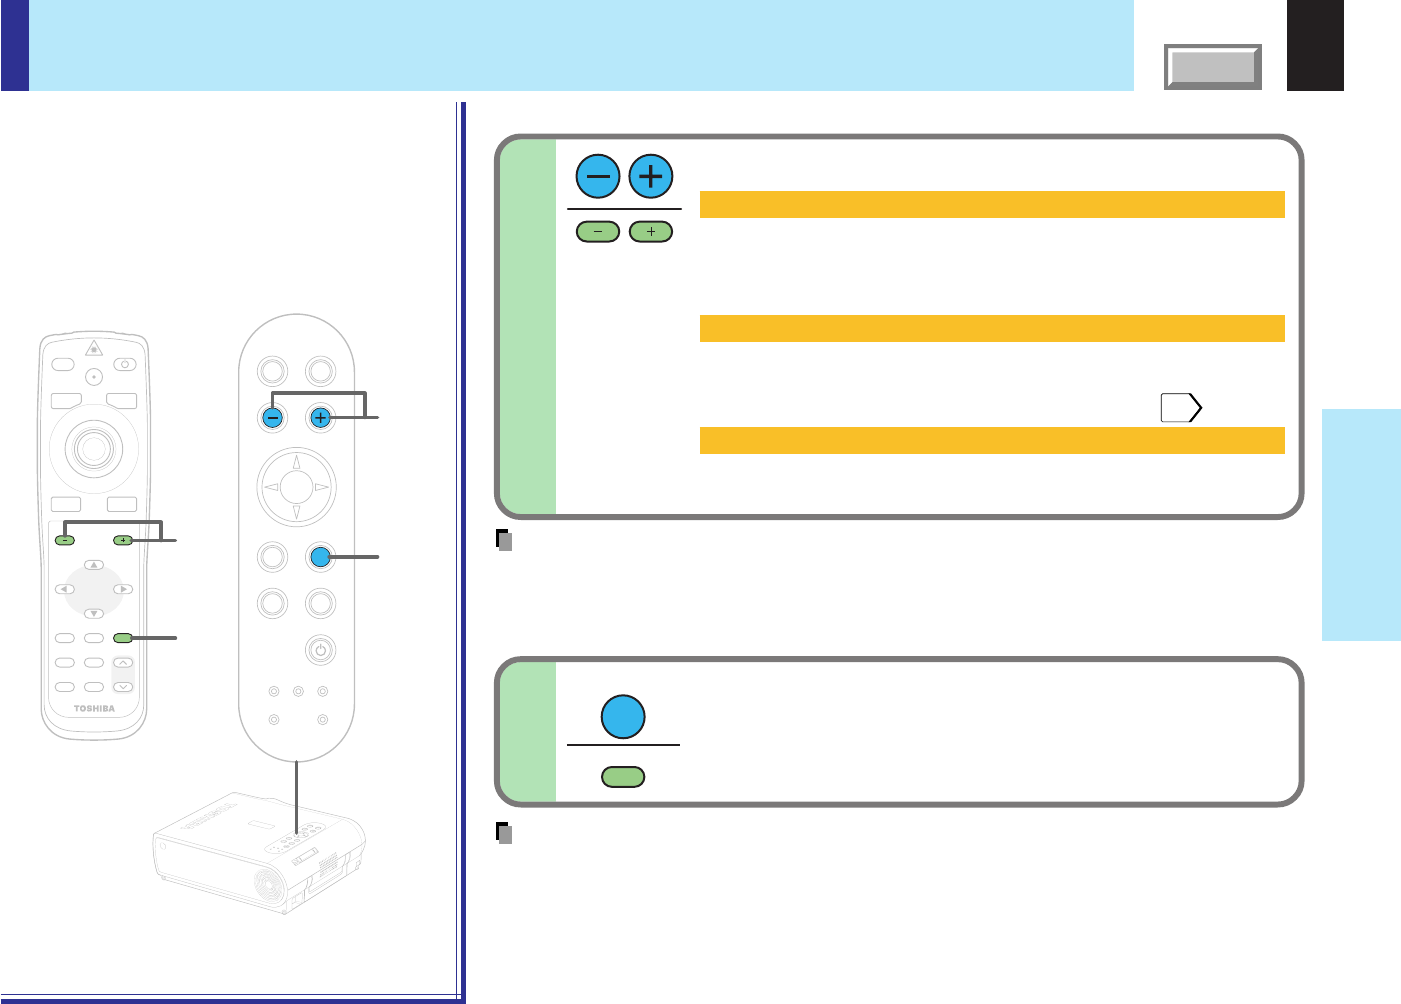
Press VOL/ADJ (+/
-
) to set.
Notes
• If the power is turned off by pressing the ON/STANDBY button, the adjustments or settings
made are automatically stored in the memory. If the power cord is unplugged or if a power
failure occurs while the projector is on, the adjustments or settings are not stored in the
memory.
• The settings of “Default setting” are applied to all the input sources. (It is impossible to store
different settings for each input source.)
No signal power off
OFF: The power does not turn off automatically even if the no
signal status continues.
5 min.: The power turns off automatically if the no signal status
continues for approx. 5 min.
Power on
Manual: The power turns on by pressing the ON/STANDBY button.
Auto: When the power cord is plugged, the power turns on.
Press the ON/STANDBY button when turns power off.
31
Lamp power
Hi: Set the lamp mode with brightness priority.
Low: Restrict the lamp output to reduce the cooling sound.
When selecting “No signal power off”, “Power on” or “Lamp power” in step 3.
Note
The cooling sound changes according to the temperature inside the projector. When the
lamp power setting is changed, the brightness changes immediately, but the cooling sound
level does not change immediately.
FULL MENU settings – Default setting (continued)
Remote control
Control panel
(Main unit side)
4-c


