SCANNING FROM THE BUTTON PANEL ON THE SCREEN 17
SCANNING FROM THE BUTTON PANEL ON THE SCREEN
Scanning from the button panel on the screen works just like pressing a
scanner button. The scanner scans the item, and then sends the image
to the destination associated with the button. This method of scanning
is especially helpful if the scanner is not located close to your computer.
To scan from the button panel on the screen:
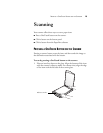
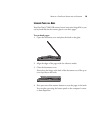
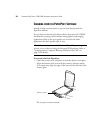
1. Place an item face down on the glass. Align the bottom of the item
with the scanner’s reference marks.
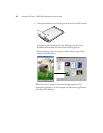
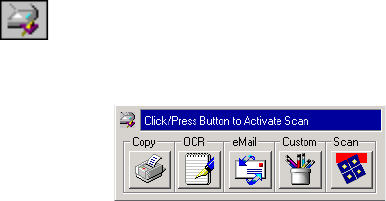
2. Close the document cover, and click the scanner icon on the right-
hand side of the Windows taskbar.
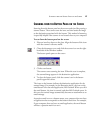
The button panel opens on the screen.
3. Click a scan button.
The scanner starts scanning the item. When the scan is complete,
the scanned image appears in the destination application.
4. To close the button panel, click the scanner icon in the button
panel’s upper-left corner.
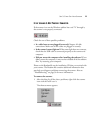
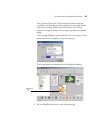
The icons on the buttons indicate the destination application for the
scanned image. For example, in the illustration above, the icon on the
email button is for the email application, MS Outlook. When you click
the email button, the item is scanned, and then MS Outlook opens. In
this case, the scanned image automatically becomes an attachment to an
email message.
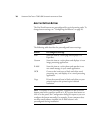
A question mark icon on a button means your computer does not have
an application that corresponds to that button’s functions. For example,
if your computer does not have an email application, the email button
will have a question mark icon on it.


