22 VISIONEER ONETOUCH 7300 USB SCANNER INSTALLATION GUIDE
To scan by previewing and adjusting settings manually:
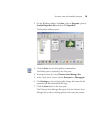
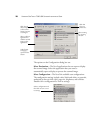
1. On the left side of the Scan Manager Pro, select a configuration.
For example, select Color Configurations and then select Custom
to scan a color item with the preset Custom scan settings.
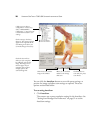
The configuration settings appear as a list. Click the + (plus) sign to
see the full list. Click the - (minus) sign to collapse the list.
2. Click the Preview button to preview the image before scanning.
3. Review the image to determine if adjustments are needed.
4. To adjust a setting, click the setting in the list on the left below the
selected configuration.
A panel opens on the right side of the Scan Manager Pro for the
selected setting. Select new options on that panel. See “Adjusting
the Settings in the Scan Manager Pro” on page 39 for details on
changing scan settings.
5. (optional) To preview the image again, click the Preview button
and readjust the settings if necessary.
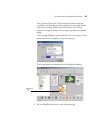
6. When you’re satisfied with the image, click the Scan button.
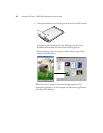
The scanner displays the final image as a thumbnail on the
PaperPort desktop.
7. Use the PaperPort software to work with the image.
GETTING HELP WITH THE PAPERPORT SOFTWARE
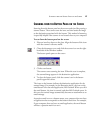
The PaperPort software includes a complete set of help topics that
answer questions about each feature of the software. To open the Help
Topics window, press the F1 key or choose PaperPort Help from the
Help menu.
You can also refer also to the PaperPort Getting Started Guide and
PaperPort User’s Guide on the CD.


