


22 Zoom AP+2 User’s Guide
Setting Up Security Using WPA/WPA Shared Key
1
11
1
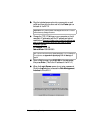
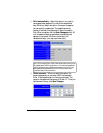
Access the AP+2’s
Web Management Interface
by logging
into the device, as explained below.
a
aa
a
Directly connect the AP+2 to an Ethernet-equipped
computer that has a Web browser. To do this, plug one
end of the included Ethernet cable into the
RJ-45
port on
the back of the AP+2 and plug the other end into the
Ethernet port on the computer. (If your AP+2 is already
connected to another device, such as a router or gaming
device, do not worry; simply plug it back in after you have
used an Ethernet-equipped computer to specify the
settings you need.)
b
bb
b
Plug the included power cube into a power strip or wall
outlet and then plug its other end into the
Power
jack on
the back of the AP+2.
Important!
Only use the power cube shipped with the AP+2. Other
power cubes may damage the device.
c
cc
c
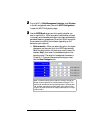
Change the TCP/IP Settings on your computer so that it
uses static IP addressing and the IP address and subnet
mask below. Be sure to make note of what the settings are
prior to changing them, since you will need to restore
these settings later.
IP Address:
10.0.0.100
Subnet Mask:
255.255.255.0
Tip!
If you do not know how to access and specify TCP/IP settings on
your computer, see
Appendix B: Specifying TCP/IP Settings
on
page 55.
d
dd
d
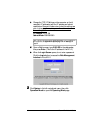
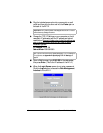
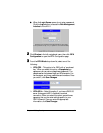
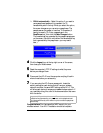
Open a Web browser, type
10.0.0.200
in the address bar,
then press
Enter
. (This is the IP address of the AP+2.)