


42 CHAPTER 3: SETTING UP SWITCH MANAGEMENT
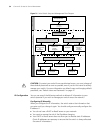
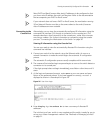
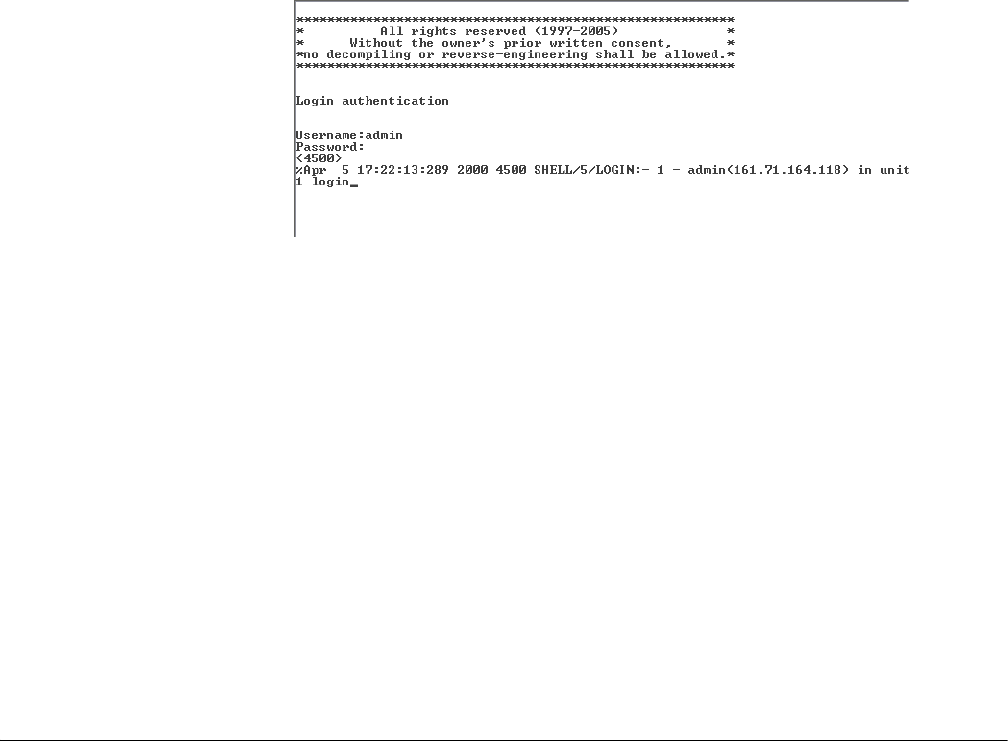
Figure 25 User View Login using Telnet
4 Enter the system-view command and Enter.
5 Enter interface vlan 1 and Enter.
6 Enter the IP address and subnet mask for the switch as follows:
ip address xxx.xxx.xxx.xxx mmm.mmm.mmm.mmm
(where xxx.xxx.xxx.xxx is the IP address and mmm.mmm.mmm.mmm is the subnet
mask of the switch)
7 Enter the default gateway for the switch:
ip route-static 0.0.0.0 0.0.0.0 xxx.xxx.xxx.xxx
(where xxx.xxx.xxx.xxx is the IP address of the default gateway)
8 Enter the save command to save the configuration (the configuration is not
saved automatically when the switch is powered down).
The initial set up of your switch is now complete and you can set up your
management method. See
“Methods of Managing a Switch” on page 31.
Viewing
Automatically
Configured IP
Information
If you allow the switch to automatically configure its own IP information you need
to discover and view the IP information before you can begin to manage the
switch by:
■ Using 3Com Network Director to auto-discover the switch and display the its
automatically allocated IP information.
■ Connecting a workstation to the switch’s console port using a console cable,
then using the command line interface to view its automatically assigned IP
information.
Each method is described in detail below.
Using 3Com Network
Director
You can use the 3Com Network Director application (available from the 3Com
website) to discover the automatically allocated IP information.
1 Connect your switch to the network.
2 Power-up the switch and wait for two minutes.
3 Launch 3Com Network Director and run the Auto-discovery wizard.
3Com Network Director will auto-discover the new switch and display the IP
information that has been automatically allocated to the switch.