


19
3M™ Digital WallDisplay
© 3M 2005. All Rights Reserved.
Installation and System Setup
System Setup
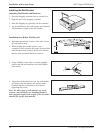
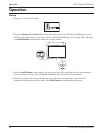
It only takes a few minutes to connect the 3M Digital WallDisplay to your computer, VCR, DVD player, video
conference unit, or other devices.
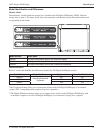
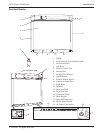
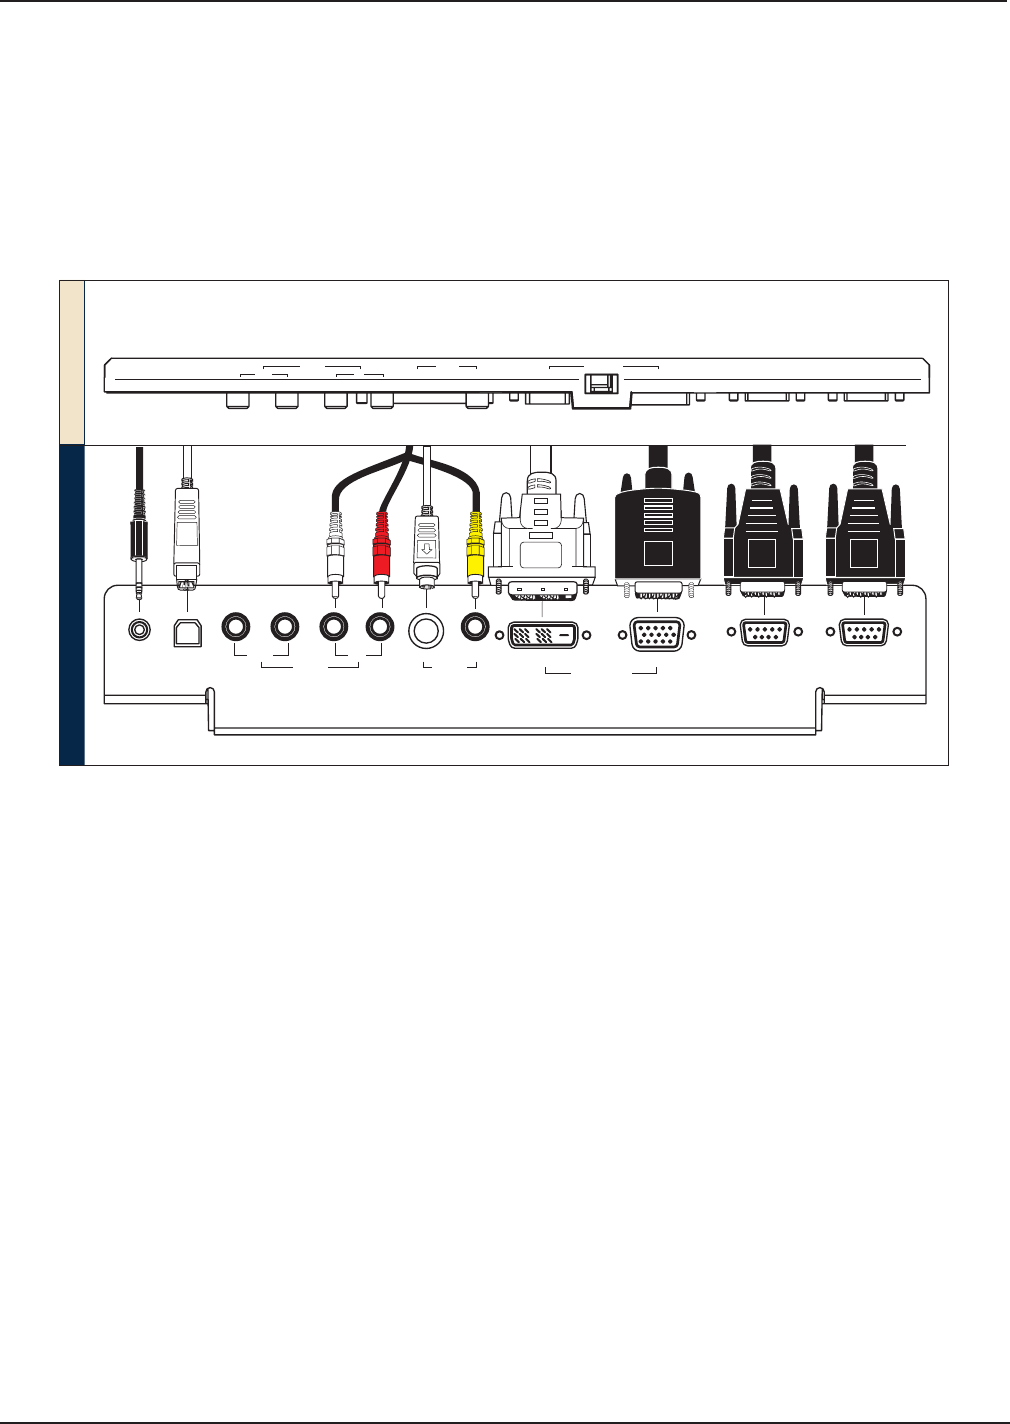
The connection panel is located underneath the bottom right corner of the 3M Digital WallDisplay, under the
Connection Panel Door. Press and release door to access connection panel.
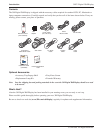
Note: Use the enclosed cables to ensure image and audio quality. Substituting cables of lesser quality may
result in poor image quality or audio noise.
P
C
AUD
I
O
U
S
B
M
O
U
SE
SE
R
I
A
L
M
O
U
SE
R
S
-
232
AUD
I
O
V
I
D
E
O
C
O
M
P
U
T
E
RR
O
W
1
2
(
T
H
I
S
R
O
W
F
O
R
D
I
G
I
T
A
L
W
H
I
T
E
B
O
ARD
O
P
T
I
O
N
O
N
L
Y
)
P
R
I
N
T
E
R C
O
M
P
U
T
E
R
S
-
V
I
D
E
O
RCA
V
G
AD
V
I
-
D
O
U
T
I
N
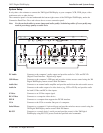
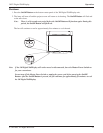
FRONT OF PANEL
BOTTOM OF PANEL
PC
Audio
USB
Mouse
Serial
Mouse
RS-232
Audio
Vi
deo
Computer
Out S-Video RCA
VGA
DVI-D
In
PC Audio Connects to the computer’s audio output and provides audio for VGA and DVI-D
(Digital Visual Interface - Digital only) inputs.
USB Mouse Connects to the computer’s USB port and provides wireless mouse control using the 3M
Digital WallDisplay remote control Disk Pad button.
Audio Out Connects to an external audio amplifier and provides audio from the active audio source.
Audio In Connects to the audio output of a video device (e.g. VCR or DVD), and provides audio
for both S-Video and RCA video inputs.
S-Video Connects to an S-Video output signal.
RCA Video Connects to a composite video device.
DVI-D Connects to a computer that supports the DVI-D interface.
VGA Connects to the VGA or monitor Out port of a computer.
Serial Mouse Connects to a computer’s 9-pin serial port and provides wireless mouse control using the
3M Digital WallDisplay remote control Disk Pad button.
RS-232 Connects to a control device’s serial port and provides control of the 3M Digital
WallDisplay using RS-232C protocol and the specified serial commands.