


SDR2-USB Configuration Guide rev 1.0 Configuring the DataBridge SDR2-USB
11
NOTE: By default,
the SDR2-USB uses a
serial data format of
eight data bits, no
parity, and one stop bit
(8N1). Most serial
devices use this
format.
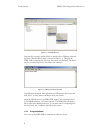
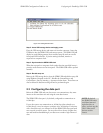
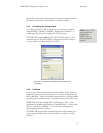
Figure 2.2. Setting date and time.
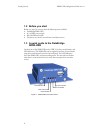
Step 2: Insert USB storage device and apply power
Eject the USB storage device and remove it from the computer. Insert the
USB device into the SDR2-USB, and connect power. The SDR2-USB will
display its usual flashing pattern, then read the setup file and turn on all 4
front-panel LED indicators. If precise setting is desired, monitor a
stopwatch or computer clock.
Step 3: Synchronize the SDR2-USB clock
When the stopwatch or computer clock reaches the time specified in step 1,
press the record button on the front panel. The SDR2-USB will the operate
normally.
Step 4: Re-edit setup.txt
Remove the USB storage device from the SDR2-USB and edit the setup file
using Windows Notepad on the PC. Disable the CurrentDate= and
CurrentTime= lines by inserting
// characters before them. These lines can
also be deleted if date/time setting will not be performed again.
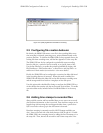
2.3 Configuring the data port
Before the SDR2-USB and your data source can communicate, they must
interact at the same data rate and using the same data format.
The SDR2-USB's data port is, by default, configured to communicate at
115200 bps.
If your data source can communicate at 115200 bps (also referred to as
115200 baud), it may be easiest to configure it for 115200 bps. For devices
with a fixed data rate, you will need to set the SDR2-USB's data port baud
rate to match your data source. You may also wish to choose a higher data
rate and hardware handshaking if your data source sends a high volume of
data.