14
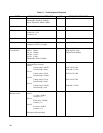
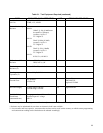
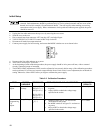
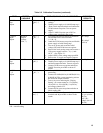
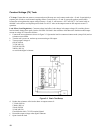
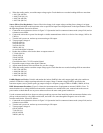
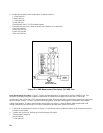
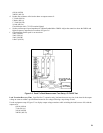
Table 2-2. Calibration Procedure (continued)
TEST TESTED
VARIABLE
TEST POINTS TEST SEQUENCE AND ADJUSTMENTS EXPECTED
RESULTS
Power
Limit
Adjust.
V(OUT)
I(OUT)
a. Perform I-MON F/S Adjust before
proceeding.
b. Connect the unit to the ac power line via a
variable transformer. Set input power rail to
240Vdc; DVM ( + ) on rear of A1R3 and
DVM (-) to rear of A1R1. Note that power rail
must be maintained at 240Vdc during
calibration.
WARNING
The inner cover must be removed to connect the
voltmeter. Disconnect the power line and wait two
minutes before connecting or disconnecting the
voltmeter.
c. Connect a 3.8Ω (6010A), 0.066Ω (6011A),
0.44Ω (6012B), 40Ω (6015A) resistor or an
electronic load across the unit's output
terminals.
d. Set the load for 18A (6010A), 120A (6011A),
50A (6012B), 5A (6015A), in CC mode, and
turn A2R25 (lower knee) fully counter
clockwise.
e. Turn on power supply and set voltage at 65V
(6010A), 8V (6011A), 22V (6012B), 204V
(6015A), and current at 17.5A (6010A), 121A
(6011A), 51A (6012B), 5.1A (6015A), using
DISPLAY SETTINGS.
f. Turn A2R25 clockwise until CV LED lights.
Output should be 65V ± 0.6V (6010A), 8
±0.08V (6011A), 22 ±0.2V (6012B), 204V
(6015A), and 17A (6010A), 120A (6011A)
51A (6012B), 5.1A (5015A) in CV mode.
g. Turn off ac power and replace the 3.8Ω
(6010A), 0.066Ω (6011A), 0.44Ω (6012B),
40Ω (6015A), resistor with a 38Ω (6010A),
0.36Ω (6011A), 3.3Ω (6012B), 250Ω
(6015A), resistor or reset electronic load for
5.5A (6010A), 55A (6011A), 18.2A (6012B)
in CC mode.


