Chapter 2: Installation 7
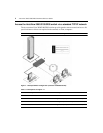
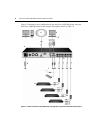
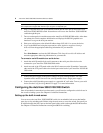
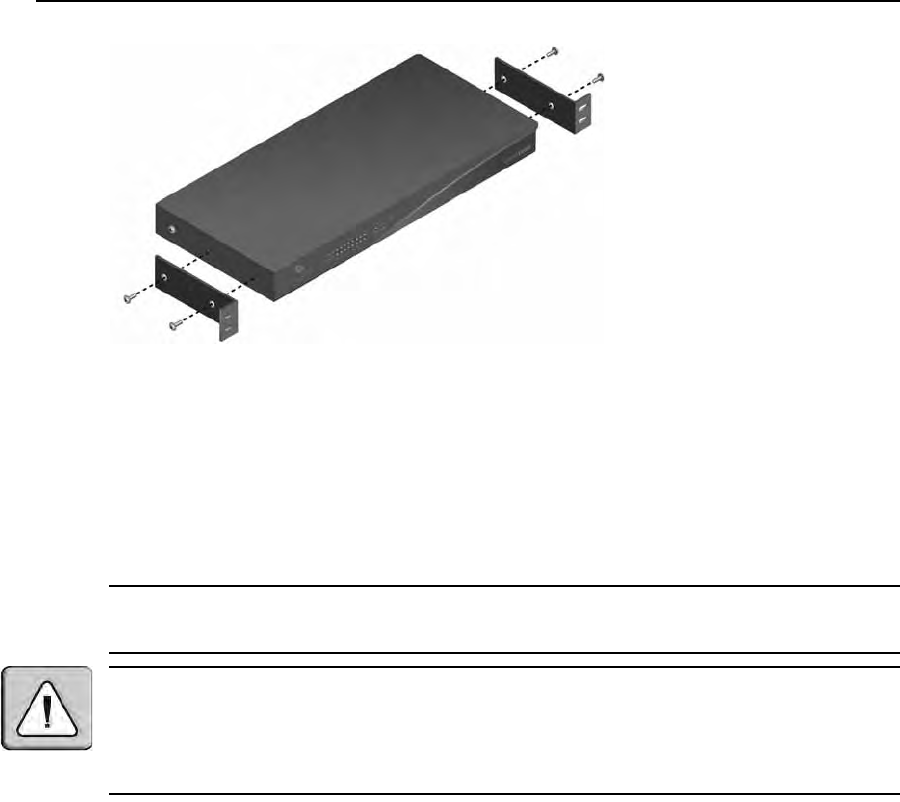
Figure 2.2: AutoView 3050/3100/3200 Switch Mounting Diagram
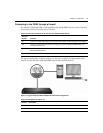
Connecting the AutoView 3050/3100/3200 Switch Hardware
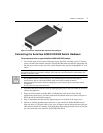
To connect and turn on your AutoView 3050/3100/3200 switch:
1. Turn off the target device(s) that will be part of your AutoView switching system. Locate the
po
wer cord that came with the AutoView 3050/3100/3200 switch and plug the appropriate end
into the power socket on the rear of the switch. Plug the other end into an appropriate AC wall
outlet.
NOTE: To avoid potential video and/or keyboard problems when using Avocent products: If the building
has 3-phase AC power, ensure that the computer and monitor are on the same phase. For best results, they
should be on the same circuit.
WARNING: To reduce the risk of electric shock or damage to your equipment:
- Do not disable the power cord grounding plug. The grounding plug is an important safety feature.
- Plug the power cord into a grounded (earthed) outlet that is easily accessible at all times.
- Disconnect the power from the switch by unplugging the
power
cord from either the electrical outlet or
the appliance.
- The AC inlet is the main power disconnect.
2. Disconnect the power from the switch by unplugging the power cord from either the electrical
outlet or the appliance.
3. Plug your VGA monitor and either PS/2 or USB keyboard and mouse cables into the
ap
propriately labeled ports. You must install both a keyboard and mouse on the local ports or
the keyboard will not initialize properly.
4. Plug a compatible IQ module into the appropriate po
rts on the back of the target server.
5. Choose an available numbered port on the rear of your AutoView 3050/3100/3200 switch.
Pl
ug one end of a UTP patch cable (4-pair, up to 45 meters) into the selected port and plug the
other end into the RJ-45 connector of the IQ module. Repeat this procedure for all servers that
are to be connected to the AutoView 3050/3100/3200 switch.


