


1-1
Unpacking and Dimensions
5975288 BARCOGRAPHICS 8200 030798
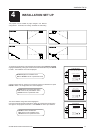
1
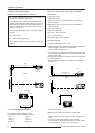
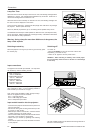
Pull
To open
L
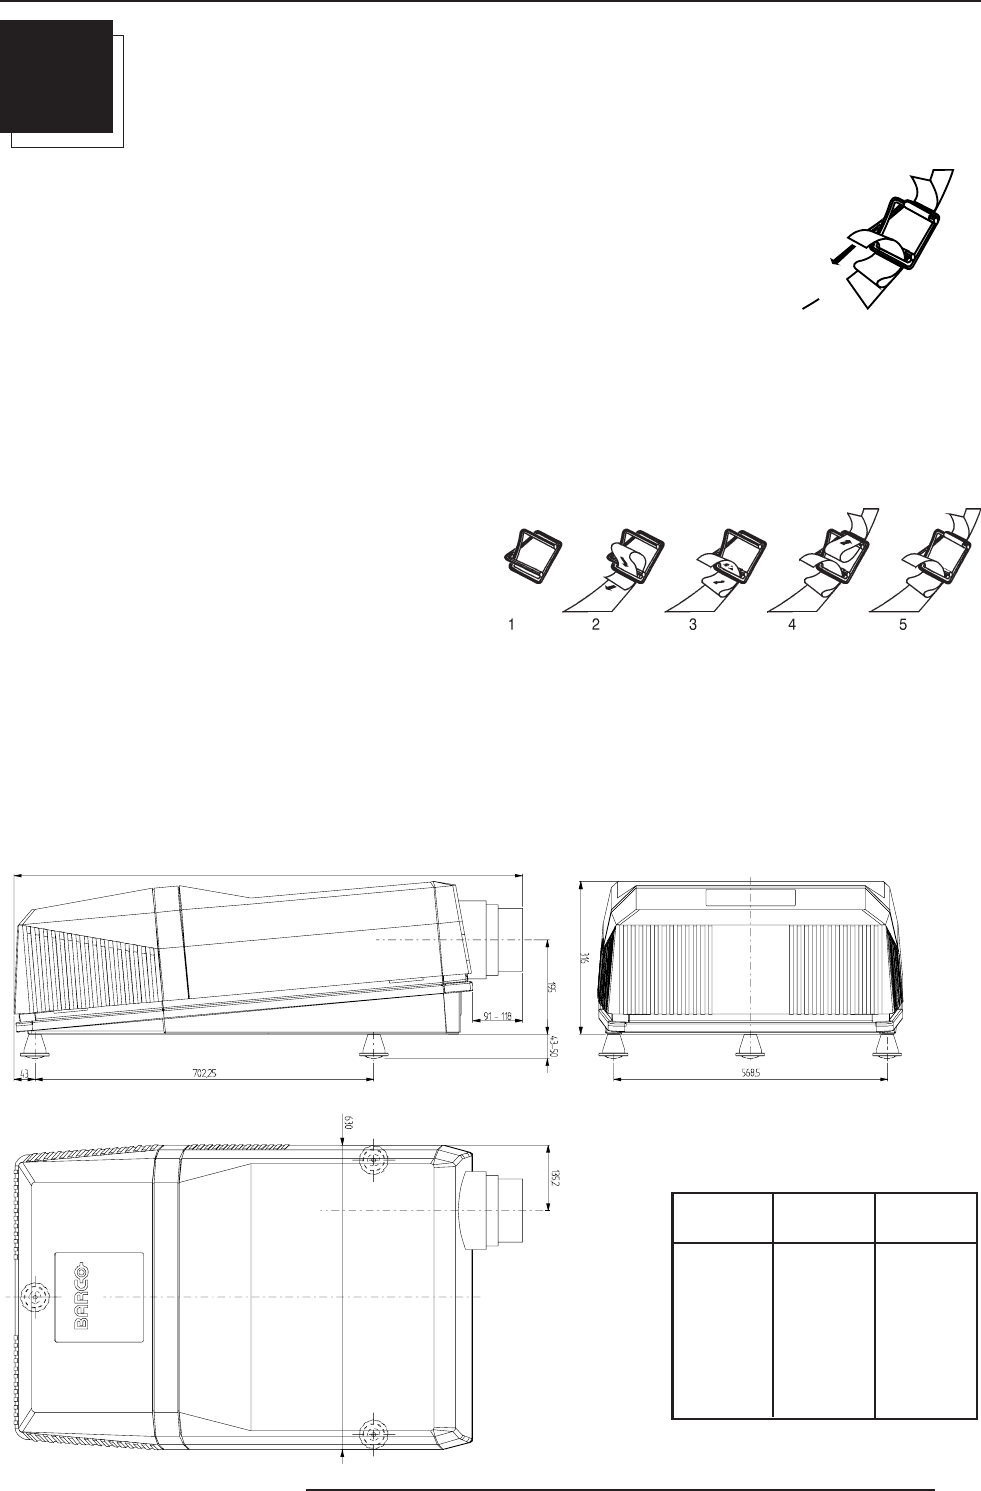
UNPACKING AND DIMENSIONS
Unpacking
To open the banding, pull on the clip as shown in the first drawing.
Take the projector out of its shipping carton and place it on a table.
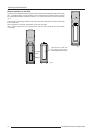
For transportation, the projector is mounted on a wooden board with 3 bolts. Use a 13 mm wrench to remove these bolts.
When using the projector as a table mounted configuration, always mount the 3 supporting feet (see drawing below). These feet are mounted
on the same wooden board. Each foot contains one metal part and two plastic parts. To remove the feed, first turn out both plastic parts.
To remove the metal parts from the board, remove the retaining bolts. Save these bolts because these bolts must be used to mount the feet
to the projector. Mount first the metal parts with the removed bolts and turn in then both plastic parts to finish the feet.
Warning : To prevent overheating of the projector as table mounted, always remove the wooden board and turn in the 3 supporting feet
to allow air circulation via the built-in dust filter at the bottom.
Save the original shipping carton and packing material, they will be
necessary if you ever have to ship your projector. For maximum
protection, repack your projector as it was originally packed at the
factory.
Contents of the complete unit (box) :
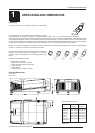
Projector dimensions
(units : mm)
25.4 mm = 1"
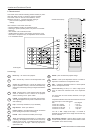
Name lens Lmin Lmax
(*) mm (inch) mm (inch)
HD(1.2:1) 1072 (42.20) 1087 (42.79)
HD(2.2:1) 1043 (41.06) 1070 (42.12)
HD(3.3:1) 1017 (40.04) 1072 (42.20)
HD(4.0:1) 1022 (40.24) 1162 (45.75)
HD(5:1) 1082 (42.60) 1202 (47.32)
HD(7:1) 1252 (49.29) 1372 (54.02)
HD(1.5-3:1) 1252 (49.29) 1355 (53.35)
HD(3-5.3:1)
Some examples of lenses :
(*) More info about lenses, see
appendix B.
- 1 BARCOGRAPHICS 8200
- 1 remote control unit RCU + 9V battery
- 1 power cable with outlet plug type CEE7.
- 1 owners manual
- 1 safety manual
- 3 supporting feet (consists of 3 parts)