


49
Using P-touch With a Computer
(for PT-7600 only)
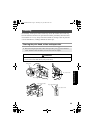
Installing P-touch Editor 5.0
1 Start your PC making sure to log on as a user with Administrator privileges.
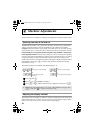
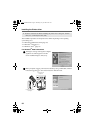
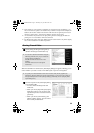
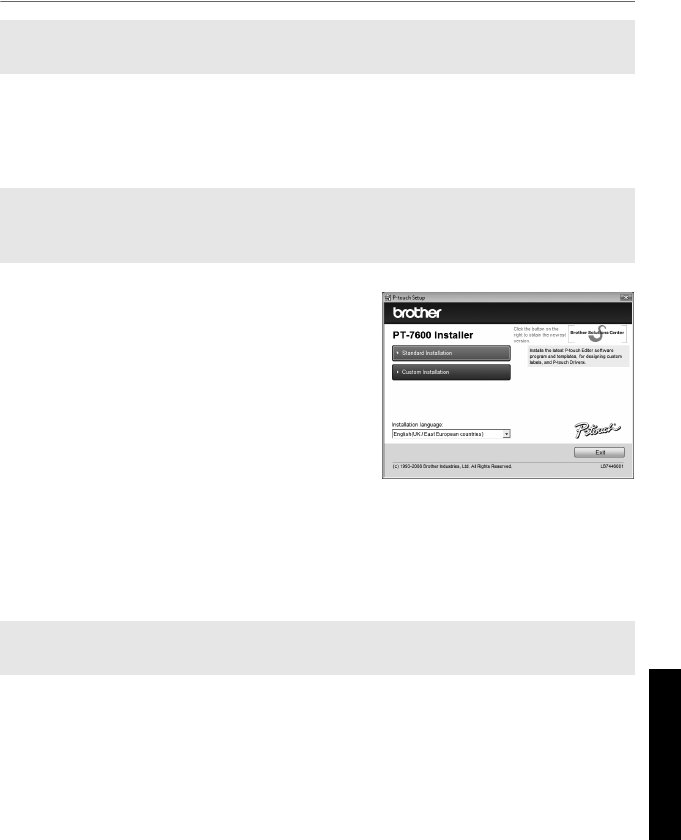
2 Insert the CD-ROM into the CD-ROM drive. The P-touch Setup Screen will
appear.
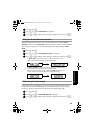
3 Select the desired language, and double
click the type of setup you prefer.
Standard: All features (P-touch Editor and
Printer driver) will be installed (default).
Custom: You can specify which features to
install. Recommended for advanced users.
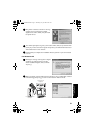
4 Read the licence agreement carefully. If you agree with the terms and conditions
of the licence agreement, click [Yes] to continue the installation.
5 Type in the User Name and Company Name (if needed), and then click [Next].
6 Confirm the destination to install the software, and then click [Next].
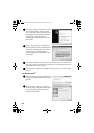
7 Check on/off which shortcuts you wish to add, and then click [Next].
8 Review the settings, and then click [Next]. (To change the settings, click [Back]
to go back to the appropriate window(s) and correct.)
9 The selected features will be installed automatically.
☞ The installation procedure may change depending on the Operating System on your
PC. Windows Vista® is shown here as an example.
☞ If the P-touch Setup Screen does not appear, from Windows Explorer double-click
the My Computer icon, and then double-click the PT-7600 icon. If you wish to cancel
installation in the middle of the process, click [Exit].
☞ If you wish to modify or change the destination, click [Browse] to choose the
installation path.
PT75007600uk.book Page 49 Thursday, July 10, 2008 9:39 AM