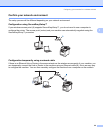
Configuring your machine for a wireless network
30
3
Changing the print server settings 3
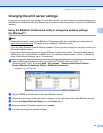
Once you have configured your machine for a wireless network, you can change the wireless settings using
the BRAdmin Professional utility, the Remote Setup software or the control panel on the front of the Brother
machine.
Using the BRAdmin Professional utility to change the wireless settings
(for Windows
®
) 3
Note
• Please use the latest version of the BRAdmin Professional utility that is available as a download from
http://solutions.brother.com
. This utility is only available for Windows
®
users.
• If you are using Personal Firewall software, disable it. Once you are sure that you can print, re-start your
Personal Firewall software.
• Node name: Node name appears in current BRAdmin Professional window. The default Node name is
“BRNxxxxxx” for a wired network or “BRWxxxxxx” for a wireless network (where “xxxxxx” is the last six
digits of the Ethernet address) (up to 15 characters).
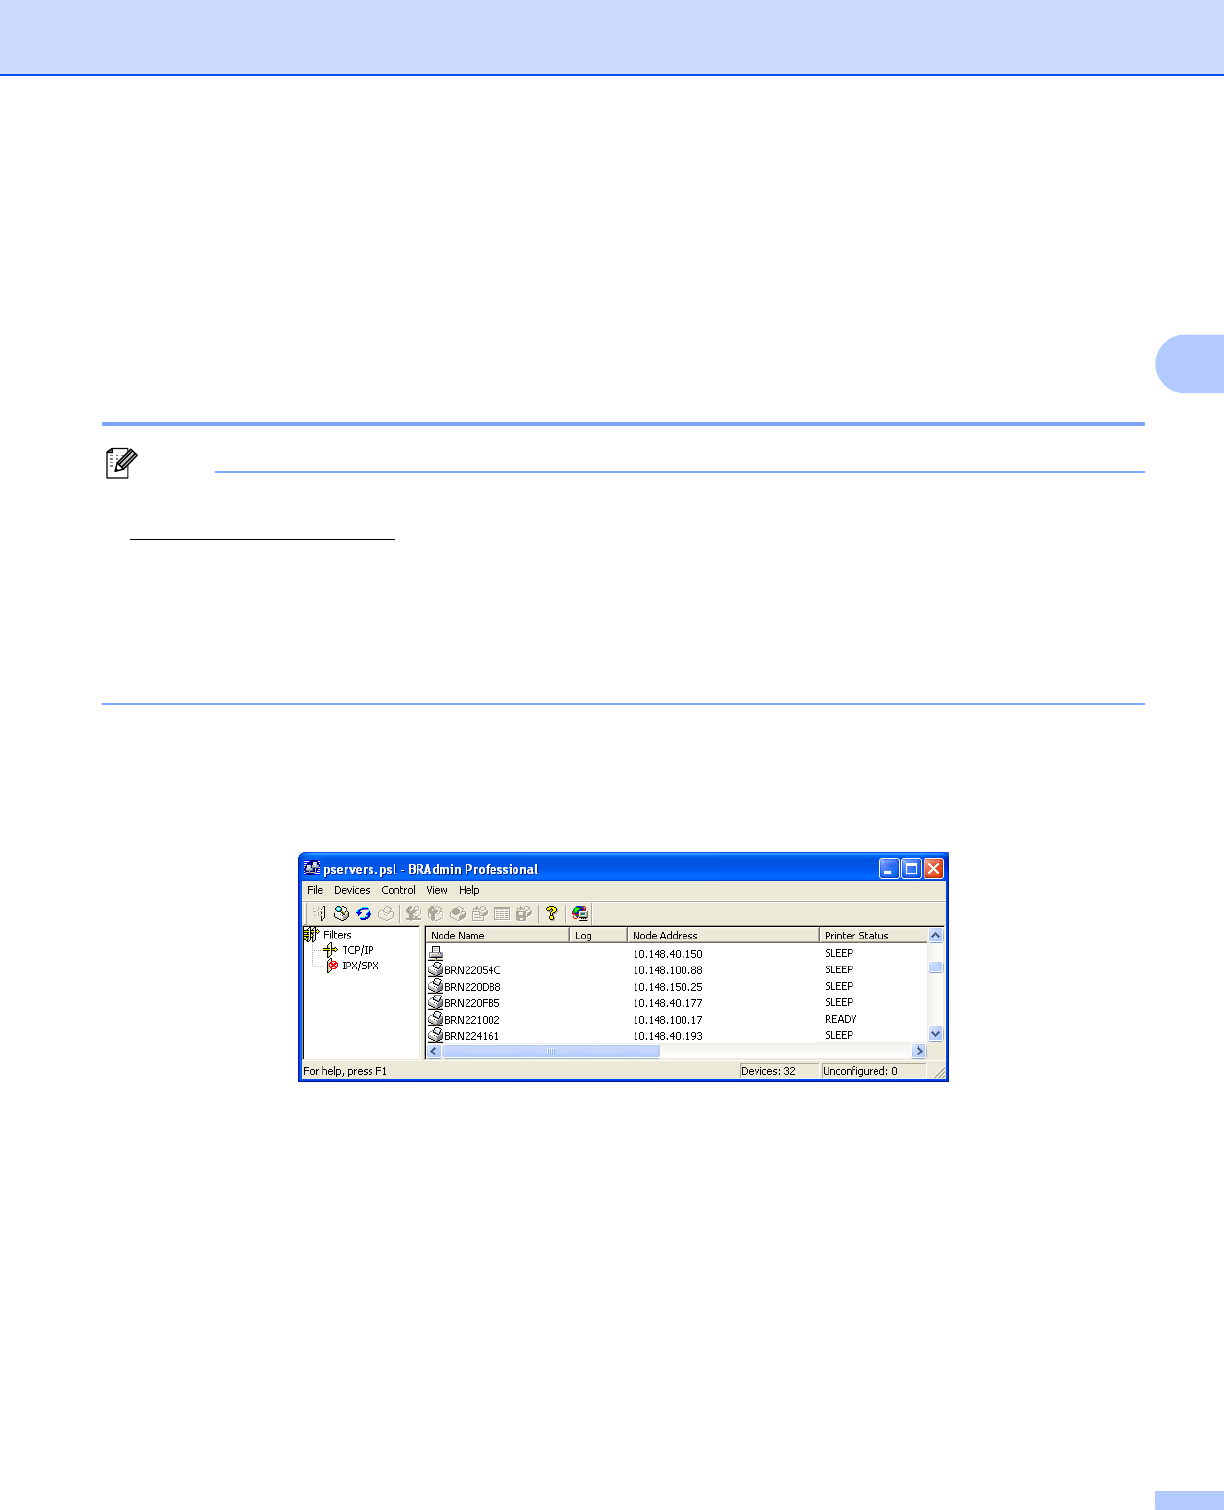
a Start the BRAdmin Professional utility (from Windows
®
2000/XP, Windows Vista™ or
Windows Server
®
2003), by clicking Start / All Programs
1
/ Brother Administrator Utilities /
Brother BRAdmin Professional Utilities / BRAdmin Professional.
1
Programs for Windows
®
2000 users
b Choose TCP/IP in the left frame of the main BRAdmin window.
c Choose the print server which you want to configure, in the right frame of the main BRAdmin window.
d Choose Configure Wireless Setting from the Control menu.
e Enter a password. The default password is “access”.
f You can now change the wireless settings.


