


2-4
Loading Envelopes in the Cassette
• The recommended envelopes are COM10, MONARCH, DL, ISO-C5.
Using other envelopes may affect the quality of the copy image.
IMPORTANT
1
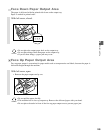
Arrange the stack of envelopes on a firm,
clean surface, and press down firmly on the
edges to make the folds crisp.
• Press all the way around the envelopes to remove
any curls and expel air from inside the envelopes.
Also, press firmly on the area that corresponds to
the edges of the back flap.
2
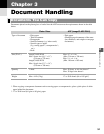
Remove any curling from the envelopes by
holding the edges diagonally and bending
them gently.
3
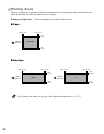
Run a pen or other rounded object along
the back flaps to flatten them.
• The flaps should not bulge more than 0.2 inch
(5 mm).
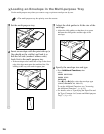
4
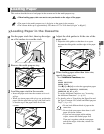
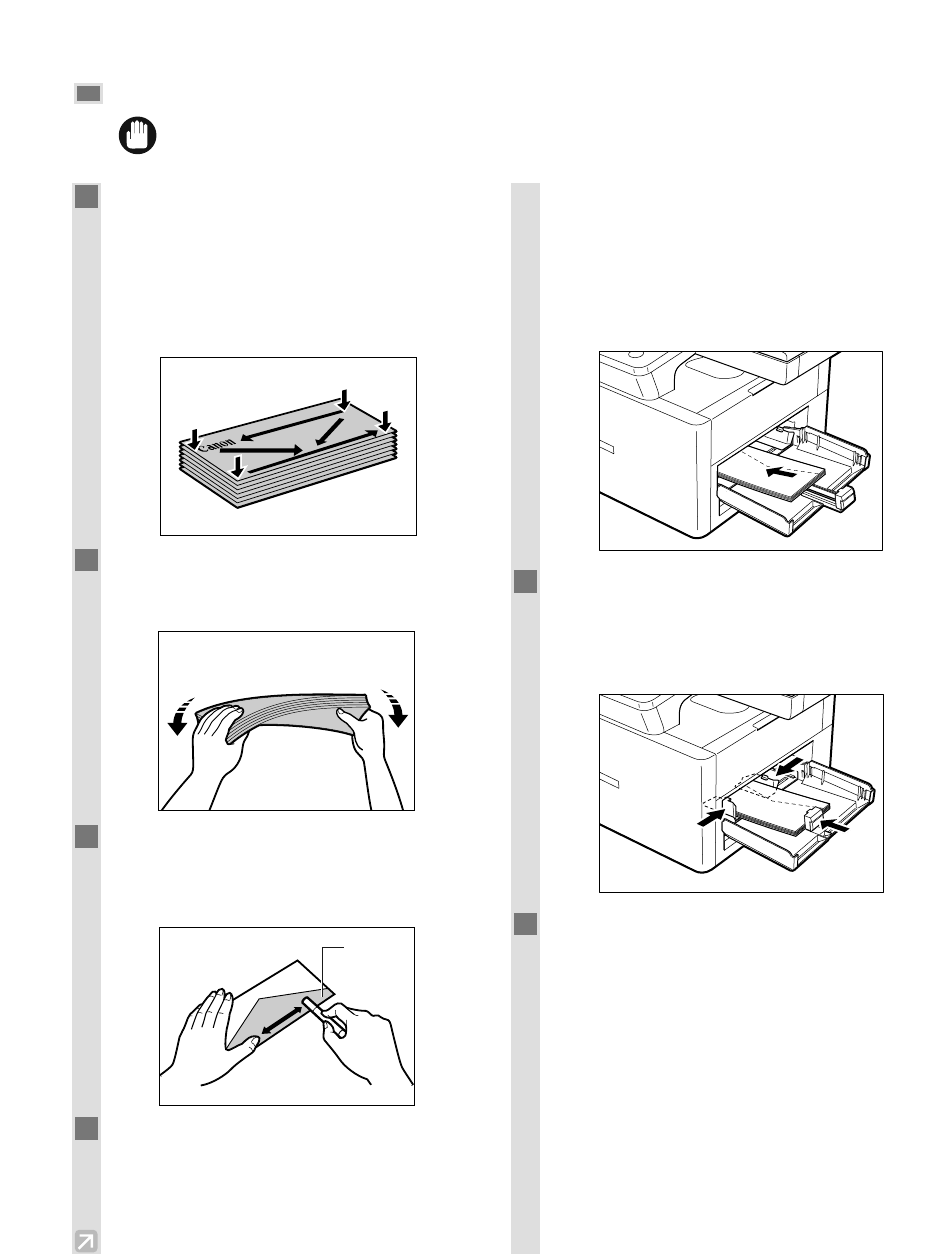
Even the edges of the envelopes and load
them in the cassette.
• Position the envelopes with the print side up (flaps
should not be visible) and load them so that the
left side (sender's address side) feeds first in the
cassette.
• If the envelope to be loaded has a flap on the short
edge, this edge must enter the machine first. Not
loading it this way will result in paper jams.
• After loading envelopes, push them lightly toward
the inside of the machine.
• The cassette holds up to approximately 20
envelopes.
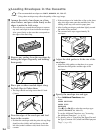
5
Adjust the slide guides to fit the size of the
envelopes.
• Adjust the slide guides so that there is no space
between the slide guides and the edge of the
envelopes.
6
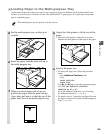
Specify the envelope size and type.
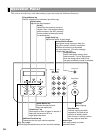
• Press Additional Functions, then
select:
PAPER SETTINGS
PAPER SIZE
ENVELOPE
Use 4 (–) or e (+) to select the envelope type
(COM10, MONARCH, DL, ISO-C5).
To set the Additional Functions, see "Accessing
the Additional Functions". (→ p. 9-1)
• For details, refer to "Specifying the Paper Size and
the Type (Common for Cassette and Multi-purpose
Tray)". (→ p. 4-3)
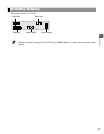
Flap