8
8-3
Troubleshooting
7
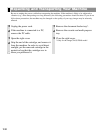
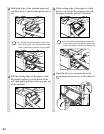
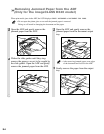
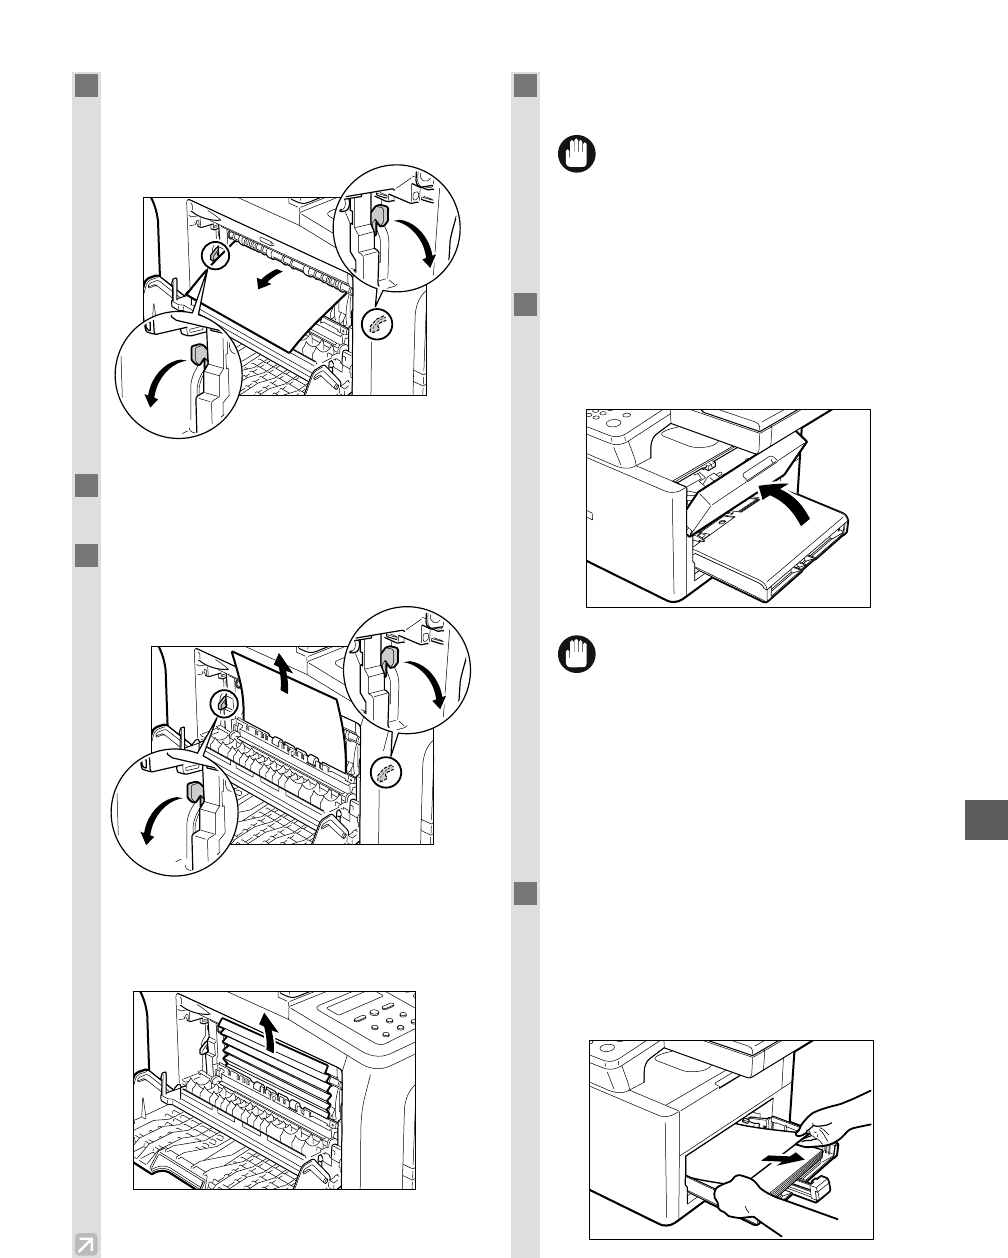
Gently pull the jammed paper between the
output rollers until the leading edge
emerges from the machine.
8
Carefully pull the jammed paper through
the rollers and out of the machine.
9
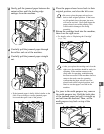
Carefully pull the jammed paper straight
out.
• If the jammed paper is badly folded, similar to the
folds of an accordion, ease the jammed paper
loose and then pull it out of the printer.
10
Place the paper release levers back to their
original position, and close the left cover.
• Be sure to place the paper release levers
back to their original position. If the levers
are left pushed down, the paper jam error
will not be resolved. Never push down the
paper release levers while printing. This
could result in damage to the fixing
assembly.
11
Return the cartridge back into the machine,
then close the right cover.
• For details, refer to “Replacing the Cartridge”
(→ p. 7-6).
• After you replace the cartridge and close the
right cover, the machine should be ready for
operating. If the machine returns to the
ready state for operating, troubleshooting
has been successful. If the machine does not
return to the ready state for operating,
confirm that the paper release levers are
placed back to their original position, and
check to see that paper is not left in the
machine.
12
For jams in the multi-purpose tray, remove
the multi-purpose tray. Hold the both sides
of the jammed paper and pull it straight up
and out from the machine. Then, set the
multi-purpose tray back on top of the
cassette.
IMPORTANT
IMPORTANT


