


5. Disconnect any external devices that you do not want to test. (Do not
disconnect the printer if you want to test it or use it to log error
messages.)
6. Install loopback and terminating plugs in the serial and parallel
connectors if you would like to test these ports.
7. Ensure that the hard drive is installed in the computer.
8. Connect the computer to an external AC power source with the battery
pack inserted.
When the preliminary steps are complete, you are ready to run POST
(Section 4.2.) and Computer Checkup (Section 4.3).
Clearing the Power-on Password
IMPORTANT: Clearing the power-on password also clears the setup password
and the CMOS that contains configuration information for all
external devices. After clearing the power-on password, reset
the setup password and run Computer Setup to restore the
configuration information.
If the password is unknown, clear it by completing the following steps:
1. Turn off the computer by simultaneously pressing the left Ctrl+Alt keys
and power button.
2. Disconnect the power cord.
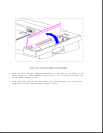
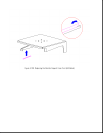
3. Remove the battery pack (Section 3.2).
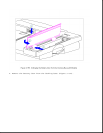
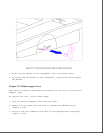
4. Remove the keyboard cover (Section 3.7).
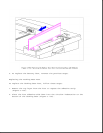
5. Disable the power-on password by removing the real-time clock battery
as referenced in the following removal procedures:
- Section 3.9, "Real-Time Clock Battery for Models 400 and 410"
- Section 3.10, "Real-Time Clock Battery for Models 420 and 430"
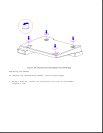
6. Short the real-time clock battery terminals in the processor board by
touching the battery terminals with two ends of a wire.
7. Replace all components.
IMPORTANT: Ensure that the battery pack is charged, since a low battery
condition could initiate Hibernation and interrupt the
procedure.
8. Replace the battery pack (Section 3.2).