232 Printing
3
Press the button until the desired file is highlighted, and then press the
button.
4
Select printing options as required.
NOTE: You can print files scanned and stored using the Scan to USB Memory
feature. Files saved without using the feature such as files created by user
may not be printed properly.
Printing a Report Page
By using the Report/List menu, you can print a various of settings for
your printer including printer settings, panel settings, job history, error
history, color test page, protocol monitor, address book, and fax activity. This
section describes two examples of printing from the Report/List menu.
Printing a System Settings Page
To verify detailed printer settings, print a printer settings page.
See "Understanding the Printer Menus" on page 359 or "Understanding the
Tool Box Menus" on page 323 to identify the display and operator panel
buttons if you need help.
The Operator Panel
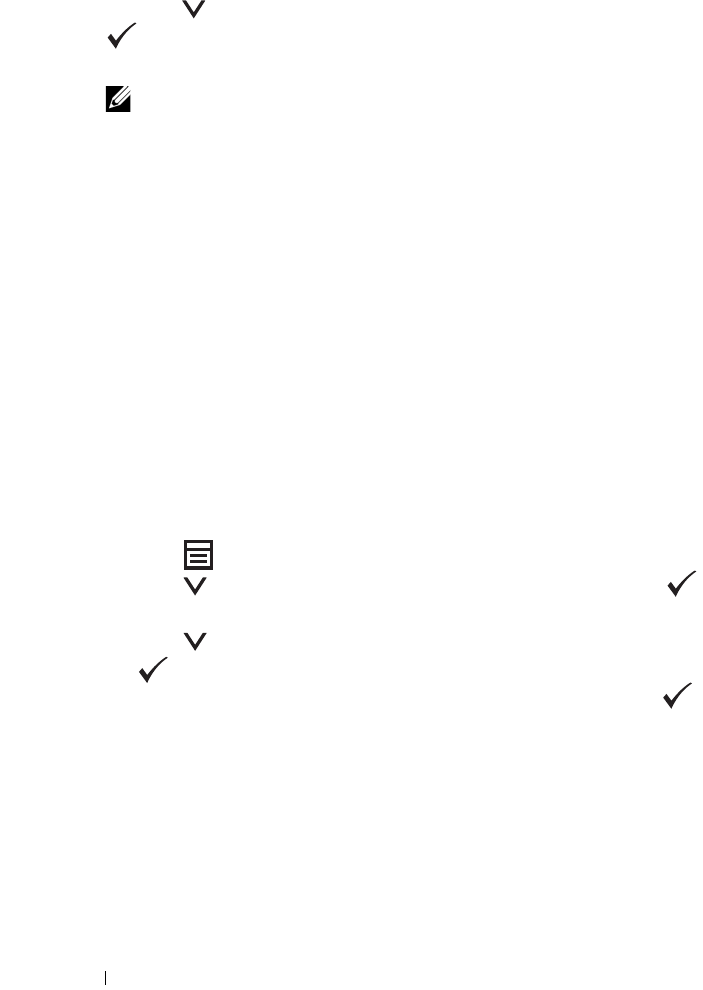
1
Press the
(Menu)
button.
2
Press the button until
System
is highlighted, and then press the
button.
3
Press the button until
Report/List
is highlighted, and then press
the button.
4
Ensure that
System Settings
is highlighted, and then press the
button.
The system settings page is printed.
5
Confirm the IP address next to
IP Address
under
Wired Network
on the
system settings page.
If the IP address is
0.0.0.0
, wait for a few minutes to resolve the IP
address automatically, and then print the system settings page again.
If the IP address is not resolved automatically, see "Assigning an IP Address
(for IPv4 Mode)" on page 53.


