Removing and Installing Parts 167
Installing the Processor Fan/Heat Sink Assembly
NOTICE: When reinstalling the fan, ensure that you do not pinch the wires that run
between the system board and the fan.
1
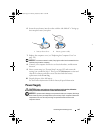
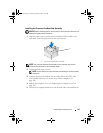
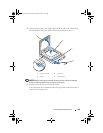
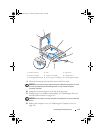
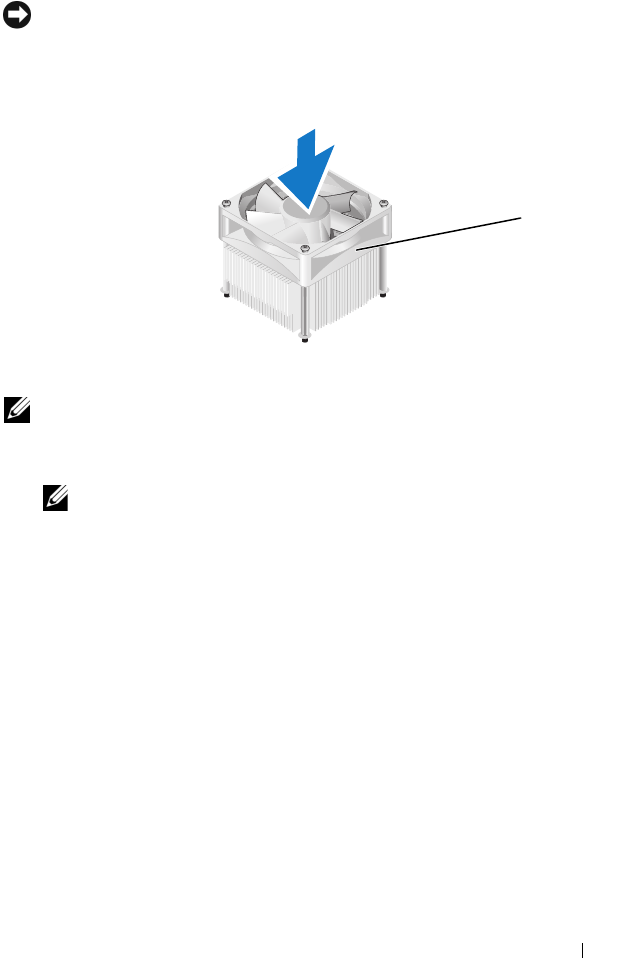
Align the captive screws on the processor fan/heat sink assembly to the
four metal screw hole projections on the system board.
NOTE: The processor fan/heat sink assembly in your computer may not look
exactly like the one shown in the illustration above.
2
Tighten the four captive screws.
NOTE: Ensure that the processor fan/heat sink assembly is correctly seated
and secure.
3
Connect the processor fan/heat sink assembly cable to the CPU_FAN
system board connector (see "Inside View of Your Computer" on
page 109).
4
Replace the computer cover (see "Replacing the Computer Cover" on
page 176).
5
Connect your computer and devices to an electrical outlet, and turn them on.
1 processor fan/heat sink assembly
1
book.book Page 167 Monday, October 6, 2008 11:28 AM


