Using the Printer 43
Printing Other Projects
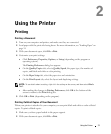
The I Want To menu provides wizards for creating projects. You may want to print on an
envelope, create a booklet, or print a greeting card.
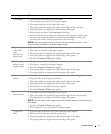
1 With your document open, click File→Print.
2 To customize print settings, click Preferences, Properties, Options, or Setup (depending
on the program or operating system).
The Printing Preferences dialog box appears along with the I Want To menu.
3 Select one of the available projects or click See more printing ideas.
4 Follow the instructions on the screen to complete your project.
Copying
To make copies, you can use the printer operator panel or your computer. For easy one-touch
color or black and white copies, press Color or Black on the operator panel.
Copying Documents Using the Operator Panel
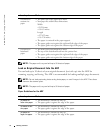
1 Turn on your printer.
2 Load paper in the paper support. For more information, see "Loading Paper" on page 34.
3 Load your original document. For help, see "Load an Original Document Into the ADF" on
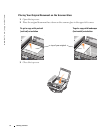
page 36 or "Placing Your Original Document on the Scanner Glass" on page 38.
4 On the operator panel, press the Mode Selector repeatedly until Copy is selected.
5 To make more than one copy, press the numbers on the keypad that correspond with the
number of copies you want to make.
6 From the Start area on the operator panel, press the Color button to create a color copy of
a color image, or press the Black button to create a black and white copy. For more
information, see "Operator Panel Menus" on page 18.
NOTE: If you are using the Dell software on a computer instead of the operator panel buttons, see
"Changing Copy Settings" on page 45.
Copying appears on the display.
Copying Documents Using Your Computer
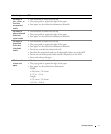
1 Turn on your computer and printer, and make sure they are connected.
2 Load the paper. For more information, see "Loading Paper" on page 34.


