Adding and Replacing Parts 109
HINT: Dell does not
guarantee compatibility
or provide support for
hard drives from sources
other than Dell.
To replace the hard drive in the hard drive bay:
1 Make sure that the work surface is flat and clean to prevent scratching
the computer cover.
2 Save and close any open files, exit any open programs, and shut down
the computer (see page 42).
3 If the computer is docked, undock it.
4 Disconnect the computer from the electrical outlet.
5 Wait 10 to 20 seconds and then disconnect any attached devices.
6 Remove any installed PC Cards, batteries, and devices.
Handle components and cards by their edges, and avoid touching pins
and contacts.
7 Ground yourself by touching a metal connector on the back of the
computer, and continue to do so periodically during this procedure.
HINT: You need the
Operating System
CD to
install the Windows
®
operating system. You
also need the
Drivers and
Utilities
CD for your
computer to install the
drivers and utilities on the
new hard drive.
8
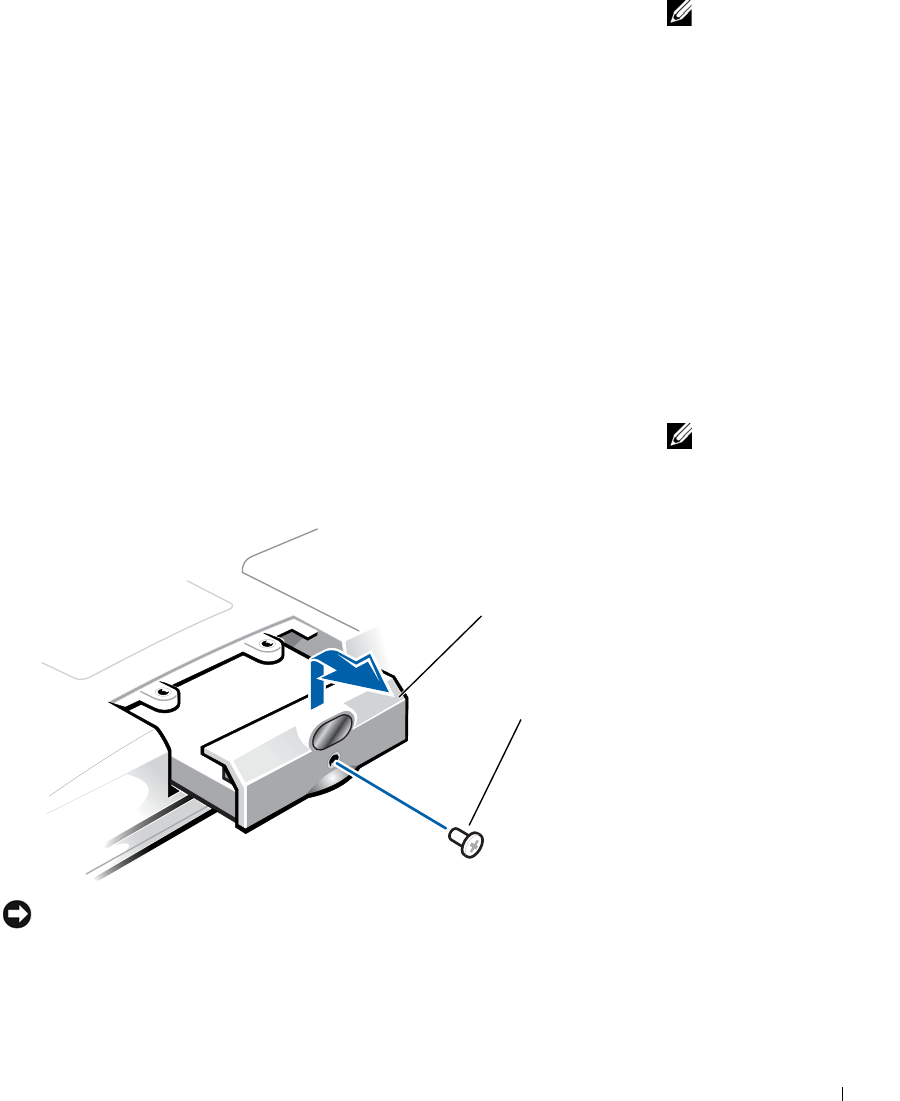
Turn the computer over. Use a small screwdriver to remove the hard
drive screw(s), and place the screw(s) in a safe location.
NOTICE: When the hard drive is not in the computer, store it in protective
antistatic packaging. See "Protecting Against Electrostatic Discharge" on
page 15.
9
Lift the hard drive cover until you feel a click.
bottom of computer
hard drive
screw
1H018bk3.book Page 109 Monday, October 14, 2002 2:26 PM
