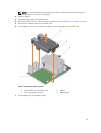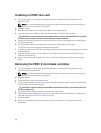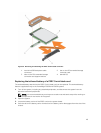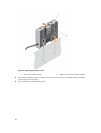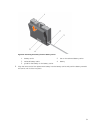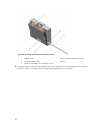
CAUTION: To prevent damage to the card, you must hold the card by its edges only.
4. Lower the other end of the card into the card holder on the system board.
5. Connect the storage controller cable:
a. Grasp the cable on both sides of the cable connector and connect to the PERC card.
b. Attach the two screws to secure the cable to the card.
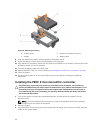
6. Connect the SAS data cable connector to the card.
NOTE: Ensure that you connect the cable according to the connector labels on the cable. The
cable does not function properly if reversed.
7. Route the SAS data cable through the clip on the card and through the channel on the inner side of
the chassis.
8. Attach the connector labeled "SAS A" to connector SAS A on the backplane, and attach the
connector labeled "SAS B" to connector SAS B on the backplane.
9. Close the system.
10. Reconnect the system to its electrical outlet and turn the system on, including any attached
peripherals.
Removing a H730P slim card
1. Turn off the system, including any attached peripherals, and disconnect the system from the
electrical outlet and peripherals.
NOTE: It is recommended that you always use a static mat and static strap while working on
components in the interior of the system.
2. Open the system.
3. Locate the H730P slim card on the system board.
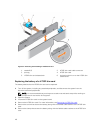
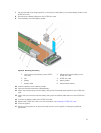
4. Loosen the two retention screws on the H730P slim card cable connector.
5. Holding the pull tag, lift the H730P slim card cable connector from the system board connector.
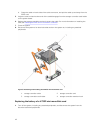
6. Press the release latch on the side of the chassis to the unlock position and slide the H730P slim card
toward the back of the system.
CAUTION: To prevent damage to the H730P slim card, you must hold the card only by its
edges.
7. Lift the card up and away from the system.
8. Replace the storage controller card and connect the cable. For more information on installing the
card, see
Installing a H730P Slim card.
45


